Knowledge Base
Categories: Windows General Information
How To Create a Send-Only Address in Plesk
We plan to have WordPress send email notifications to our readers, but we don't want a spammer stuffing our inbox full because they picked up the address from somewhere.
Note: The images below are showing the Plesk 18 version. The steps will be the same for other versions of Plesk; however, the button locations may differ.
To create an email address that will be send-only (never receive any messages):
- Log in to Plesk.
- Navigate to the domain name where you will create the email address in the Websites and Domains section.

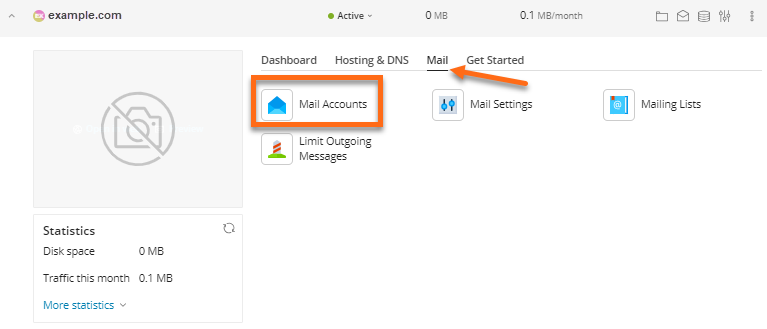
- Navigate to Mail and then click Mail Accounts.
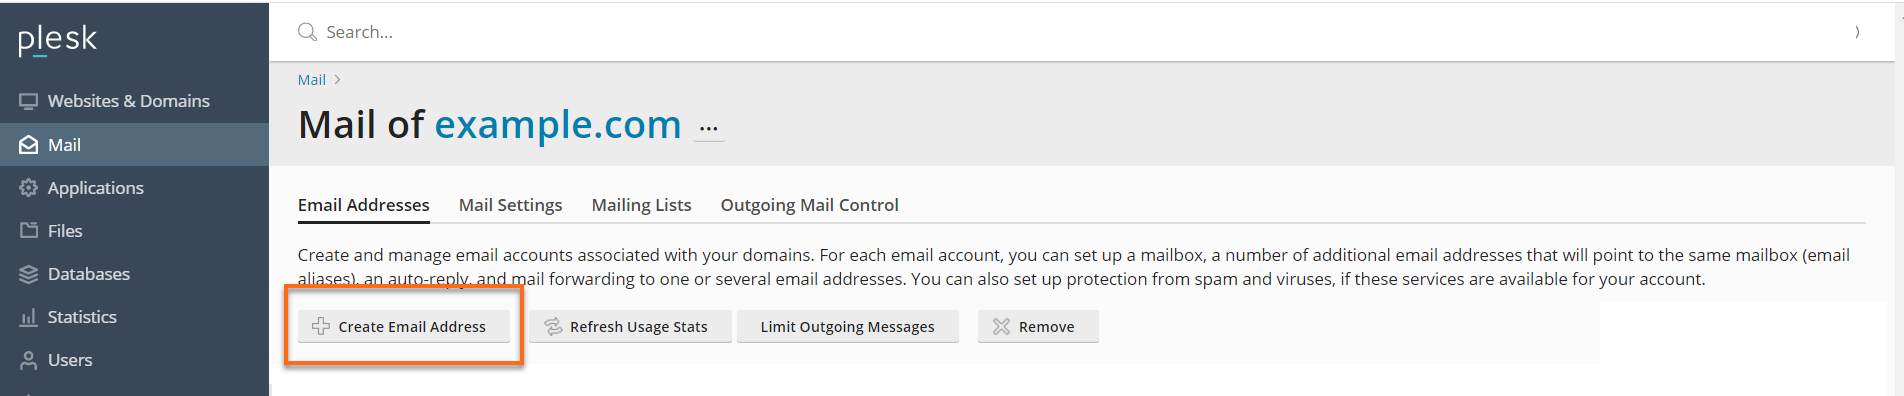
- Click on the Create Email Address button.
- Name the account something like "bounces."
- In the Password field, enter a password so the sending application can authenticate.
- Keep the Mailbox checkbox unchecked.
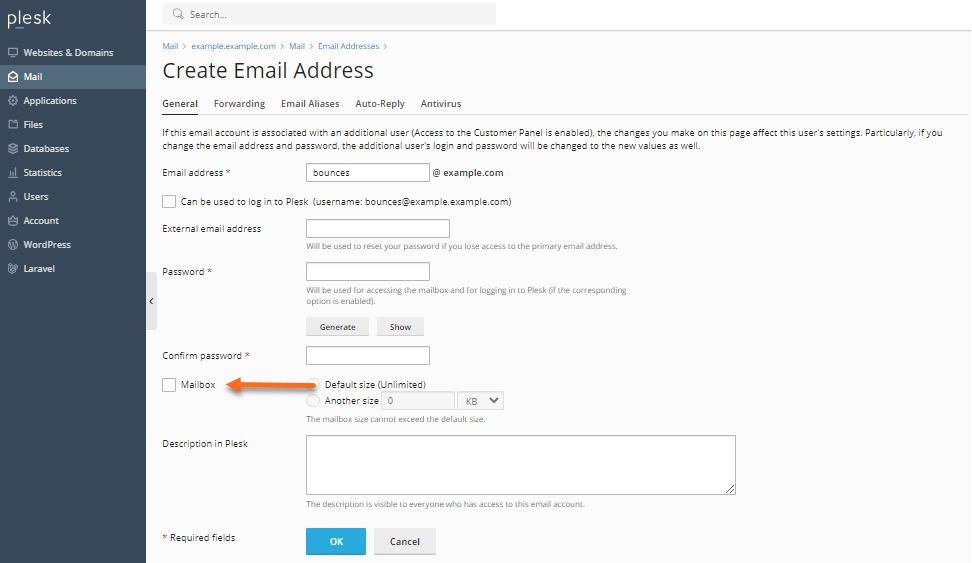
- Click OK.
Did you find this article helpful?