Knowledge Base
Categories: Security
How Do I Deny an IP Address Access?
Do you want to stop someone from visiting your website? The cPanel allows you to block a specific IP address.
This article discusses the following topics:
How to locate a visitor's IP address
- Log in to your cPanel.
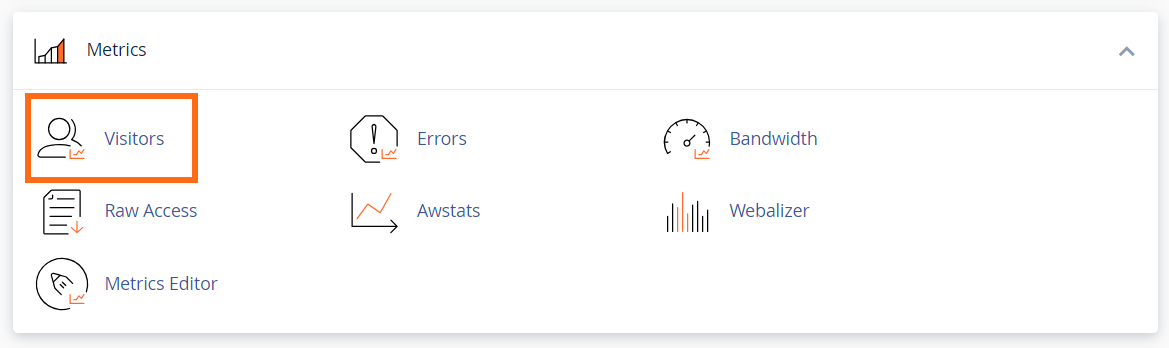
- Look for the Metrics section, then click on Visitors.
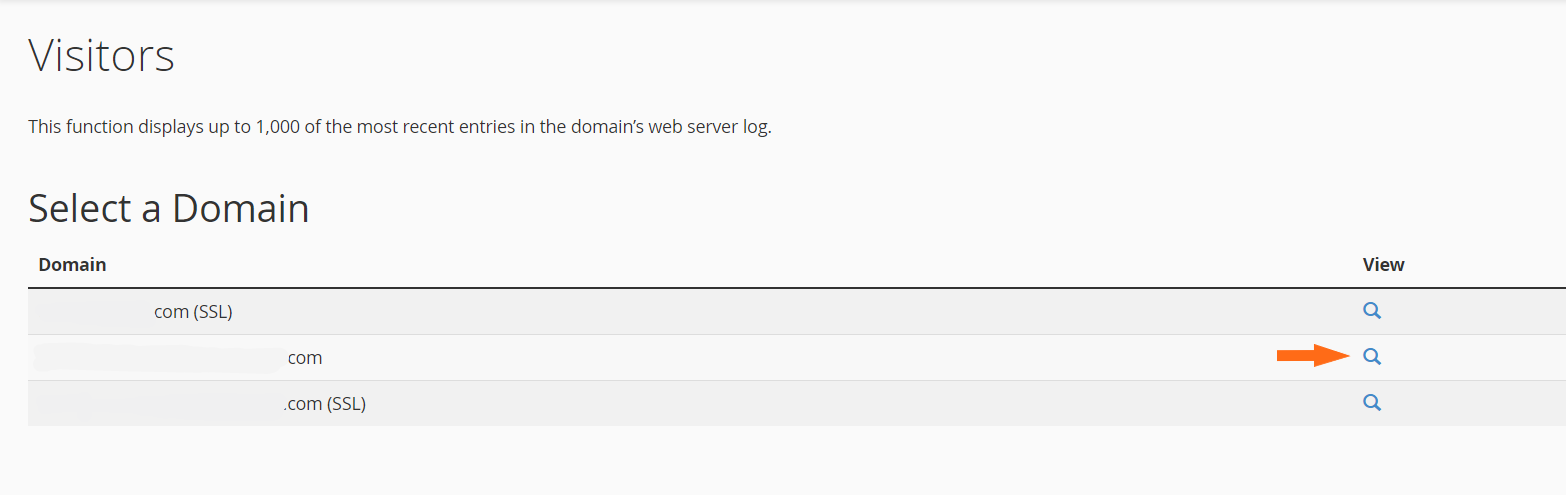
- Locate the domain name to view its recent visitors, then click the magnifying lens icon.
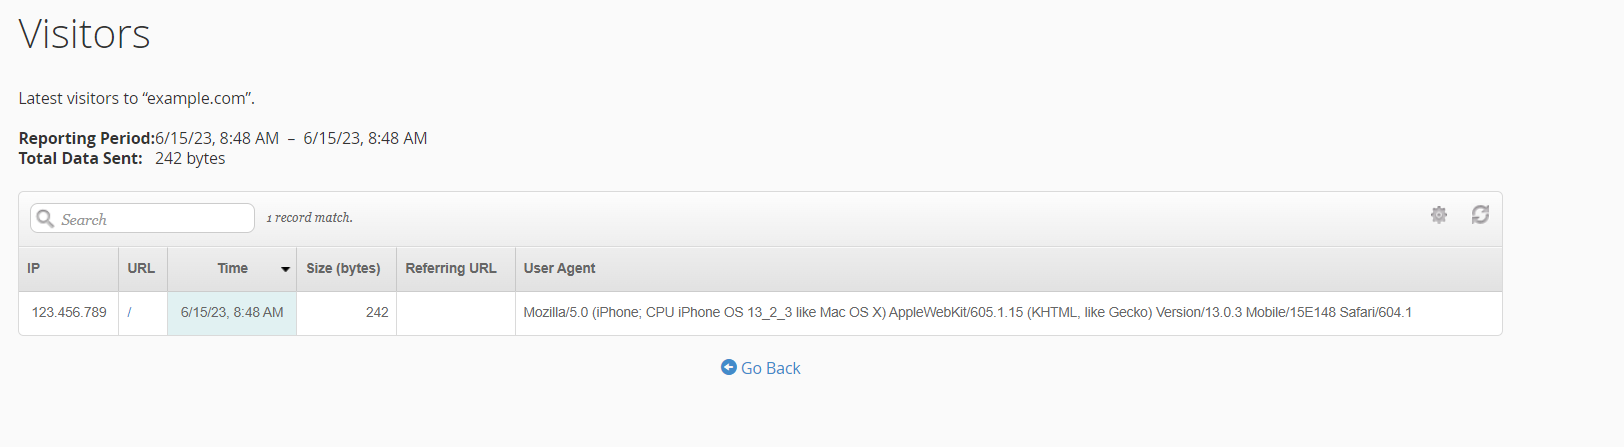
- The next page will show you the IP addresses of your site visitors.
How to block a specific IP address
- Log in to cPanel.
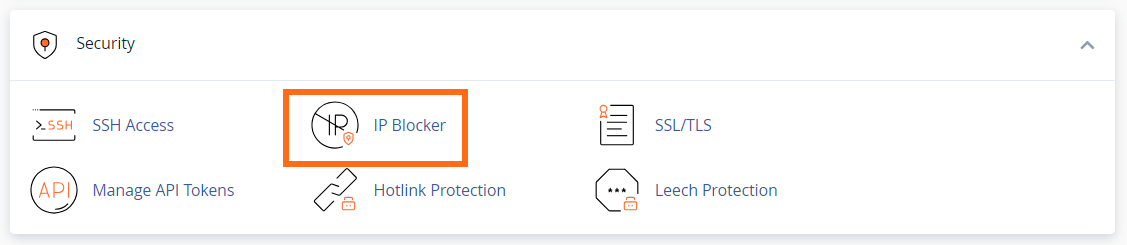
- Click on IP Blocker in the Security section.
- In the IP Blocker section, add the site visitor's IP address that you wish to deny access to your site in the IP address field.
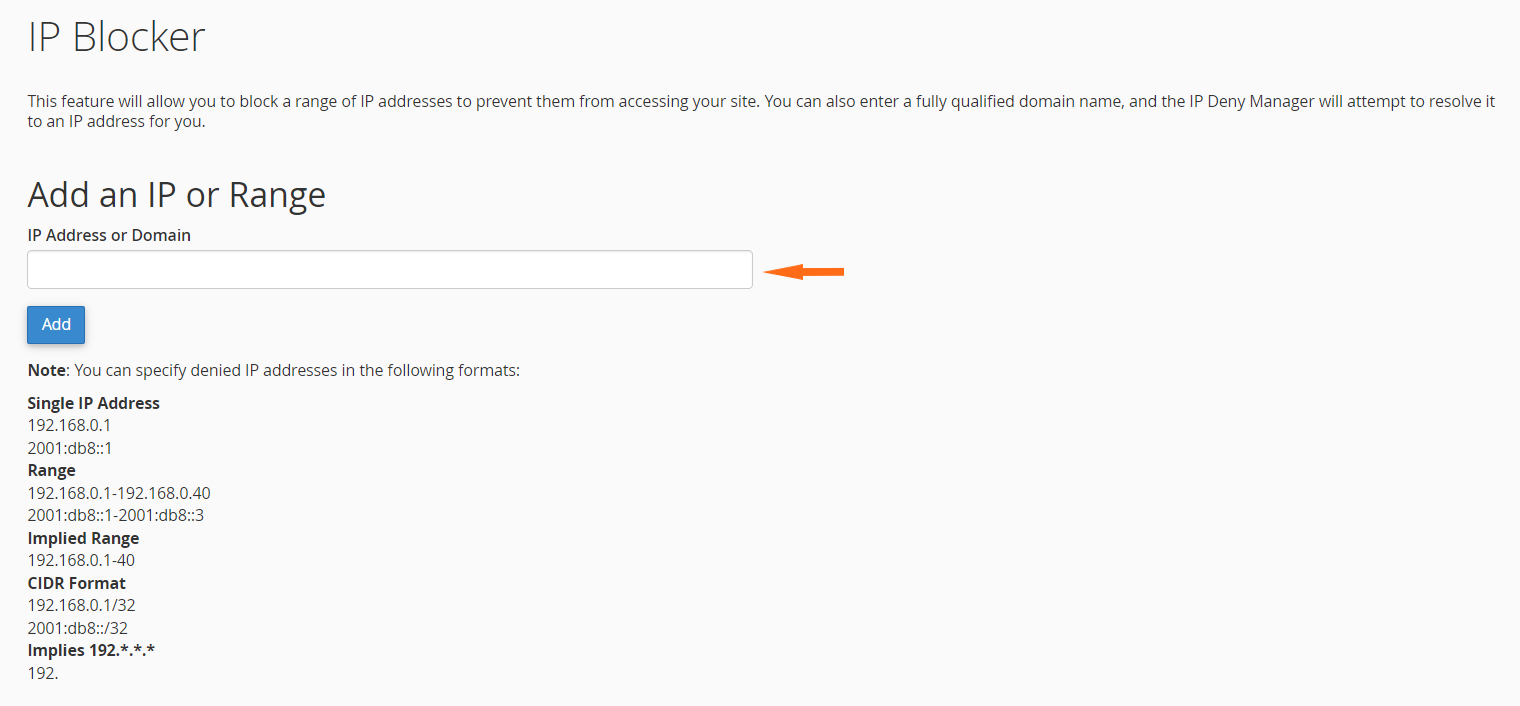
- Click the Add button. You will be redirected to a successful confirmation page.
How to unblock an IP address
- Log in to cPanel.
- Click on IP Blocker in the Security section.
- Under Currently-Blocked IP Addresses: locate the IP address you wish to unblock.
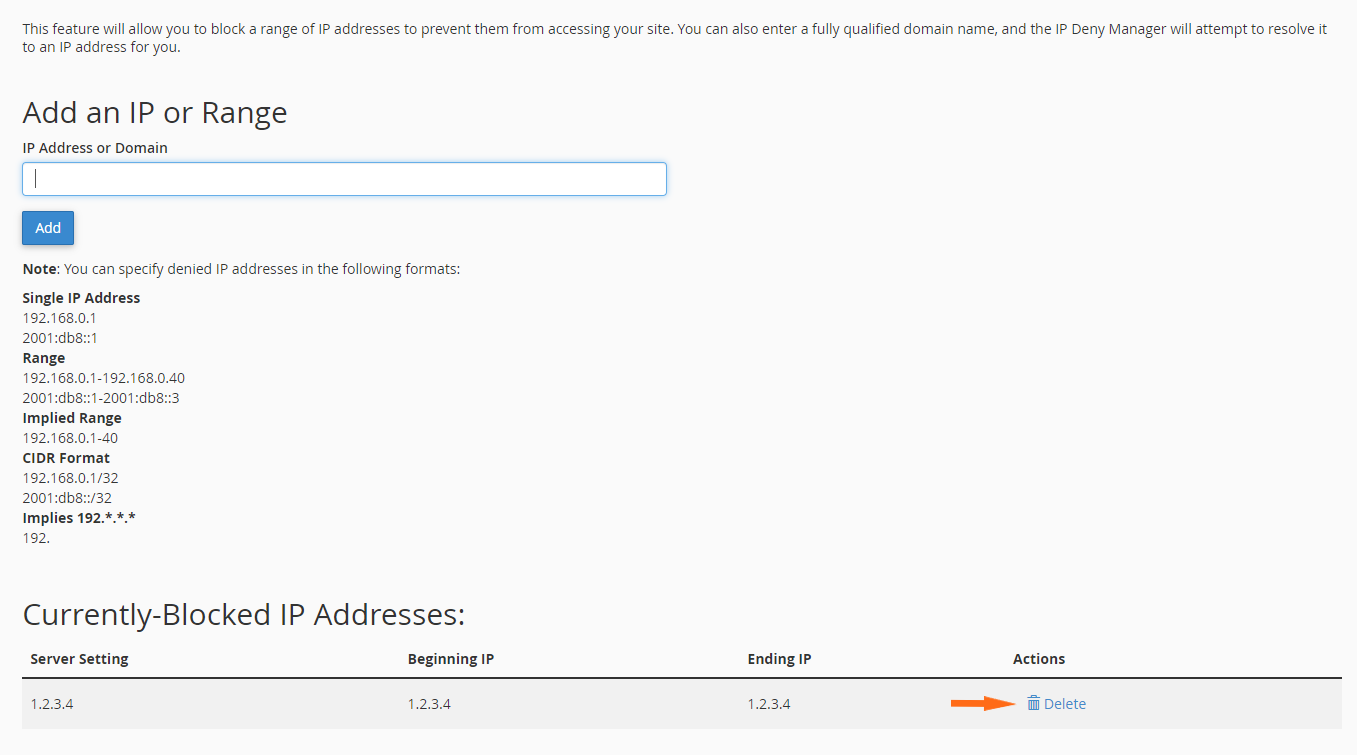
- Click the IP's Delete icon.
Deny all
You can also set an option for deny from all, which will deny everyone.
This must be done by coding your .htaccess file as follows:

See the article on How to Edit Your .htaccess File for generic instructions that apply to all .htaccess changes.
It is possible to block access to yourself accidentally by using this method. Be sure to allow access via your IP; otherwise, you will be blocked as well. To find your computer's IP Address, use Google to search for 'what is my IP' or go to https://www.google.com/search?q=what+is+my+ip. Google will display your IP Address in the search results. Please note this feature is only available in English.
If you accidentally block yourself, please contact HostGator via %%SupportPhone%%. You will need to confirm your identity (verify your account) before we can unblock your IP.
If you accidentally block yourself, please contact HostGator via %%SupportPhone%%. You will need to confirm your identity (verify your account) before we can unblock your IP.
Did you find this article helpful?