Jetpack - Backup and Restore
Jetpack Backup allows you to easily restore or download a backup of your site from a specific moment in time. It’s like having a powerful undo button for your WordPress. You can now easily develop your site - never lose a word, image, page, or time worrying about your site. Use Jetpack Backup to create backups and automatically restore or migrate your site.
Restoring With Jetpack Backup
You can now restore from a backup in just a few clicks.
There are 3 different ways to restore your site:
- Restore your site to a particular event (if your plan includes real-time backups).
- Restore your site to a particular day.
- Download a backup and restore it manually.
Please see our frequently asked questions below for additional details.
Restore your site to a particular event
This method requires a ‘Real-time’ backup solution (Jetpack Complete, Jetpack Security Real-time, Jetpack Backup Real-time).
- Open your activity log.
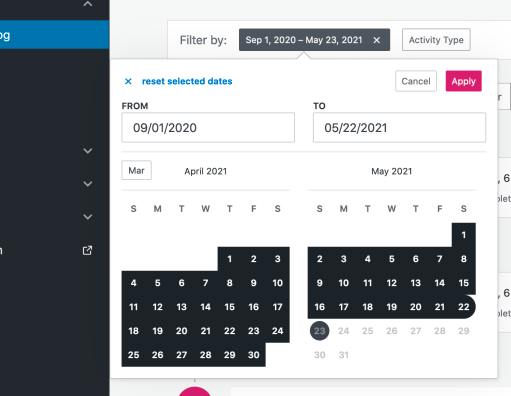
- Use the filters to search by selected day(s) and find the event you’d like to restore.
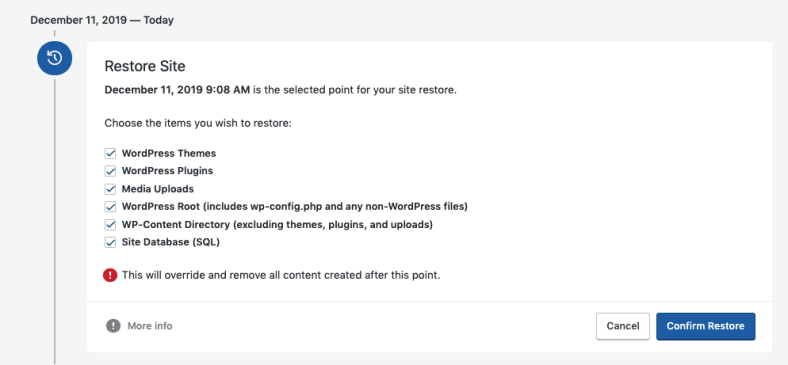
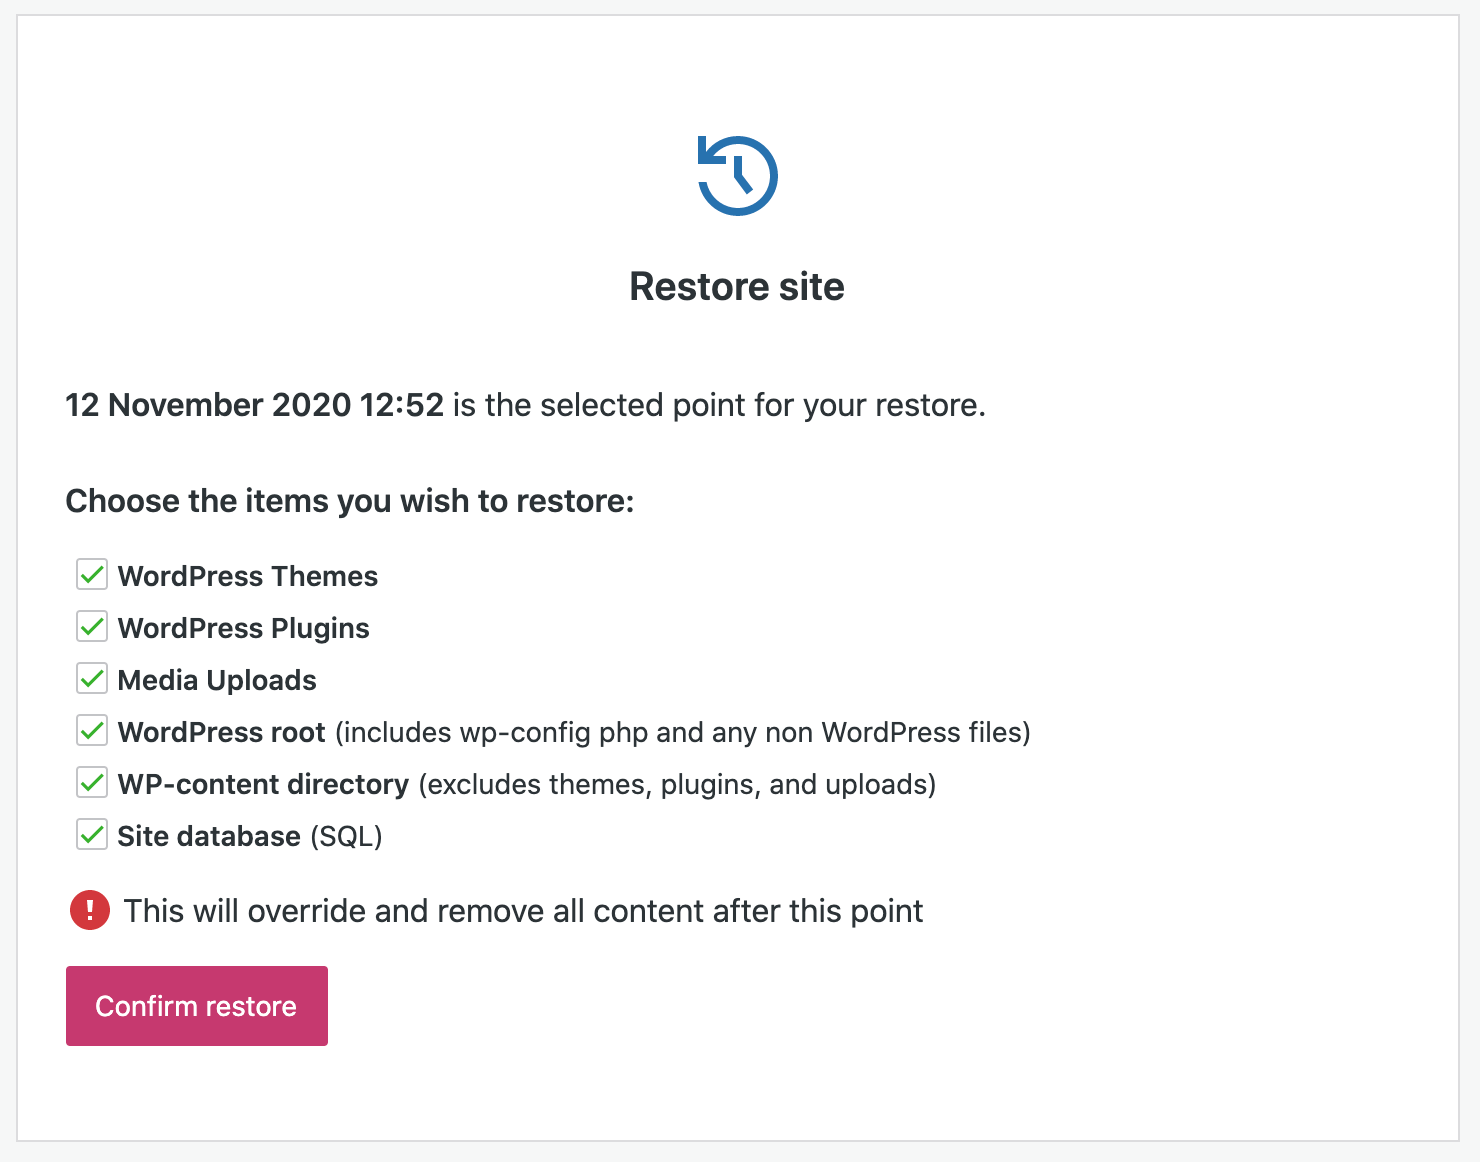
- Click the ellipsis (three dots) icon, then click Restore to this point to open the Restore Site dialog box.

- Click Confirm Restore.
- Your restoration to the specific point in time you have selected will begin. At the top of the activity log, you can follow the progress of the restore. You will also receive email updates on the progress of your restore.

- When the restore has been completed, you’ll see a confirmation message.
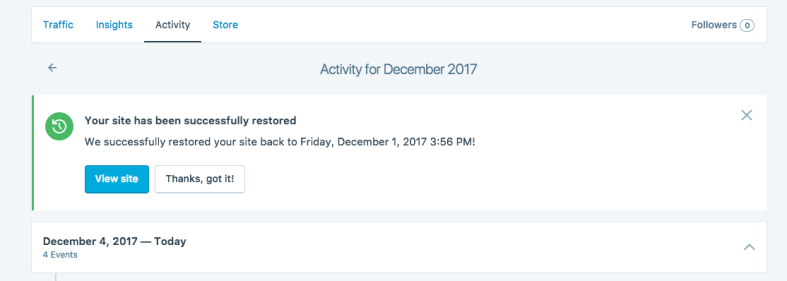
- Click View Site to see your site restored to the event that you selected.
Restore your site to a particular day
- Open your Backup page (Jetpack → Backup). You’ll see the latest backup for your site. (Or the scheduled time of your next backup if a backup has not yet been completed today).
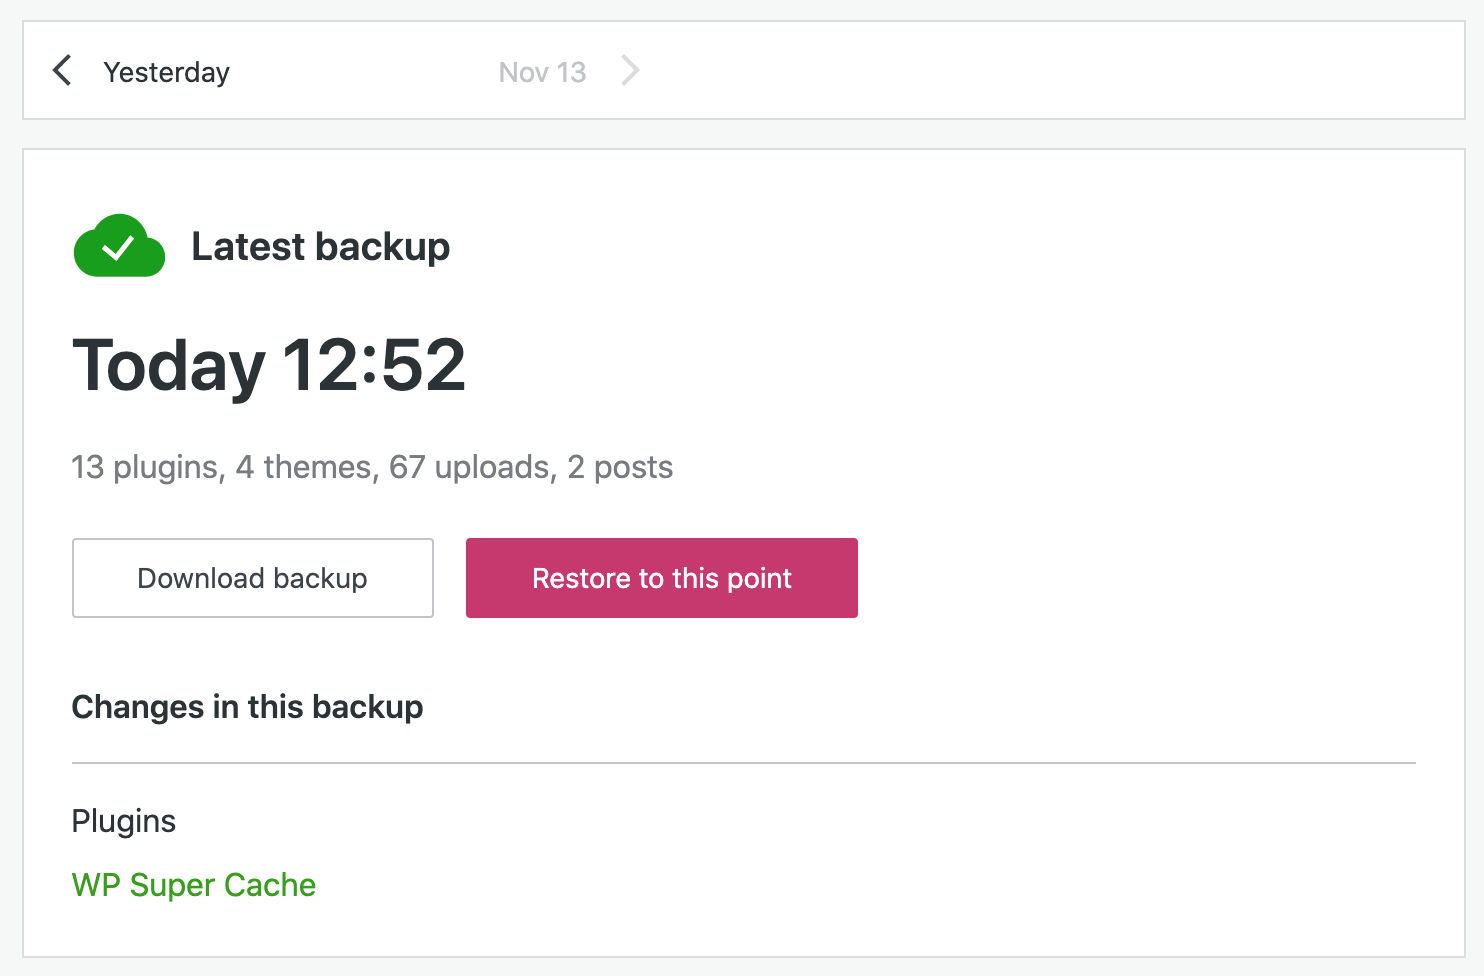
- Use the navigation bar to find the day you want to restore to. Each day will show the time of the latest backup for that day, along with any changes included in that backup.
- When you find the day you want, click Restore to this point to restore to the latest backup point for that day. Select the items you wish to restore, then click Confirm Restore.
- If you have one of our ‘Real-time’ backup solutions, other events for that day will be listed below the latest backup, so you can restore to a different point on that day if you wish.
Download a backup
- Open your activity log.
- Use the filters to search by selected day(s).
- Find the event that you’d like to use, click the ellipsis (three dots) icon, and choose Download backup.

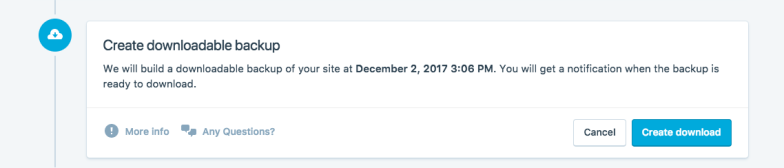
- On the Create downloadable backup page, click Create download.
- At the top of the activity log, you can follow the progress of the download creation.

- When it has been completed, you’ll see a confirmation message. You can use the Download button to download the backup. You will also receive an email with a link that you can use to download the backup.

Once you have downloaded the backup, you can use that to restore the site manually if you wish.
FAQs
Q: Can I restore even if my site is down or has a fatal error? A: Yes! Because Jetpack’s restore system operates separately from the Jetpack plugin itself, you can still restore to a prior event, even when your site is down. Important: if your site is down, you’ll see “This site cannot be accessed” on WordPress.com. DO NOT click the Disconnect link there, or you will not be able to access your site’s activity log and so will not be able to perform a restore.
Q: Does restoring with Jetpack Backup delete files from my server?
A: No. When we restore your site, we don’t delete files. Files with the same name will be overwritten, but uniquely named files are not removed. We only delete our helper files, which we add to the site during the restore process. However, it is important to note that your site’s database is completely replaced with the database from the backup you’re restoring from. So, any posts or pages you’ve added since the restore point date would be lost. You should export of this content before using our restore feature; then, you can import it back to your site after the restore.
Q: How long does it take to restore?
A: This depends on many factors, such as the size of your site and the type of server credentials you’ve added to Jetpack. Generally, SFTP and SSH credentials provide a faster connection. You can check the restore progress by visiting My Site(s) → Jetpack → Activity Log. You should also receive an email once the restore has finished.