Knowledge Base
How to Purchase HostGator Paid cPanel Email Plan
A Paid cPanel Email plan allows you to create professional email addresses using your domain name, such as [email protected], helping you establish credibility and strengthen your brand. With HostGator Paid cPanel Email, you can manage custom domain email accounts, access webmail, configure email forwarding, set up autoresponders, and use spam filtering tools to streamline communication. It also supports integration with desktop and mobile email clients, allowing convenient access to your email from anywhere.
This article will guide you through the steps to purchase a HostGator Paid cPanel Email plan, set up your email accounts, and start managing your professional email hosting service.
For more information about the available features and management tools, please refer to the HostGator: Paid cPanel Email Overview article.
Purchase HostGator Paid cPanel Email Plan
- Log in to your Customer Portal.
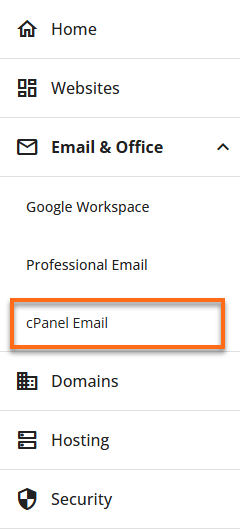
- From the left-hand navigation menu, click on the Email & Office tab.
- Select cPanel Email from the available options.
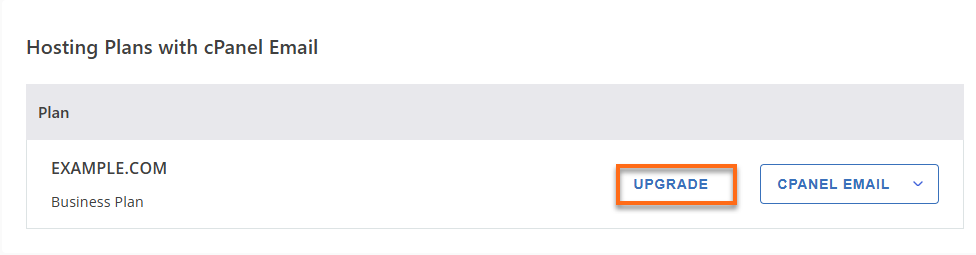
- Locate your hosting plan and click Upgrade.
- Select the cPanel Email plan that best fits your needs:
- cPanel Email Basic – 3–10 mailboxes
- cPanel Email Plus – 11–20 mailboxes
- cPanel Email Premium – Unlimited mailboxes
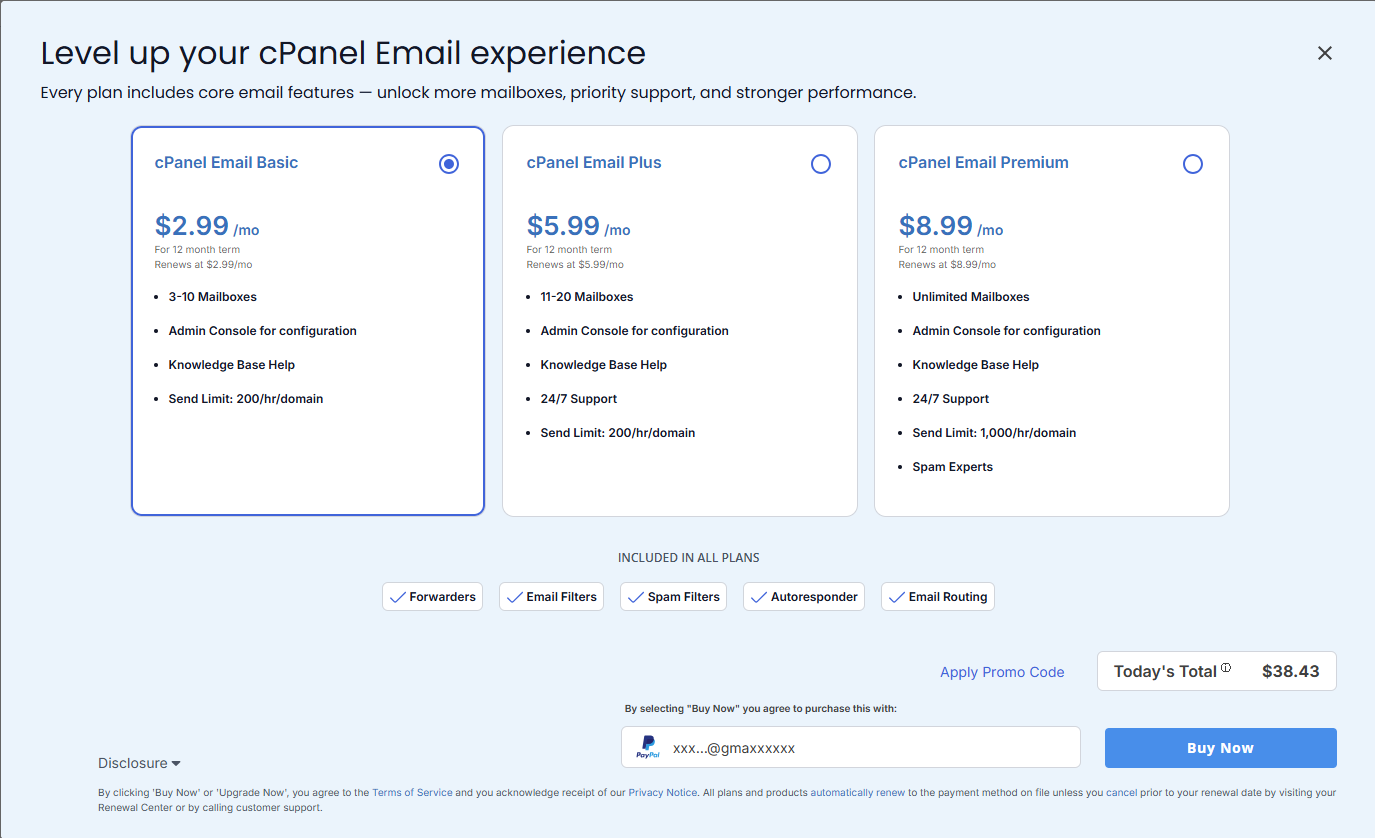 Pricing is subject to change—please visit your cPanel Email tab for the current introductory/sign-up offer for HostGator cPanel Email. For the most up-to-date renewal pricing, visit your HostGator Renewal Center.
- (Optional) Click Apply Promo Code and enter a valid promotional code.
- Review the selected plan, pricing details, and payment method.
- Verify the Today's Total amount and confirm the payment information displayed.
- Click Buy Now to complete the purchase.
Did you find this article helpful?