Knowledge Base
Categories: Email Client
Email Setup for Outlook 2003
Microsoft Outlook 2003 is part of the Microsoft Office 2003 Suite. However, this third-party email client is available for purchase and available to the public.
As of April 2014, Microsoft no longer provides support for Outlook 2003.
For generic settings to use alongside the instructions listed below, please refer to the following article:
Email Configuration
To configure email for Outlook 2003:
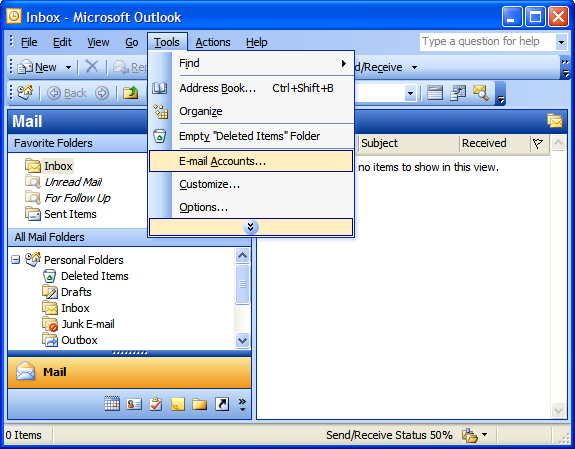
- Open Outlook 2003.
- Select Tools > E-mail Accounts.
- On the E-mail Accounts wizard window, select "Add a new e-mail account."
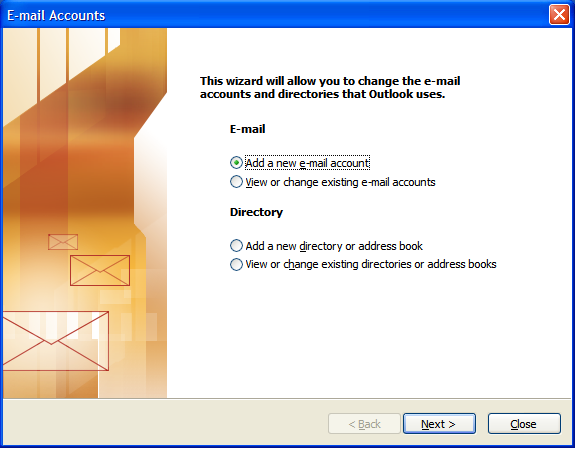
- Click Next.
- On the next screen, for Server Type, select IMAP or POP3.
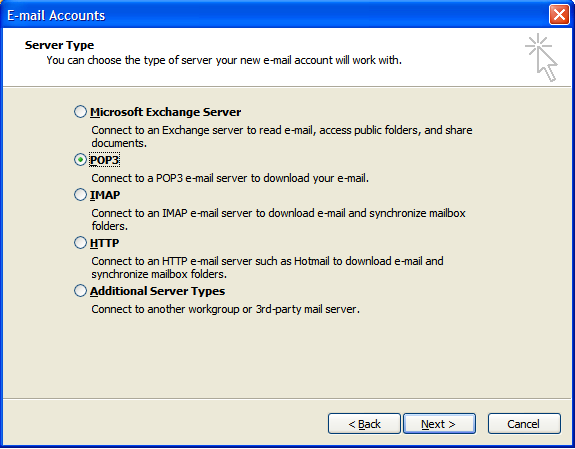
- Click Next.
- On the next screen, you will be prompted to provide the essential information for your email account, such as:
- Your Name
Enter your first and last name. - E-mail Address
Enter your e-mail address. - User Name
Enter your e-mail address, again - Password
Enter the password you set up for your e-mail account. - Incoming Mail Server (POP3)
Enter mail.yoursite.com for your incoming mail server. - Outgoing Mail Server (SMTP)
Enter mail.yoursite.com for your outgoing mail server.
- Your Name
- Click More Settings.
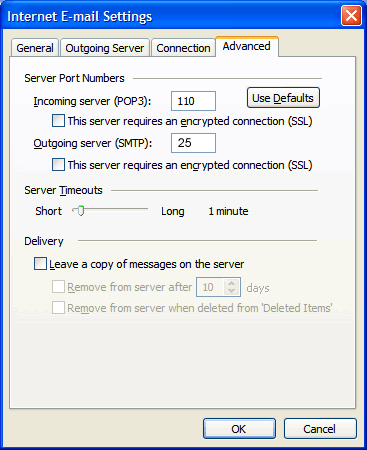
- In the Internet Email Settings window that appears, select the Outgoing Server tab.
- Select My Outgoing Server(SMTP) Requires Authentication.
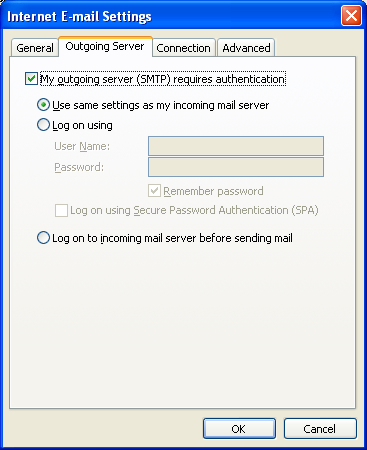
- If you did not change the SMTP relay area, then you can select Use Same Settings as My Incoming Mail Server.
- If the username and password in the SMTP Relay section of the Manage Account Page were changed, select Log on Using and enter the user name and password.
- Click OK.
- Navigate to the Advanced tab and change the outgoing server (SMTP) port to 25 or 26.
- Click OK.
- Click Next.
- Finally, click Finish.
Did you find this article helpful?