Knowledge Base
Categories: phpMyAdmin
How to Drop Columns From a Database in phpMyAdmin
Managing a database often requires updating its structure. This article explains how to drop columns in phpMyAdmin to remove unnecessary data, improve organization, and keep your MySQL database streamlined.
To drop a column from a table:
- Log in to your cPanel or Plesk.
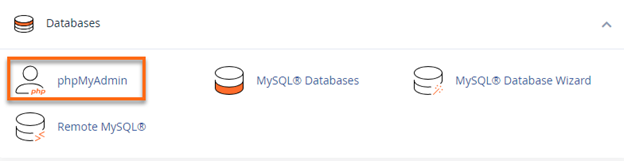
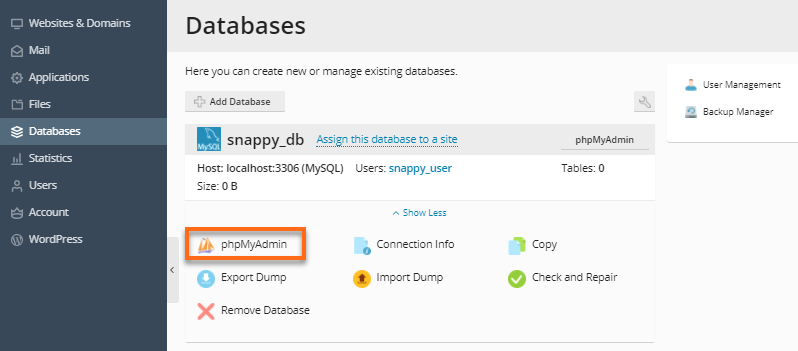
- Navigate to your control panel and click the phpMyAdmin icon.
cPanel:
Plesk:
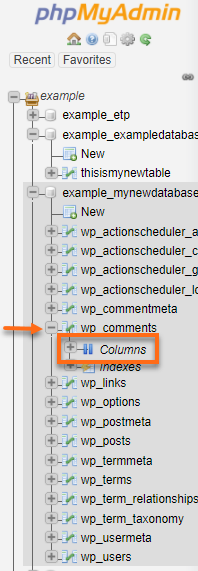
- In phpMyAdmin, locate the database name from your list of databases, then click the expand + icon.
- From the list of tables under the database, click the expand + icon of your selected table.
- Click Columns.
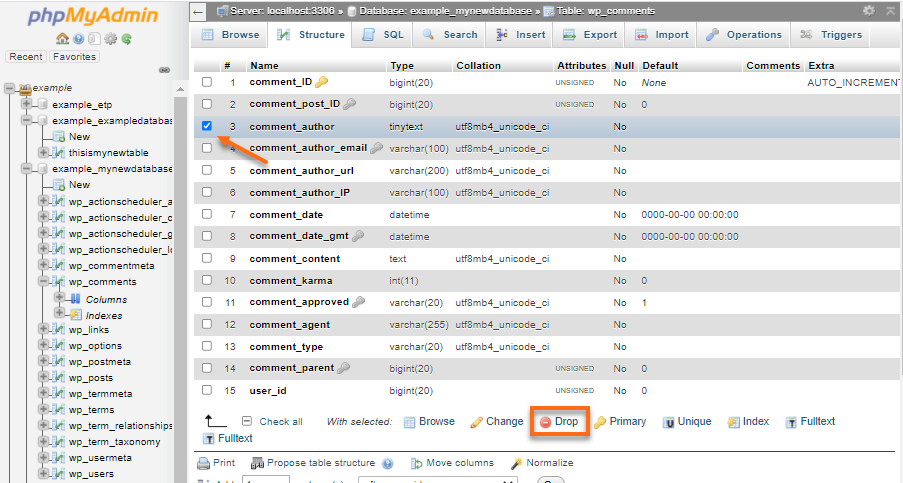
- In the Columns tab under the Structure tab, select the column(s) you want to drop (permanently delete).
- Click the Drop icon in the Actions column, as shown below.
-
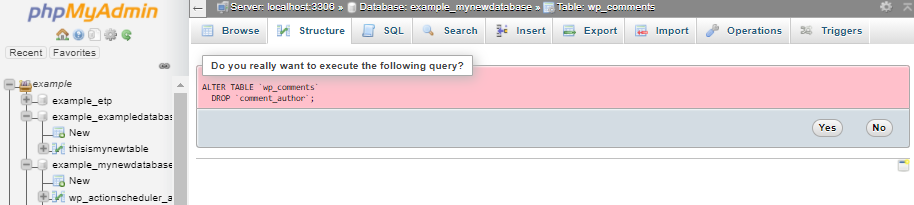
phpMyAdmin will display the command it is about to run:
ALTER TABLE 'your_selected-table'

	DROP 'your_selected_column';
-
Make sure that this is the column you want to drop. Click Yes to confirm the deletion.
Did you find this article helpful?