Customer Portal - How to Map Domains to Websites
Domain mapping allows you to link multiple domain names to your website, creating a strategic network for improved user experience and SEO benefits. HostGator provides tools to enhance your hosting experience, and the upgraded Customer Portal allows you to connect your domain(s) and manage its DNS records efficiently.
To map your domain(s) to your website:
- Log in to your Customer Portal.
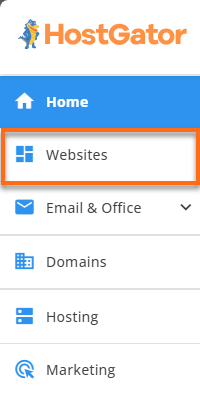
- Click the Websites tab in the left-hand menu.
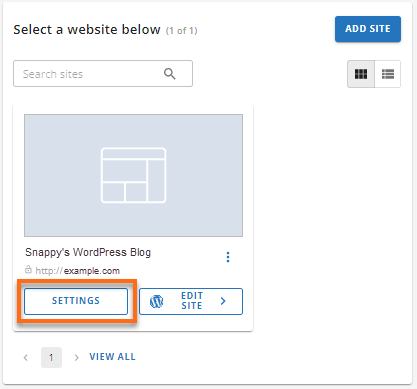
- Look for the website you want to manage, and click its Settings button.
- On the website management page, click the Domains tab.

- Under the Connected Domains section, click the Add Domain button in the top right.

- In the pop-up, enter the domain you want to use for your selected website and click the Continue button.

- The system will run a DNS test on your domain to see if the domain's name servers are pointed to the correct account.
- If the domain's name servers are correctly pointed, you will see its NS records. Click Save Changes, and the domain will be added to the list of Connected Domains.

- If the domain's name servers are not pointed to your HostGator account, the pop-up window will show instructions on how to change them at your registrar/hosting provider. It will also provide you with the name servers you need to use for your domain and what name servers you need to remove.

The sample name servers shown in the image above are for illustrative purposes only. - If the domain's name servers are not pointed to your HostGator account and you want to keep them, you can still connect your domain via its A records. Click the Or try connecting with a DNS A Record link.
The pop-up window will provide instructions on updating your A records at your registrar/hosting provider. It will also tell you which A records you should use to connect your domain and which ones to remove.

The sample A records (IP addresses) shown in the image above are for illustrative purposes only.Once done updating your domain's name servers/A records, click the Verify Connection button.

- If the domain's name servers are correctly pointed, you will see its NS records. Click Save Changes, and the domain will be added to the list of Connected Domains.
- Give your domain a little time to fully propagate, which may take a couple of hours.
Additional Functionalities
In the same section, you can also do the following actions:
- Update your domain's DNS records
- Set your domain as the site URL.
- Remove the domain from your site.
Click the ellipsis icon on the right to see these additional features.

- Advanced DNS section - You will be redirected to your cPanel's Zone Editor, where you can update your DNS records.
- Set as Site URL - A pop-up window will appear, asking for confirmation to make your domain your new WordPress Site URL. Click Confirm to proceed.
- Remove Domain from Site - Your domain will be removed and will no longer be connected to your website.