Repair and Optimize a Database in Customer Portal
A broken website database can lead to downtime and data loss, often caused by corrupted files, misconfigurations, or server issues. You can diagnose and repair these errors using database tools in Customer Portal to restore functionality quickly.
- How to Check Databases via Customer Portal
- How to Repair Databases via Customer Portal
- More Ways to Resolve Issues
- How to Optimize a Database
- Summary
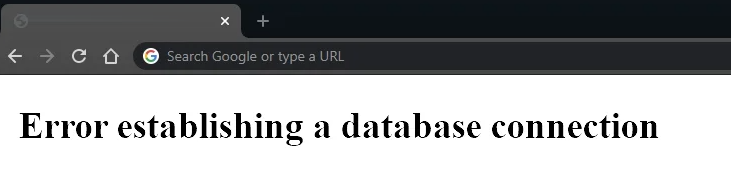
If you encounter errors like "Error establishing a database connection" or "Database marked as crashed," follow the steps below to resolve the issue.
How to Check Databases via Customer Portal
Even with various errors, such as "supplied argument is not valid" or "table attribute does not exist," the following steps can be used with the built-in database testing tool in the Customer Portal to attempt resolving the issue.
- Log in to your Customer Portal.
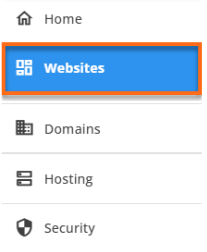
- Click Websites on the left side of the navigation menu.
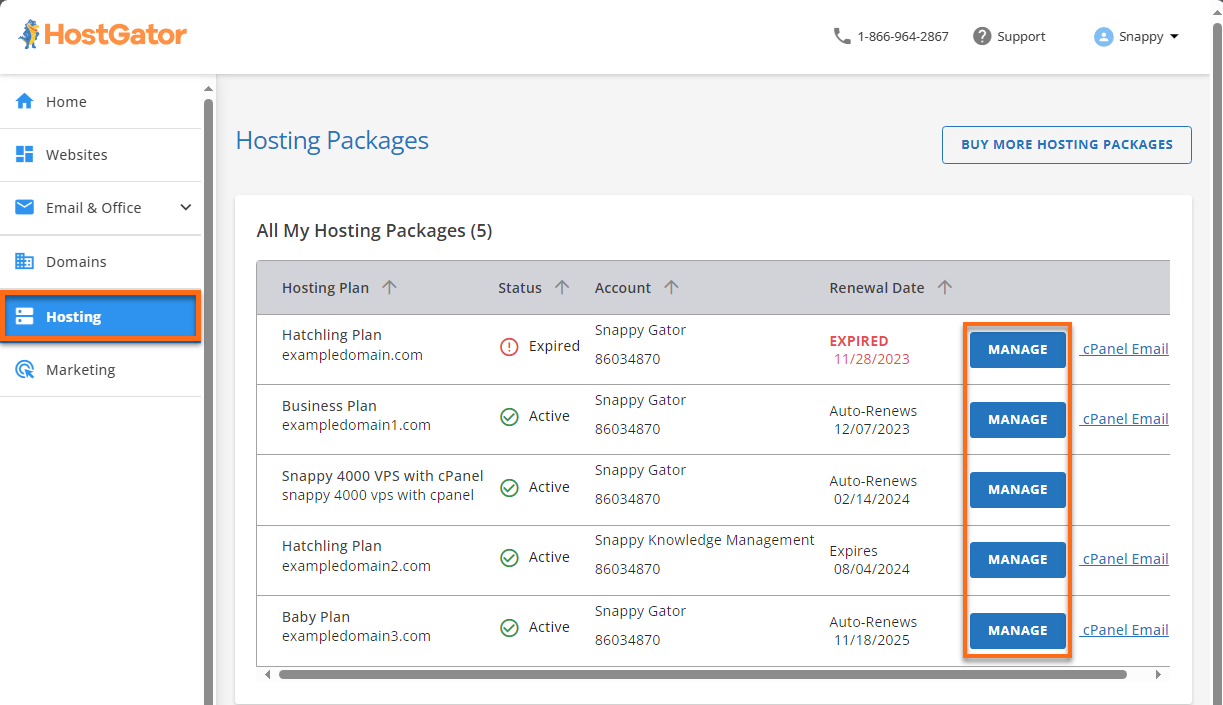
You can also go to the Hosting tab, find the hosting package you want to manage, and click the MANAGE button.
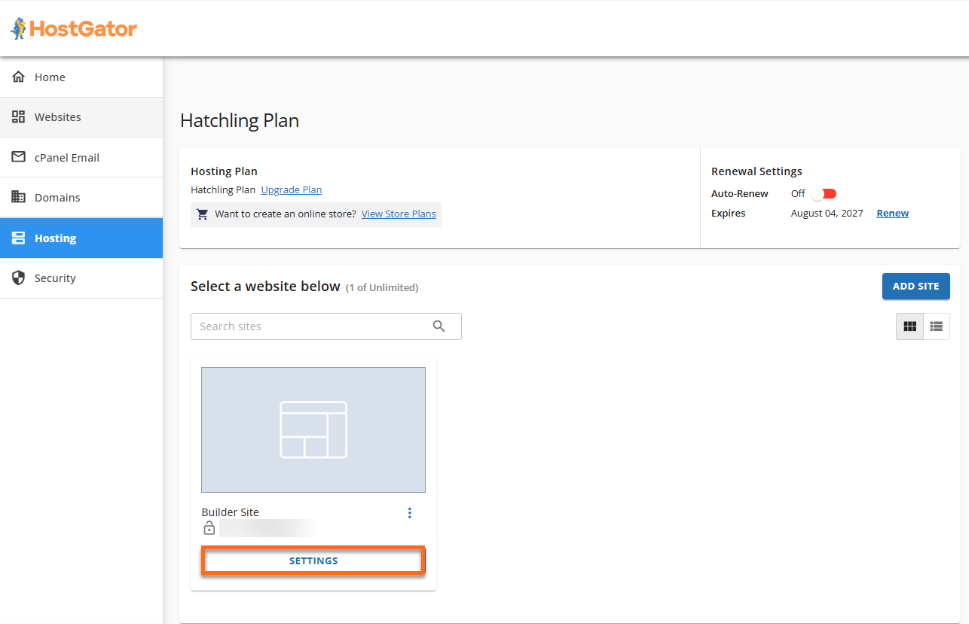
- On the website management page, click SETTINGS for the site you want to manage.
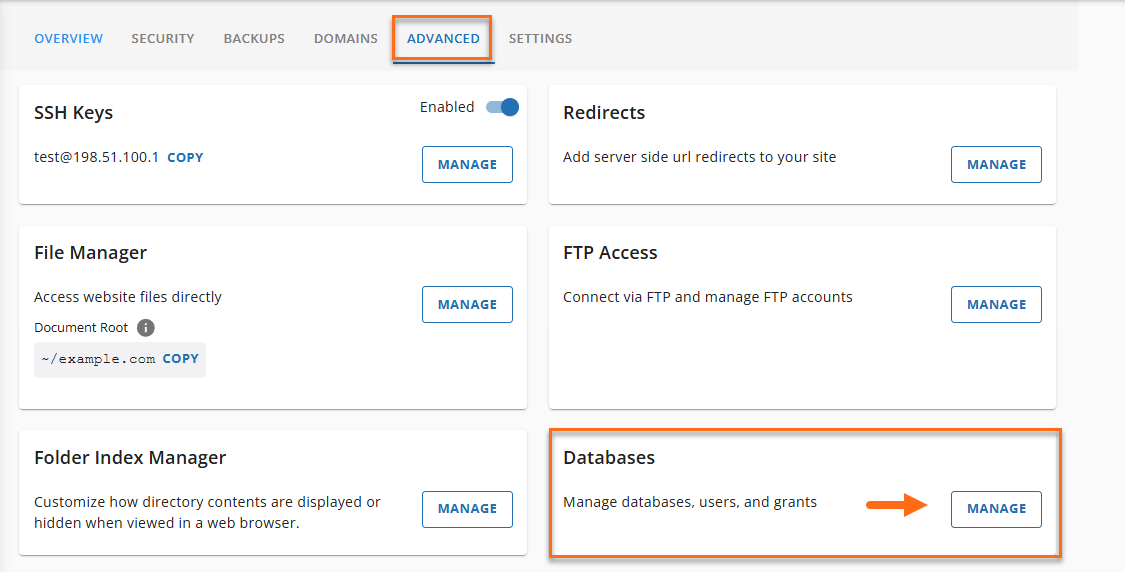
- Click the ADVANCED tab in the top menu, then select MANAGE under the Databases tile.
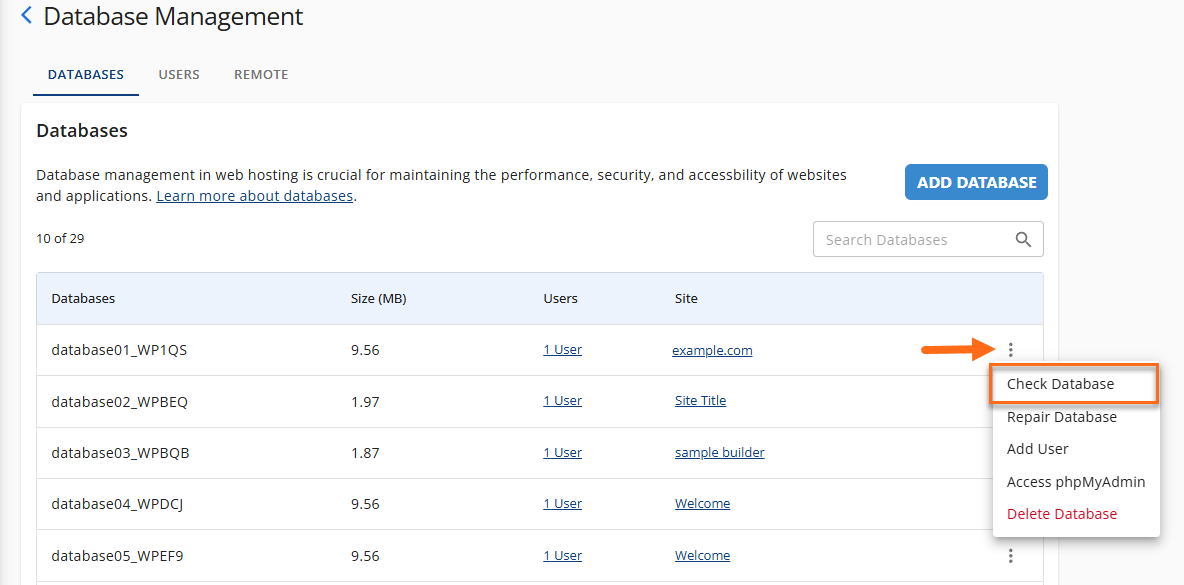
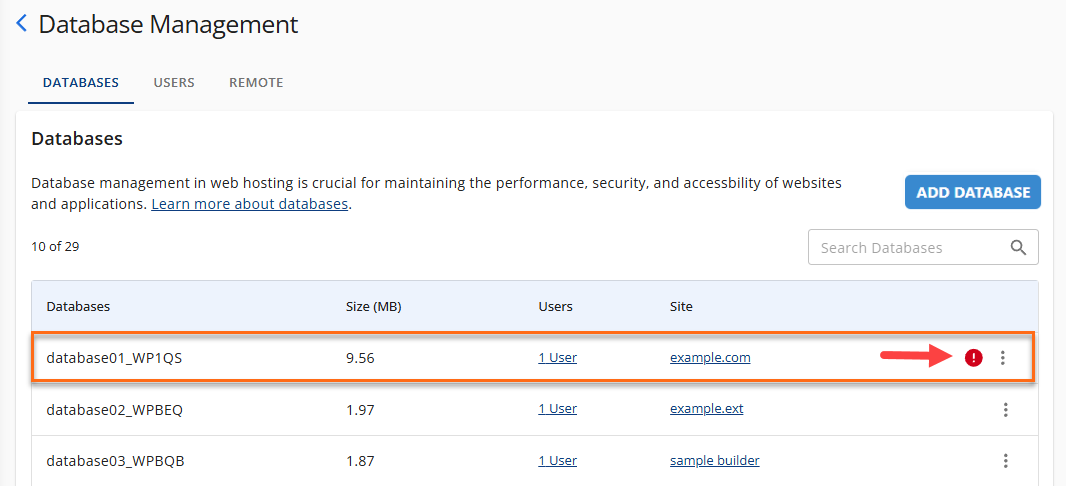
- Locate the database associated with your website, click the vertical ellipsis icon, and then select Check Database.
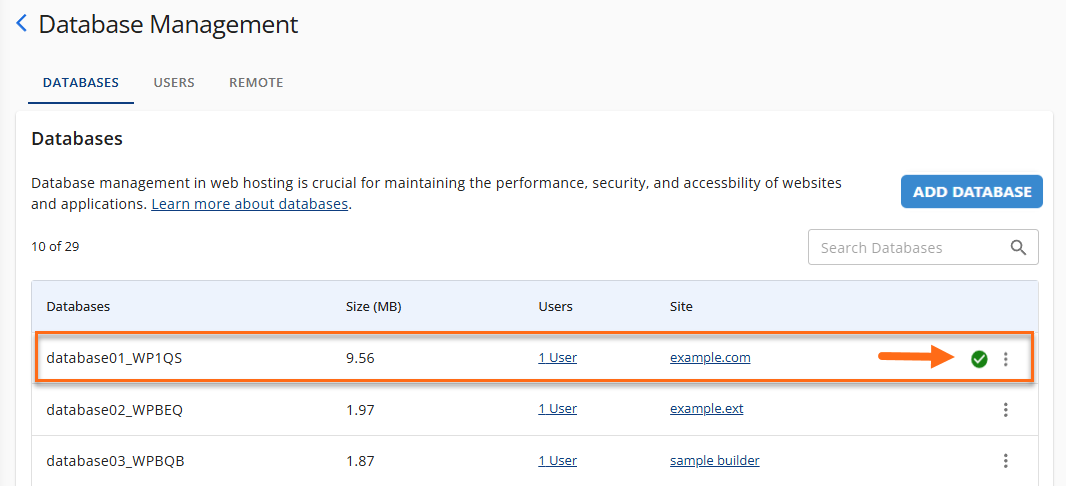
- If the process is successful, a green check mark icon will appear. If issues are detected, proceed to the repair steps below.
How to Repair Your Database via Customer Portal
If the diagnostic process shows "Issues were detected. Repair recommended," follow these steps:
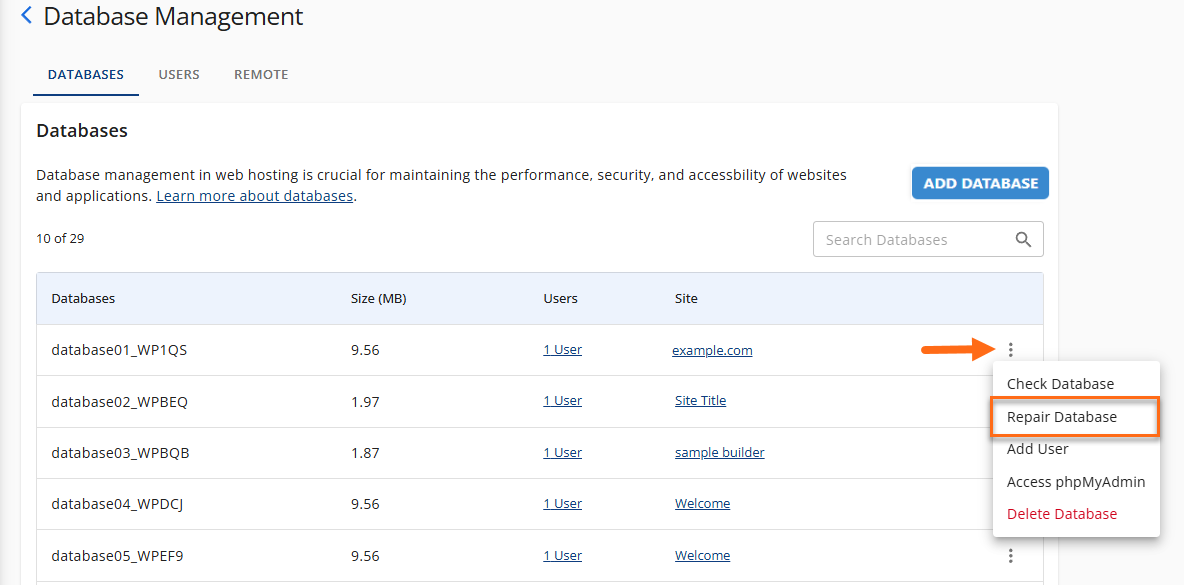
- Locate the database linked to your website. Click the vertical ellipsis icon and select Repair Database.
- If the repair is successful, a green check mark icon will appear.
If a red exclamation point icon is still displayed, consider the additional troubleshooting options below.
More Ways to Resolve Issues
If the issue persists after repairing the database, explore these resources:
How to Optimize a Database
- Repair and Optimize Database Tables:
How to Optimize Tables
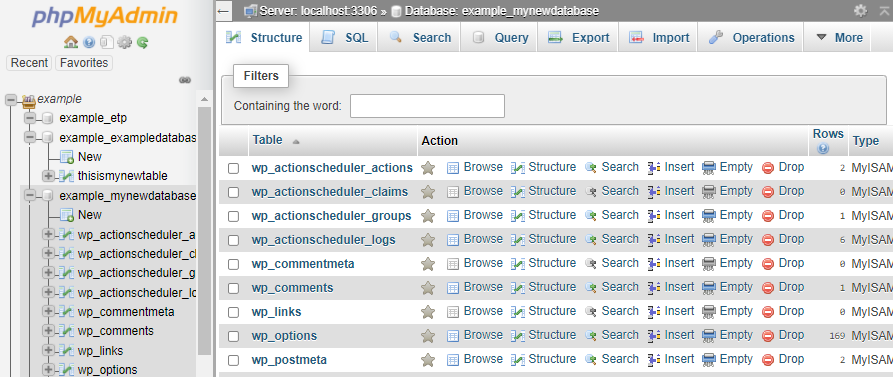
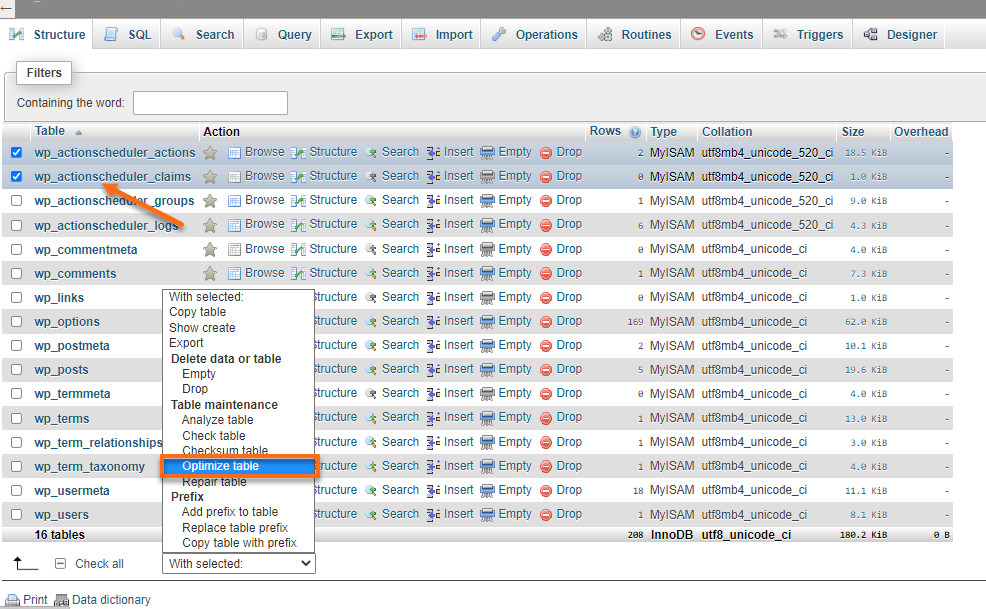
- In the phpMyAdmin homepage, select the database you want to optimize from the list in the left pane, which should take you to the Structure tab by default.
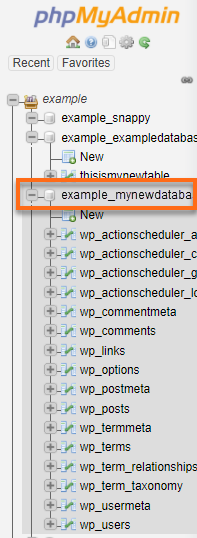
- An expanded list of tables will appear on the left and wider on the right pane.
- Put a checkmark on the table(s) you wish to optimize.
- Click the drop-down menu at the bottom that says With selected and look for Table Maintenance.
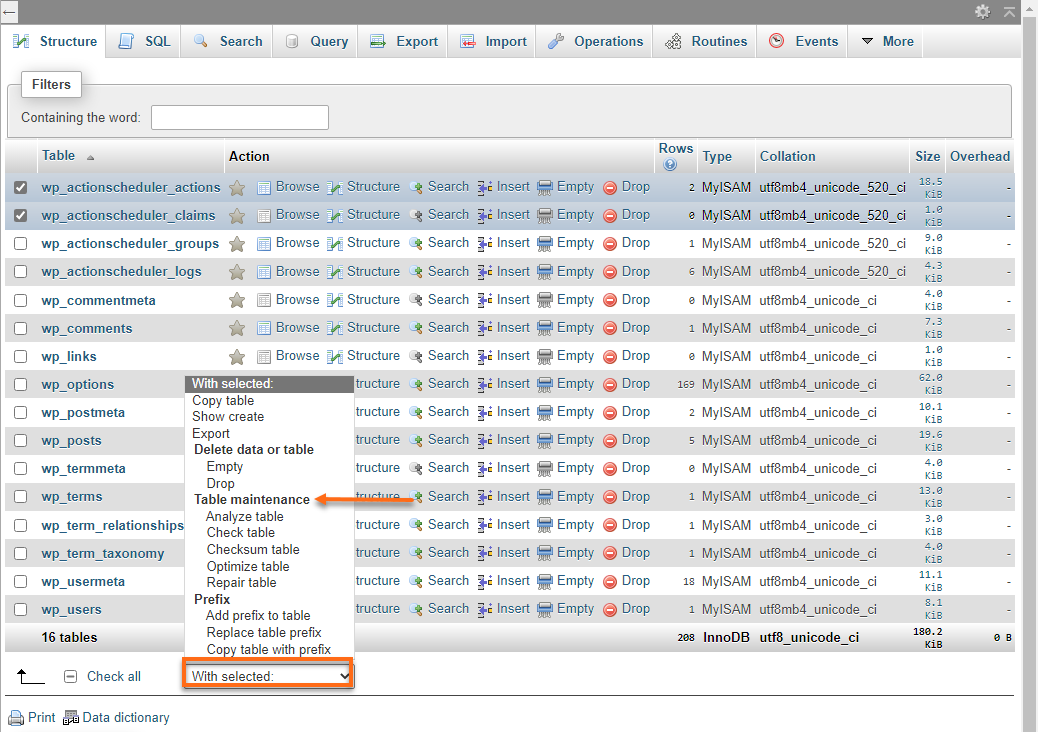
- Select Optimize Table from the list to initiate the optimization.
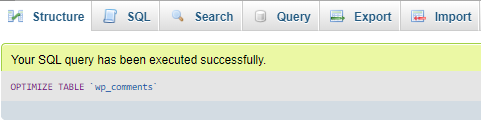
- A confirmation prompt will appear on top, notifying you of the successfully executed query.
- In the phpMyAdmin homepage, select the database you want to optimize from the list in the left pane, which should take you to the Structure tab by default.
- Restore from Backups:
If you have backups in CodeGuard or Jetpack, follow these tutorials: