Knowledge Base
Categories: Weebly
How to Add Images in Weebly: Upload, Edit & Customize
As we upgrade our Customer Portal to an optimized and easy-to-use design, you may find some hosting products and/or services no longer available. Due to this update, Weebly is no longer offered by HostGator for new signups. If you currently have the service, there will be no change to your product or service.
To add images to your Weebly website, you will want to use the Image element located in the Basic section of the Weebly Build sidebar.
Add an Image in Weebly
To add one of these elements to your page, drag and drop the Image element onto the page wherever you like. This will present you with a placeholder image that you can click to upload a custom image from your computer, select from your favorite images, or select one from a web address.


Edit the Image Using the Weebly Image Editor
Once you have uploaded the image you wish to use, you can edit and customize the image using the popup that appears upon clicking the image. From this popup, you can:
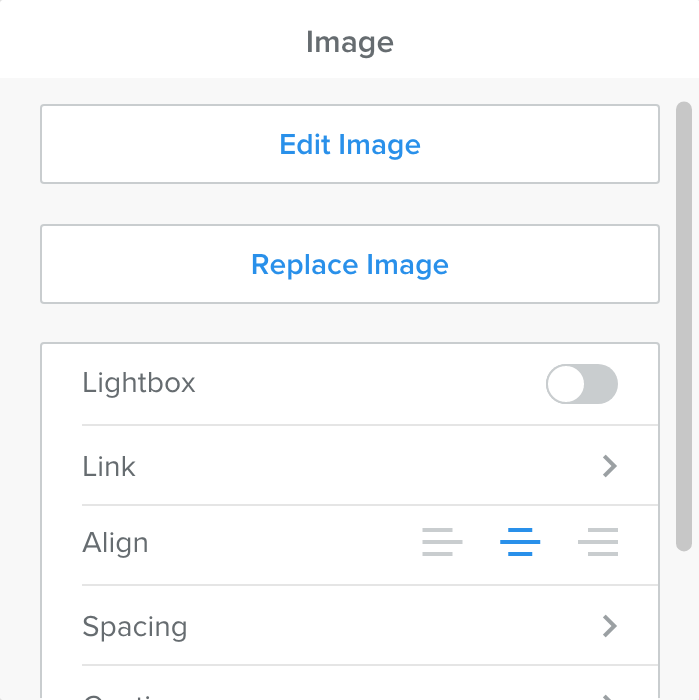
- Use Edit to bring up the Weebly Image Editor.
- Use Replace to change the image to a different one.
- Toggle Lightbox to display a full-sized version of the image when it is clicked.
- Directly link the image to a Website URL, Standard Page, Product Page, Blog Post, Phone Number, File, or an Email Address.
- Use the Align option to change the image’s positioning.
- Use Spacing to add top, bottom, left, and right margins to the image.
- Use Caption to display text at the bottom of the image.
Advanced Image Settings in Weebly
Use Advanced to change the following:
- Set Border Size.
- Choose Border Color.
- Add Alternative Text (Alt Text) for visitors whose browsers may not support images or for visually impaired users using screen readers.
Adding alt text improves SEO and accessibility while helping search engines understand your image content.
Did you find this article helpful?