Website Builder Basic Style Tools
This article is a quick guide to the Website Builder's style and editing tools.
How to Access the Website Builder Dashboard
- Log in to your Customer Portal.
- Click Websites on the left-hand menu.
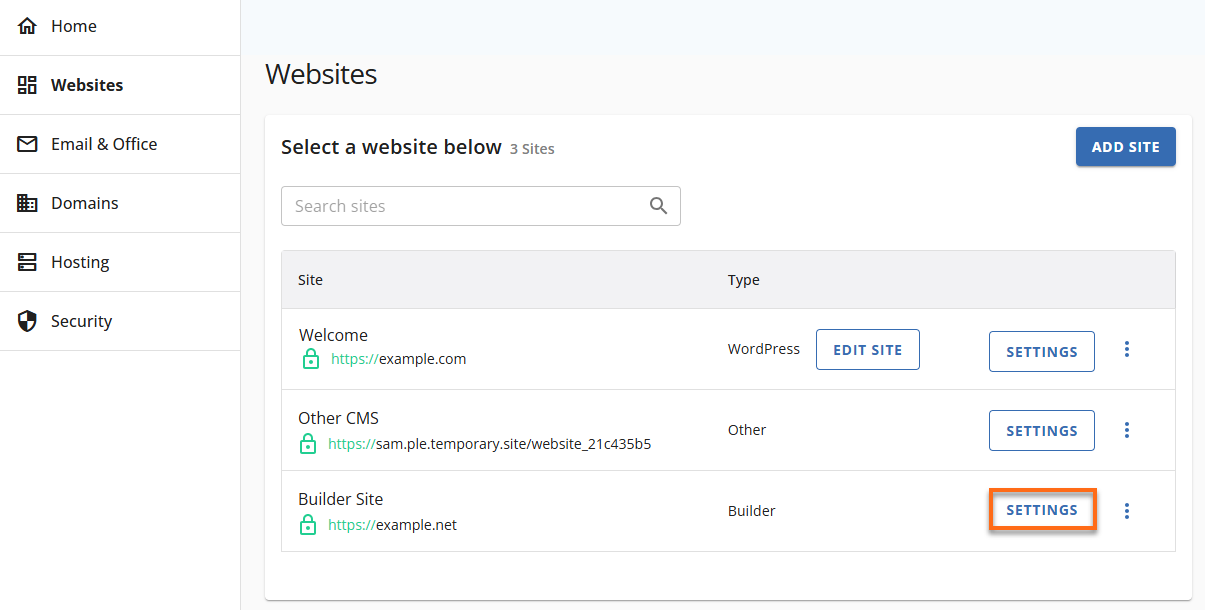
- Locate your Website Builder site and click its Manage Site button.
- Click the SiteBuilder Login button in the upper-right pane.

- The Website Builder dashboard will open in a new tab.
Website Builder Style and Editing Tools
The Website Builder's basic style tools include the following options:
Adding and Editing Images
To add individual images to your site one at a time or in groups:
- Click the + Elements tab on the left menu.
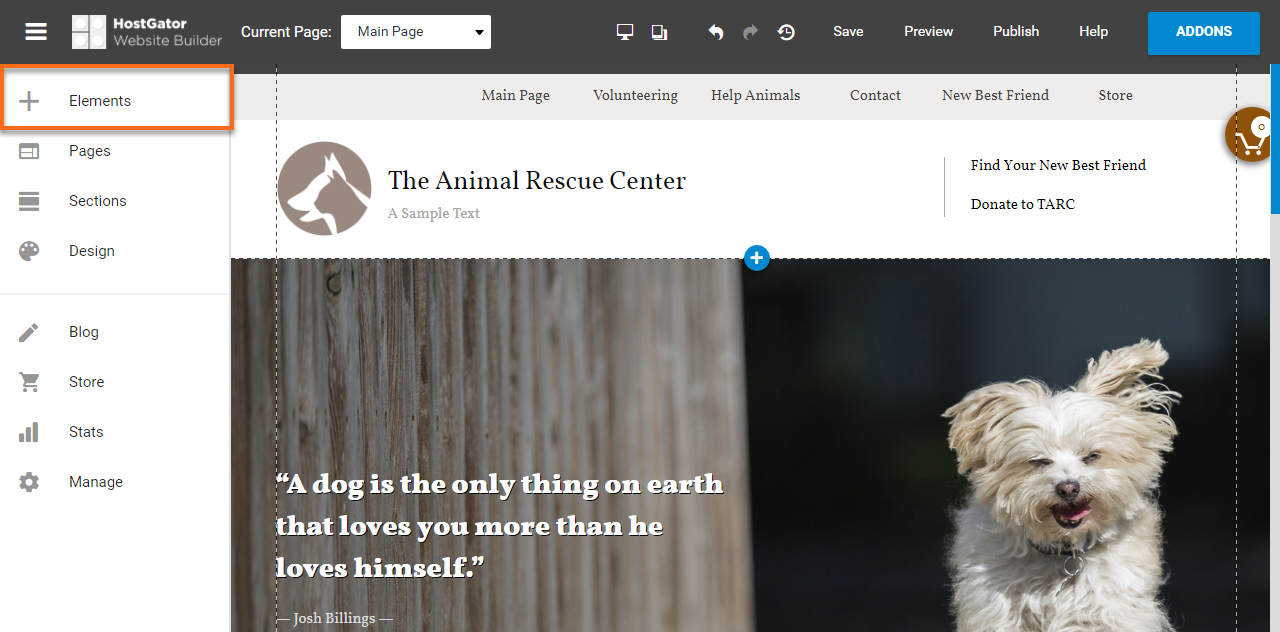
- Select the Image icon under Images.

- From here, you will be able to select images to add via the following methods:
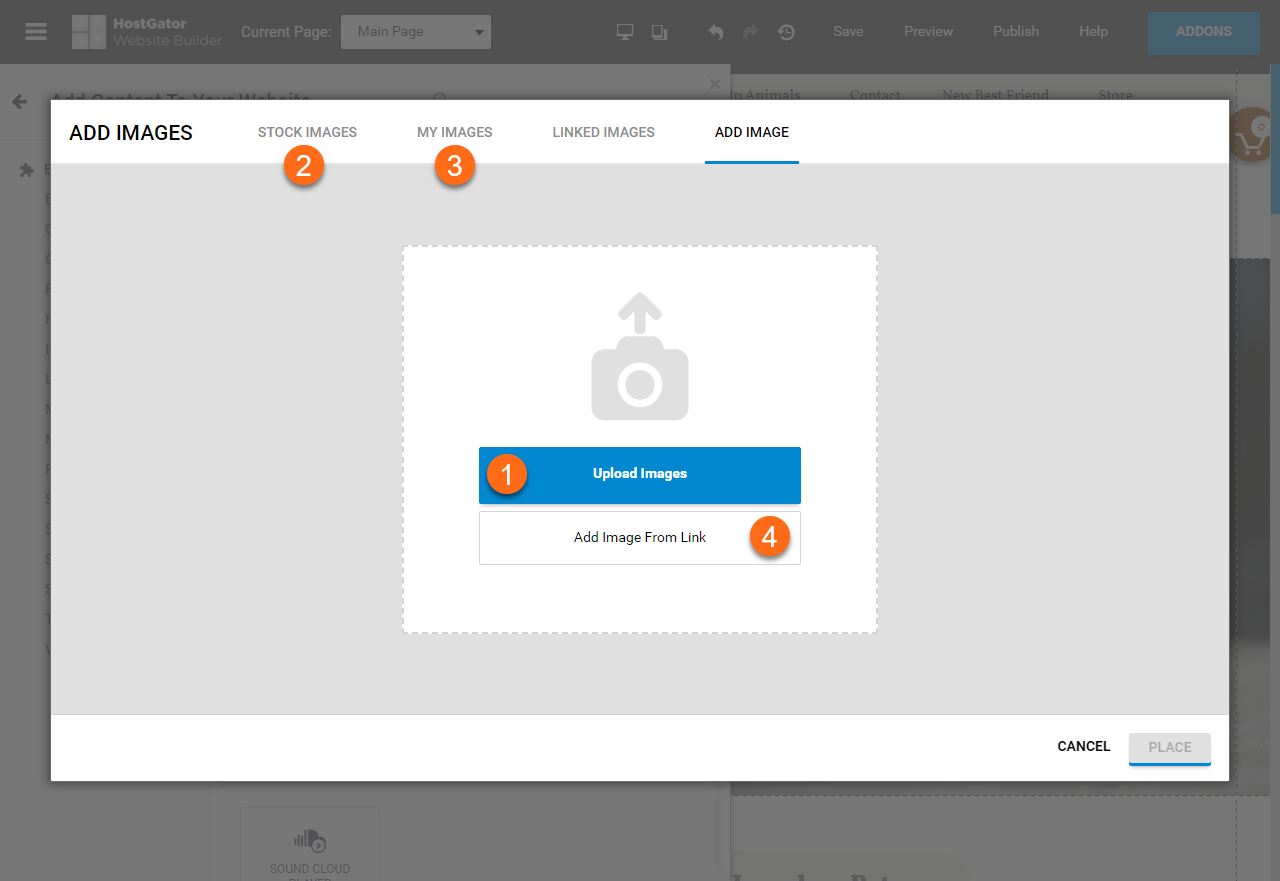
- Upload an Image(s) from your local computer.
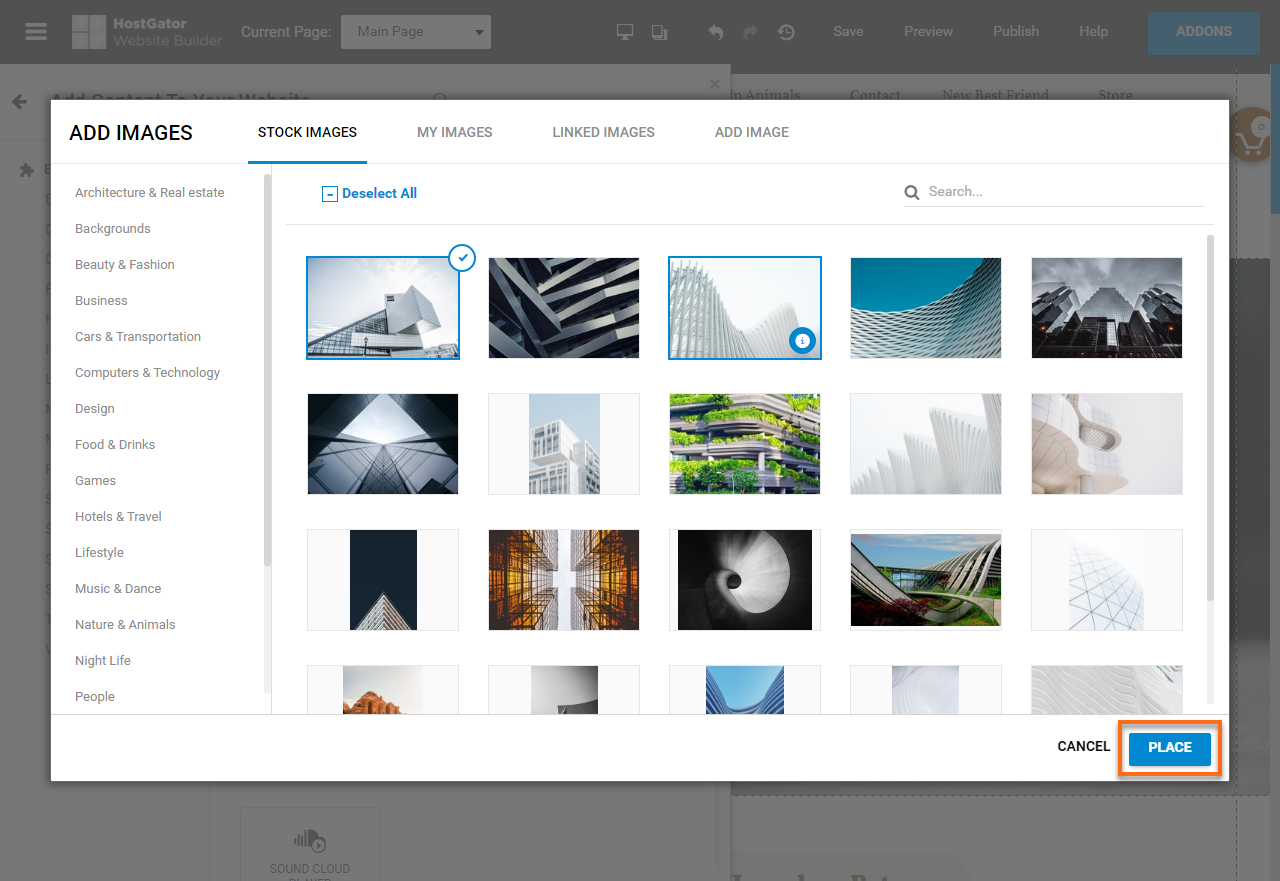
- Select an image from the HostGator image library.
- Select an image from your image upload history.
- Add an image using an external URL.
- Click the Place button to add the selected image(s) to your site.
If you selected multiple images, they would be added stacked on top of each other. All images will need to be moved and arranged to your desired size, location, and rotation after being added.
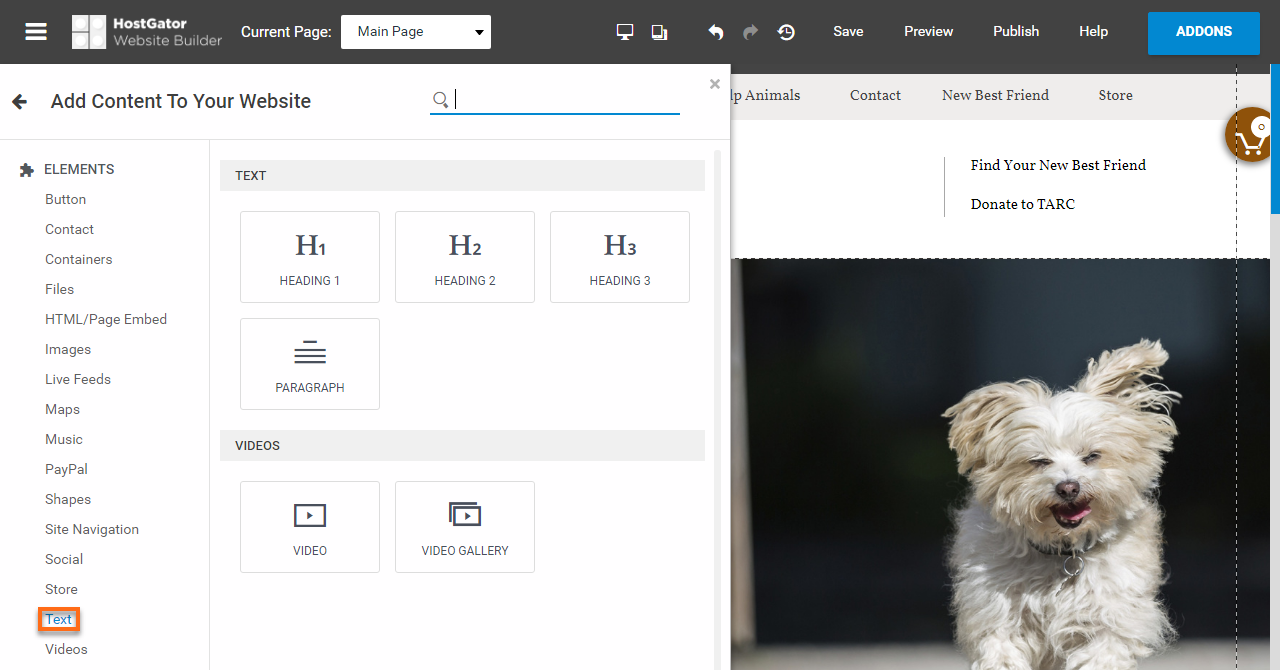
Adding and Editing Text
When adding text to your site, you can choose to do so as a heading (sizes 1, 2, or 3) or as paragraphs. To insert text for your site:
- Click the + Elements tab on the left menu.
- Select Text, then click the icon for the type of text you wish to add.
- You will then click to place the text in the desired location.
- After the text is placed, you will then edit its contents by clicking on the selected text.
If you select to add a paragraph, you may resize the text to fit the space you wish and type multiple paragraphs.
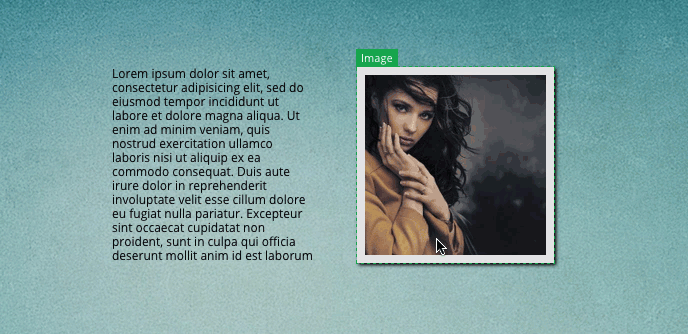
Editing Existing Elements
Each element has its own unique context-sensitive element menu that you can edit by clicking on the desired element. The default position for this menu is on the right-hand side of your screen.
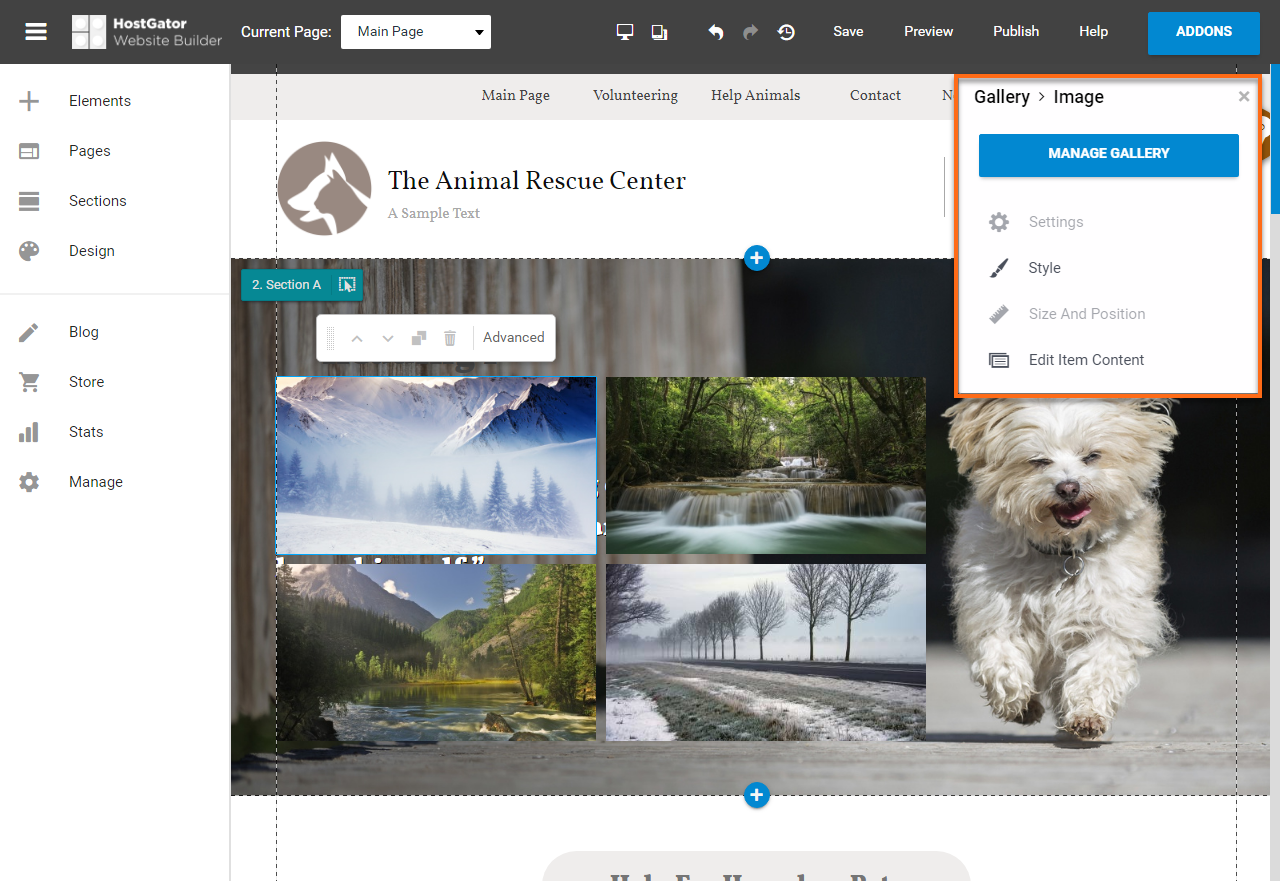
This menu will let you fully modify any element you have added to your page.
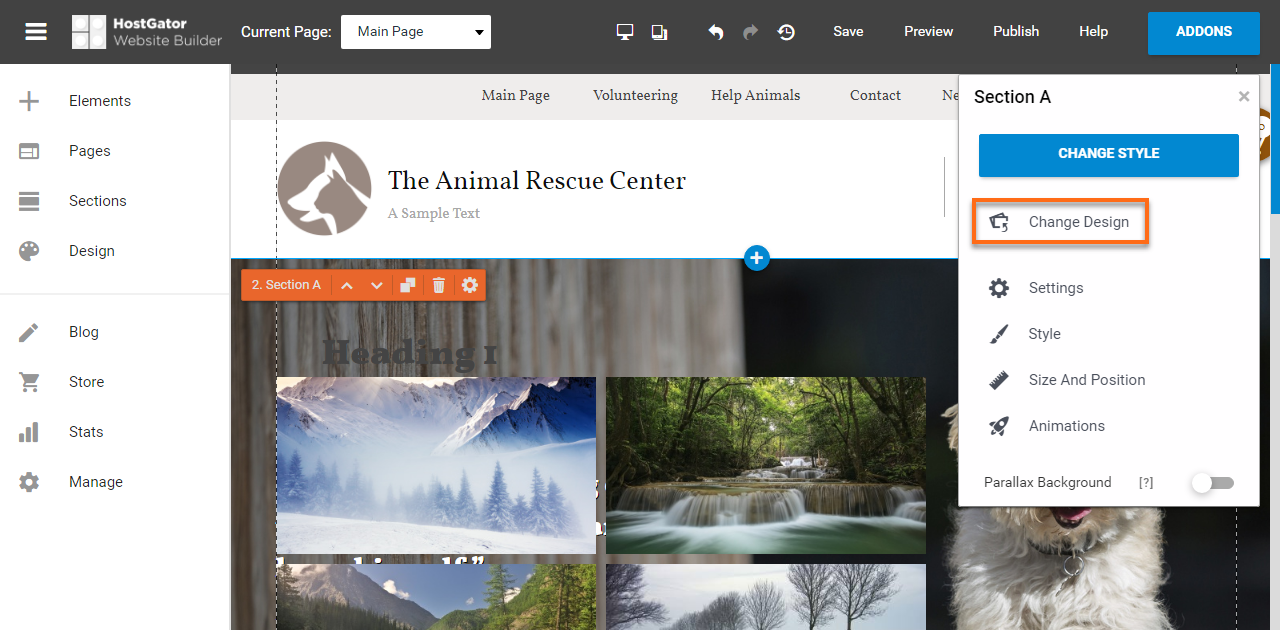
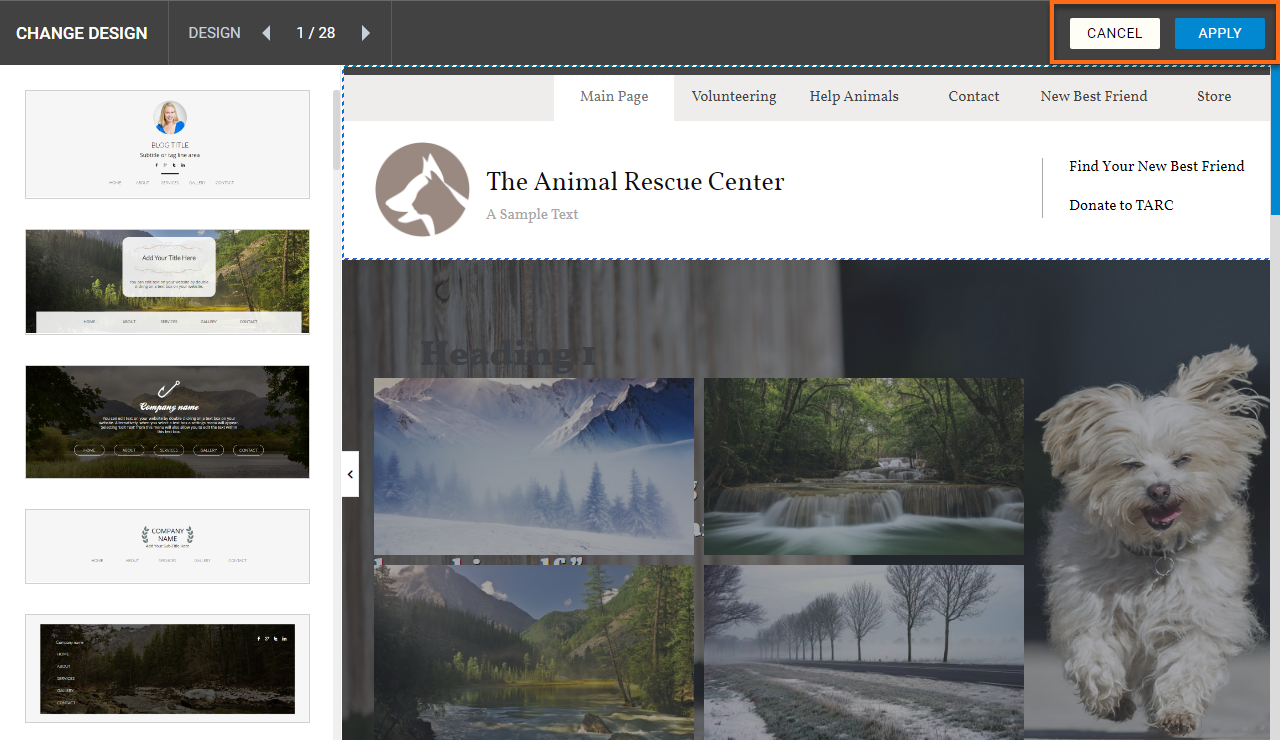
Preconfigured Element Designs
Page elements have many options that can frequently be very confusing. To help with this, HostGator Website Builder includes preconfigured designs for some elements. This will let you select a configuration that matches your preferred page design without manual configuration.
To select a preconfigured design:
- Click on the element you wish to re-design.
- In the element menu, select Change Design.
- From the left-hand menu, select from the design options available to you for a live preview of the changes.
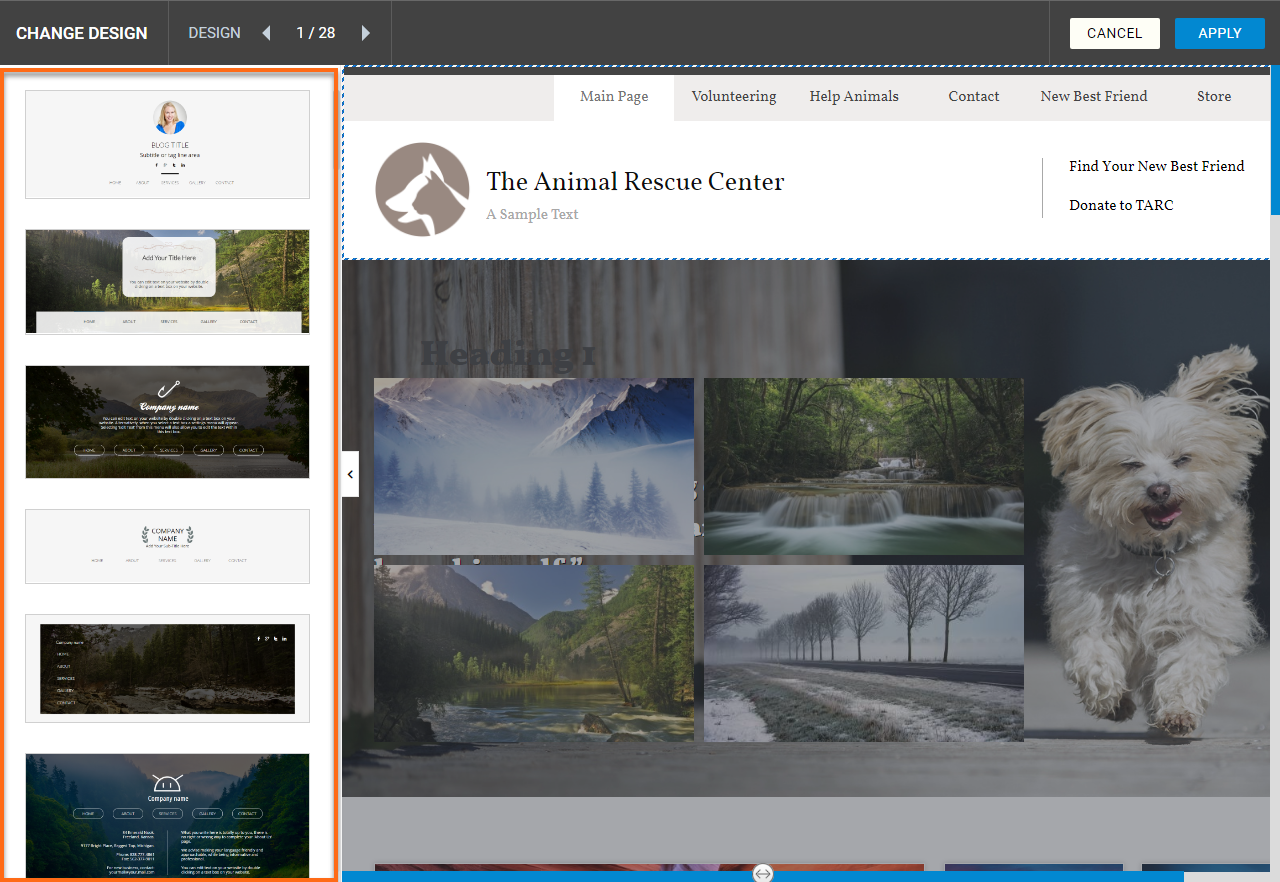
- In the upper right-hand corner of the screen, click the Apply button to save your changes or Cancel to discard the design changes.
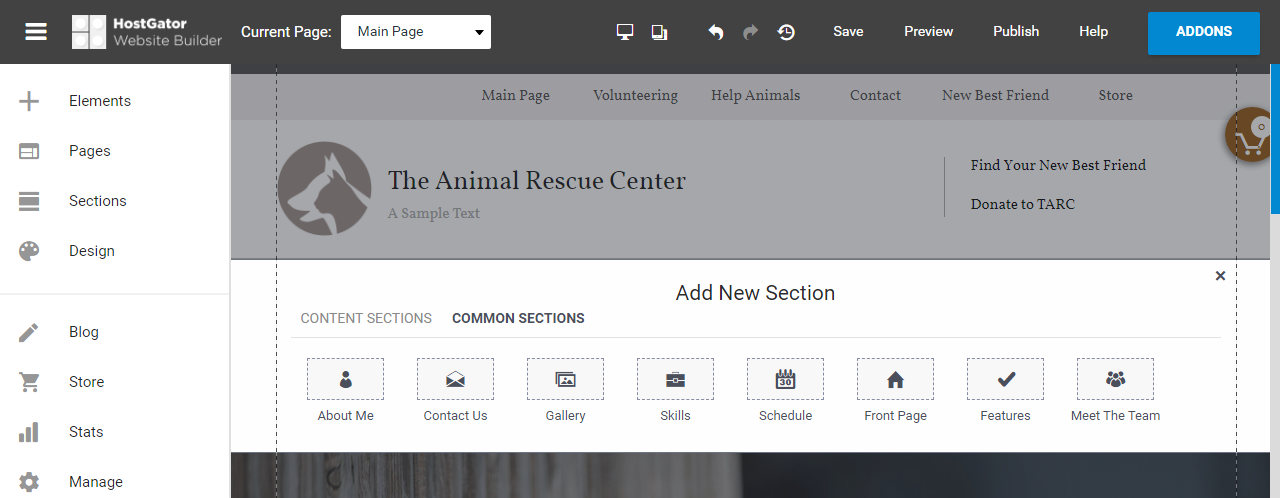
Changing Page Size
To change your page size, each section is denoted by a horizontal gridline with a plus icon in the middle of it; this line can be clicked and dragged upwards or downwards to extend or decrease the section height.
However, if you are looking to input a whole new section of content on your site, we recommend clicking the plus icon. This will very neatly insert a new section where the gridline resides; not only is the section created, but there are a ton of layout options available for different types of content.
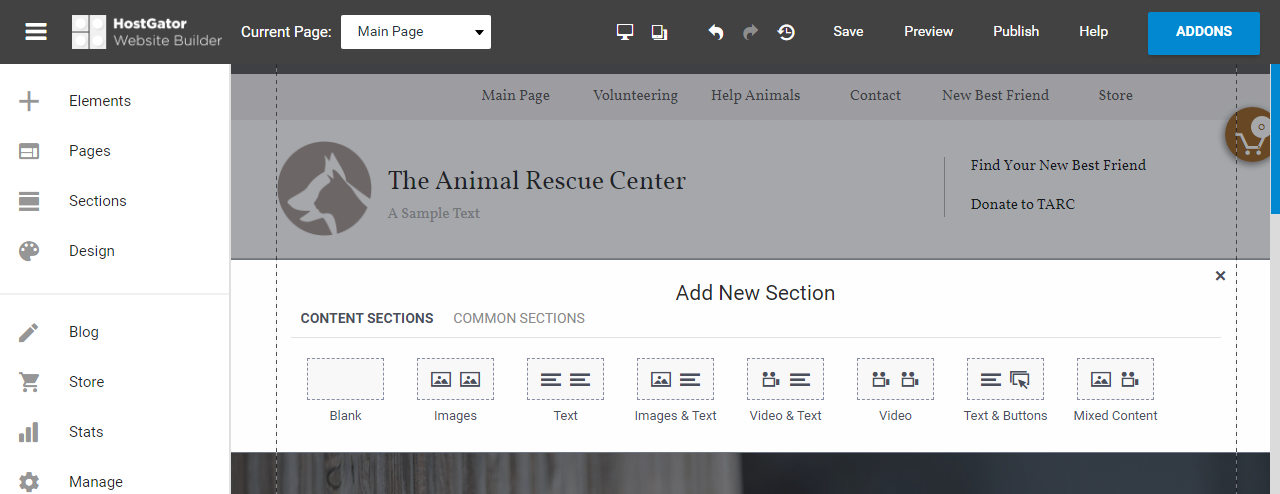
As seen above, there are a number of content sections that, when clicked, provide a few different layout defaults for you to work with. These layouts translate brilliantly into mobile view, so they are well worth using. In the image above, notice two section options: Content Sections and Common Sections; the latter is great if you require inspiration. There are section defaults for 'About Me' sections, 'Contact Us' sections, 'Features' sections, and much more.
Rotating Elements
- Select the element that you want to rotate.
- Click and hold the Rotate button next to the element's top right corner.
- Rotate the element to the desired position and release the rotate button.
- Rotation can be canceled by clicking the small 'X,' which appears on the rotate button after altering the image.
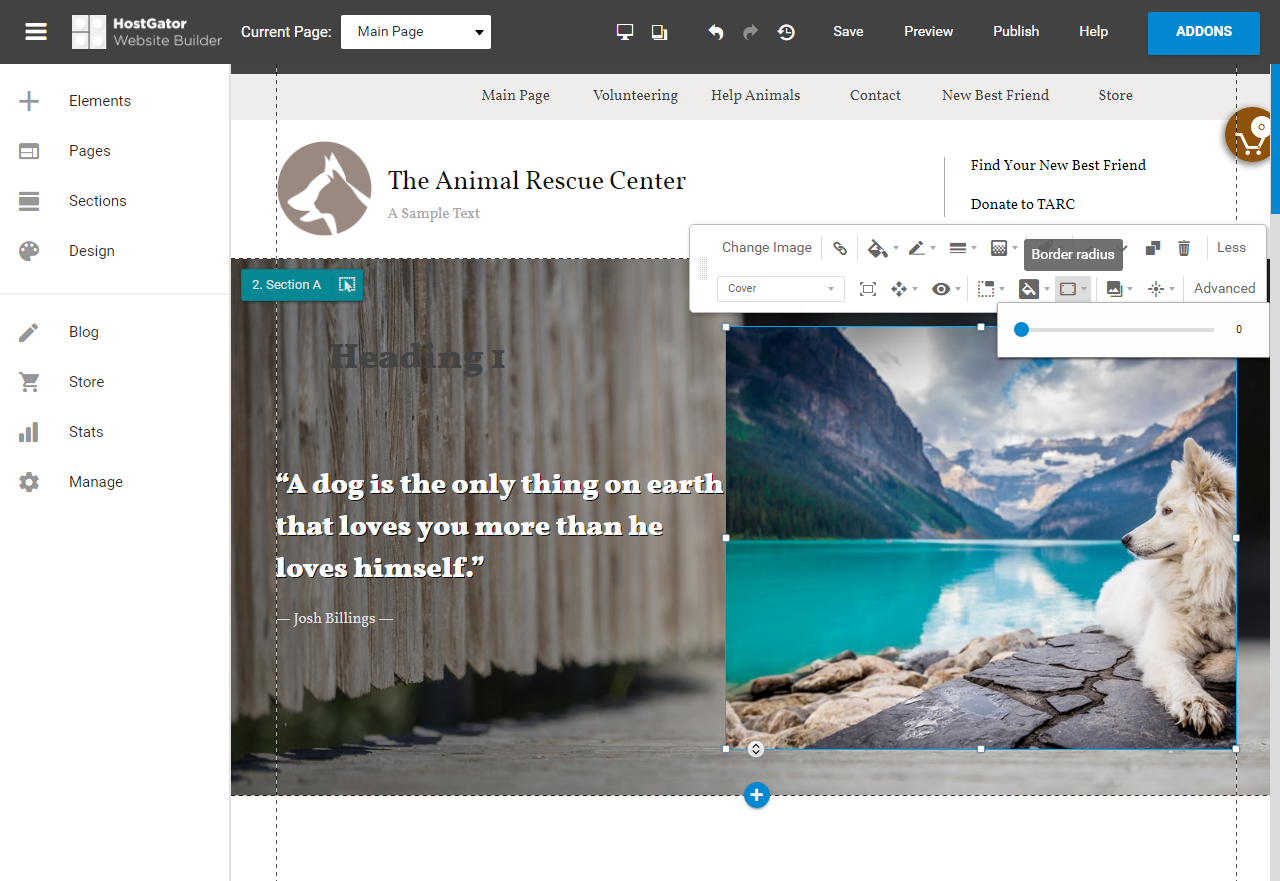
Rounding the Corners of an Element
To round the corners of an element, you have imported it into the HostGator Website Builder:
- Select the element on which you want to edit the corner roundness.
- Click More to see other options for editing the element.
- Click Border radius to adjust the corner.
Scaling/Resizing an Element
There are two ways to change the size of an element in the HostGator Website Builder editor: scaling or resizing. Scaling lets you change the size of an element while maintaining its proportions (aspect ratio), and it also affects all of the components of complex elements, such as galleries and tab panels. Resizing changes the element's frame size and will only maintain the element's proportions if the shift key is held down while resizing. Additionally, resizing does not always affect the components of complex elements, depending on the settings chosen, such as having disabled Scale To Frame.
To resize, select the element you wish to adjust and drag the handles on the element frames until you have reached the desired size. Holding down the shift key while doing so will keep the element's proportions.