Website Builder - How to Link an Image to Your URL When Shared on Social Media
Sharing your website on your social network pages is one way of advertising your brand. How about adding an image preview to that website link? That will give that "visual kick" and entice those on social media to visit because of how your website looks and makes people wonder what you're offering. It will boost traffic and attract potential customers to your website and social media.
This article discusses how to share images of your Website Builder site on social media, such as Facebook, by using HTML meta tags.
Please click the links below for more information.
Step 1: Get your image URL
The first step is to decide what image you want to use as the "preview" or "thumbnail" for your website. You do not need to stress yourself about it. Just think of what "vibe" you want your customers to "see" and "feel" when they first see your website link on social media. Remember, visual cues play a big part in attracting website visitors, so there is no pressure!
Here are some tips!
- Your image size matters in setting up meta tags. The recommended minimum dimension of the image is 200 x 200 pixels.
- The recommended image file size must not exceed 8 MB.
More information about image requirements can be found in this external documentation. Please note that this external documentation is provided for reference only. The information in this document may change, and HostGator has no control over these changes.
For the full list of image properties, please visit this external document.
You need to get the image URL if you want to use an existing image from your Website Builder site.
To get the image URL:
- Open your website in a browser.
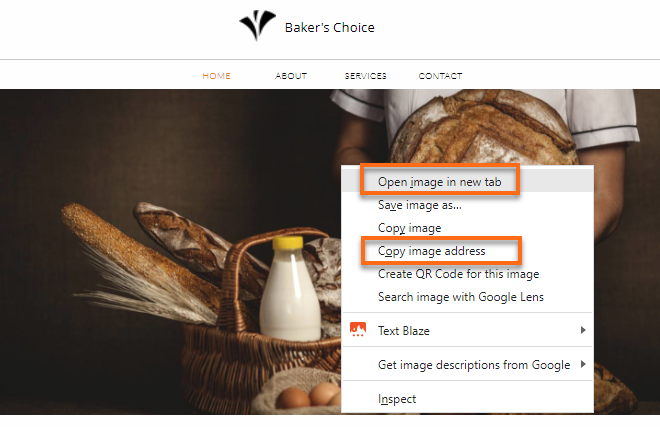
- Hover your mouse over the image.
- For Mac users, hold down the CTRL key, then click on the image. Choose Copy Image Address from the list of options.
- For PC users, do a right-click. You can either select Copy image address to copy the complete image URL or Open the image in a new tab to view the image in a new tab.
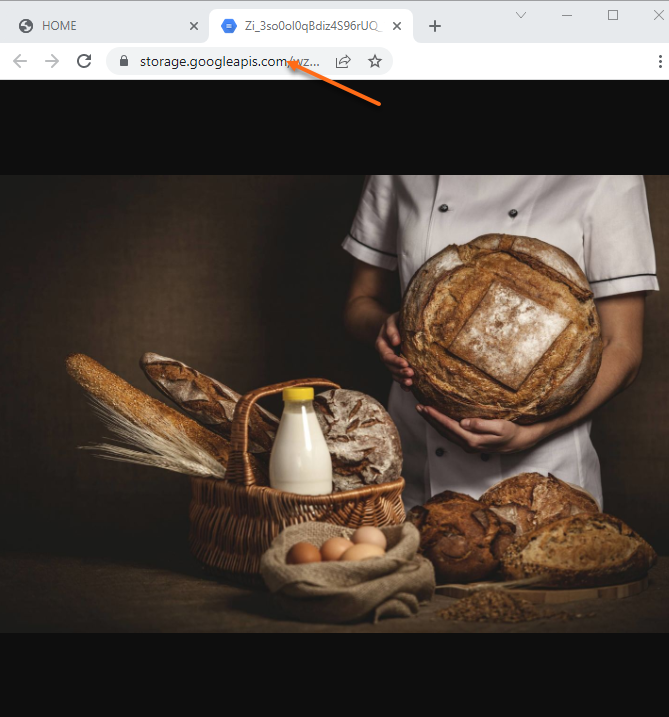
- A new tab will open. Copy the image URL from your browser's address bar. File types of image URLs typically end in .jpg or .png.
Step 2: Set up HTML meta tag
Now that you have your image URL, we will add an HTML meta tag to your Website Builder site.
- Log in to your Customer Portal.
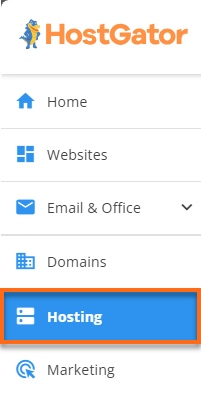
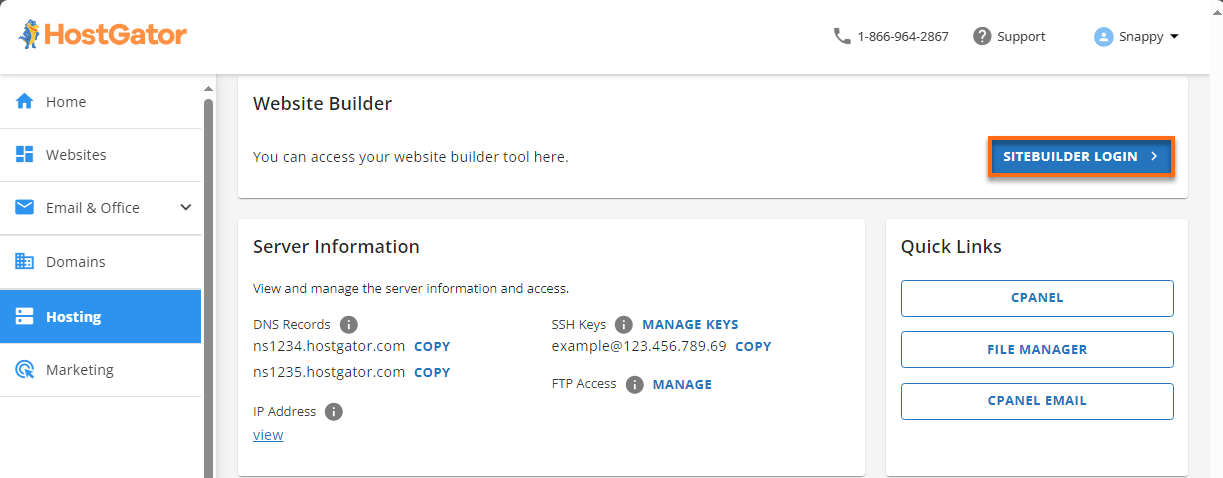
- Click the Hosting tab in the left-side menu.
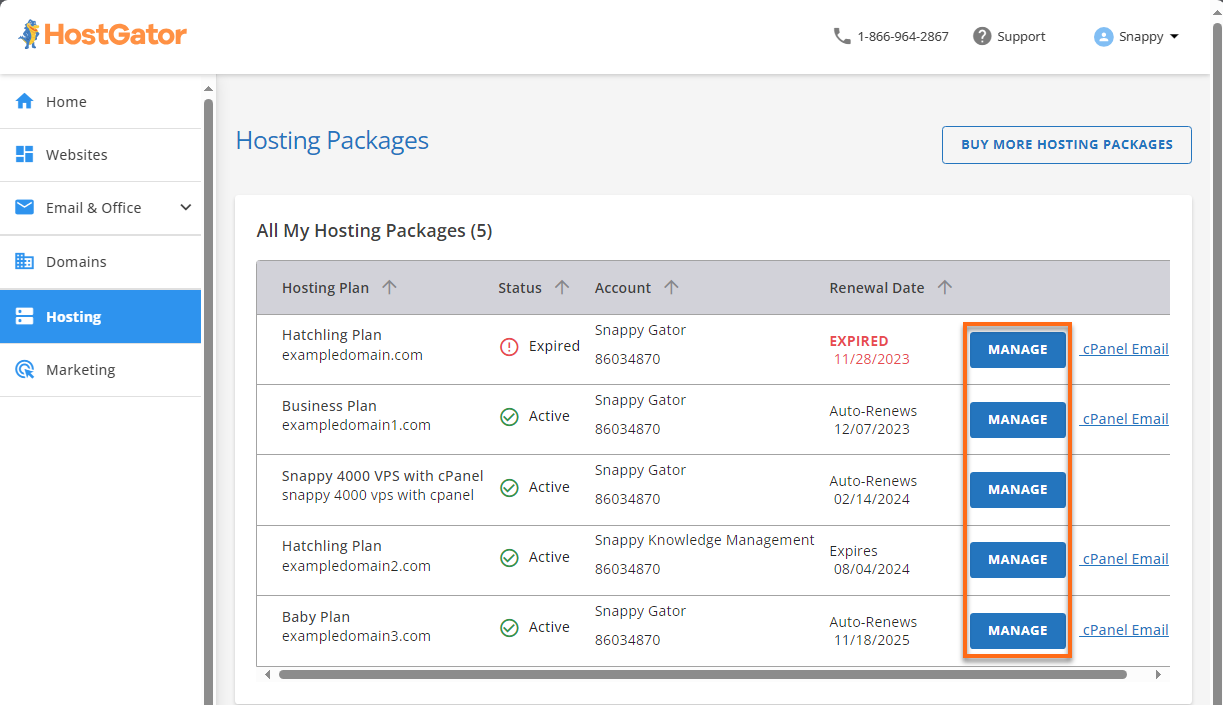
- If you have one hosting package in your account, proceed to step 3.
- If your account has multiple hosting packages, choose the plan you want access to, then click Manage.
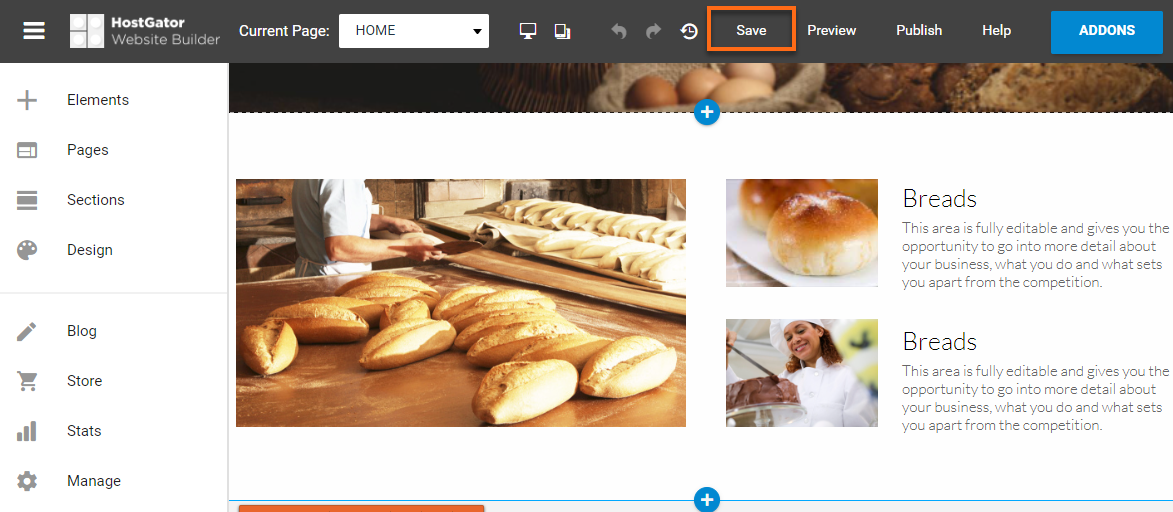
- Scroll down to the Website Builder section and click the Sitebuilder Login.
- Once the Website Builder dashboard loads, hover your mouse to the website you want to edit and click Edit.
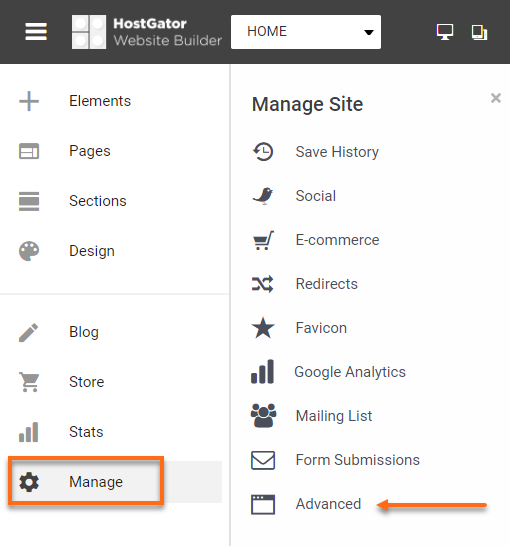
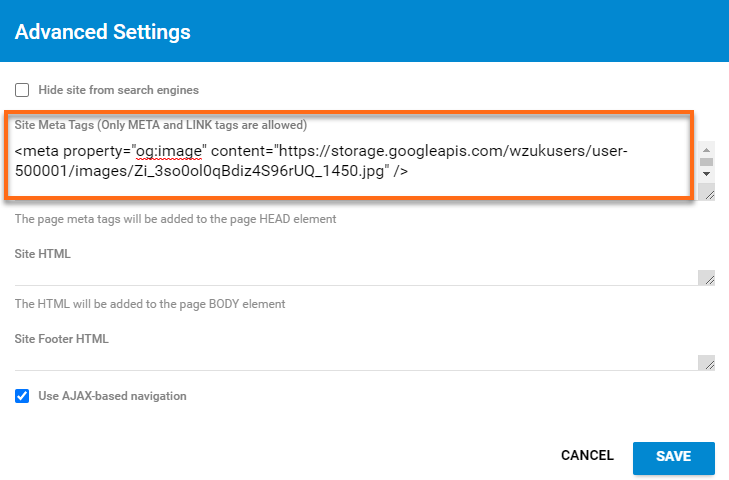
- In the Advanced Settings pop-up window, enter the meta tag with your image URL from Step 1 in the Site Meta Tags (Only Meta and LINKS are allowed) field using the following format:
<meta property="og:image" content="https://yourimageurl.jpg" />
Please replace "yourimageurl.jpg" with your image URL from Step 1.
 Setting Social Media Title
With this method, your website image preview or thumbnail will show your site's default landing page as the website title.
Though this is optional, you may want to update the Title of your site using the meta tags, too.
To update your site title using the meta tags:
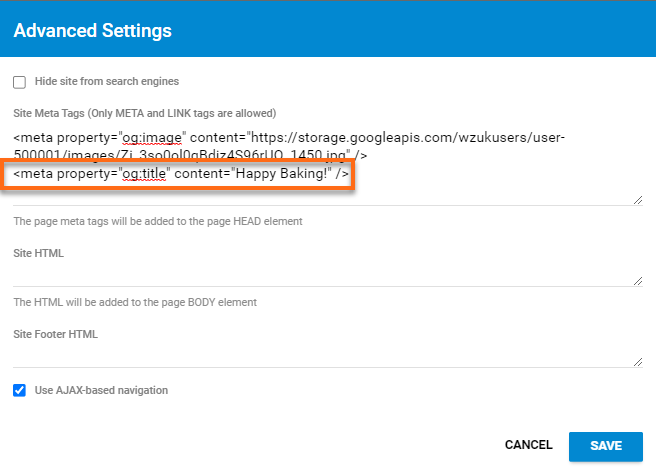
- Enter the following line in the Site Meta Tags field:
<meta property="og:title" content="Happy Baking!" />
Please replace "Happy Baking!" with your preferred website title.
- Enter the following line in the Site Meta Tags field:
- Once done, click Save.
- Back to the main dashboard, click Save at the top menu.
- Once done saving, click Publish.

Now that you're done adding meta tags to your Website Builder site let's get that website crawlers working!
Step 3: Use a meta tag generator
The next step is to preview how your content will look when shared on social media. For the example below, we will use a meta tag generator tool for Facebook. You can also search other metatag generators for different social media pages online.
- Access https://developers.facebook.com/tools/debug/sharing/ on your browser. You may need to log in to your Facebook account to access this tool.
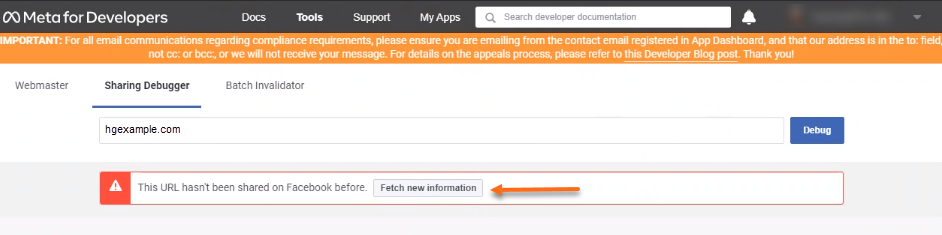
- Under the Sharing Debugger tab, enter your website name in the text box, then click Debug.

- You may get a notification: "This URL hasn't been shared on Facebook before." Click the Fetch new information button to proceed.
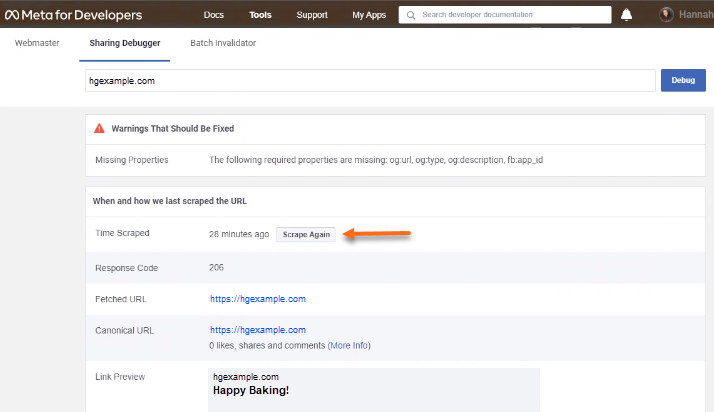
- Your website metadata will be displayed. Scroll down to find the meta tags that Facebook scraped and stored to create your Link Preview.
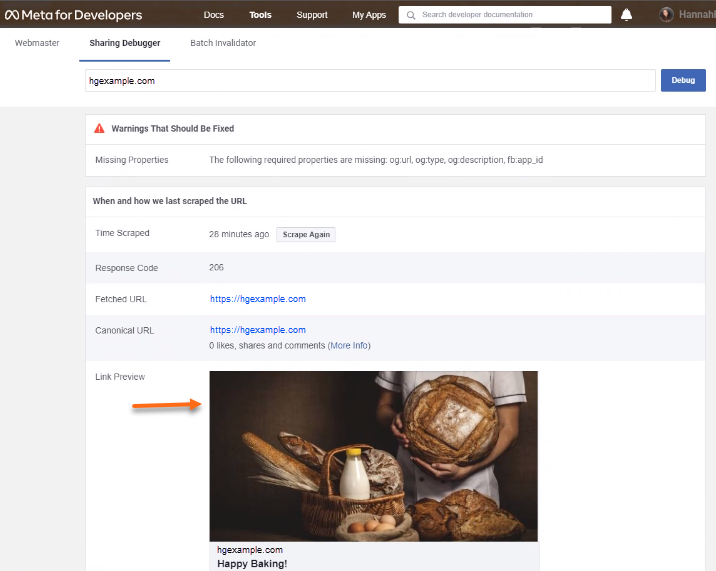
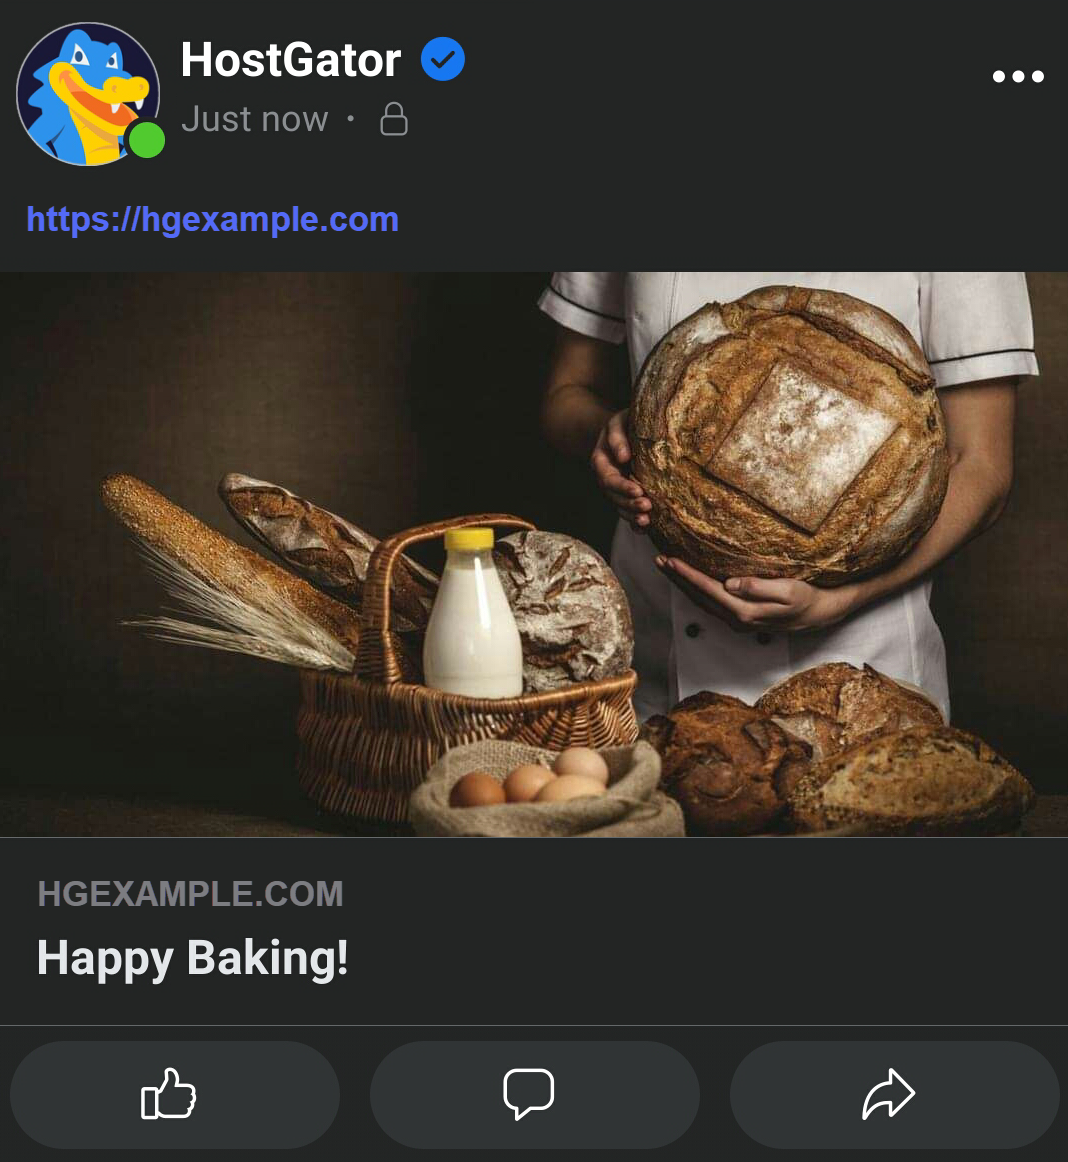
- The Link Preview should show your website's image preview. Sharing the URL to Facebook should also display the correct image.
- If Link Preview still does not show the image you've put into the meta tags in Step 2, click the Scrape Again button in the Time Scraped section. Facebook caches the metadata for your webpage. To see the update on your site, you need to "tell" Facebook to recrawl by clicking the Scrape Again button. (You may need to hit that button a couple of times. Breathe, then scrape again!)
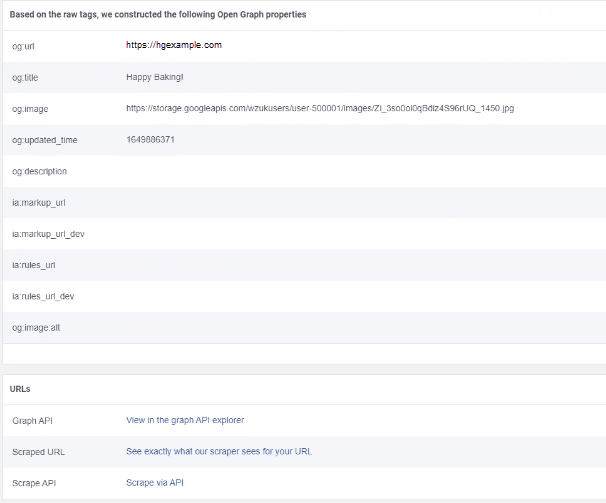
- The OG properties metatags, such as the website URL (of:URL), website title (of:header), and image URL (of:image), will be displayed below the page.
If everything displays as you'd like, post your website on social media!