Knowledge Base
Categories: Plesk Client Side
How to Create and Manage User Roles - Plesk
You can configure how much access each type of user has on your hosting subscription. Follow these steps to do, create, and manage User Roles:
Note: This example uses Plesk 18; however, the steps will be the same for other versions of Plesk.
- Log in to your Plesk account.
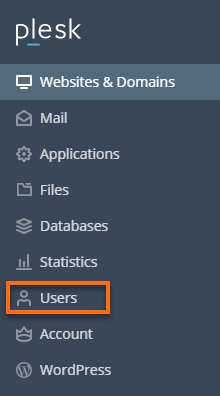
- Click on the Users from the left-hand menu.
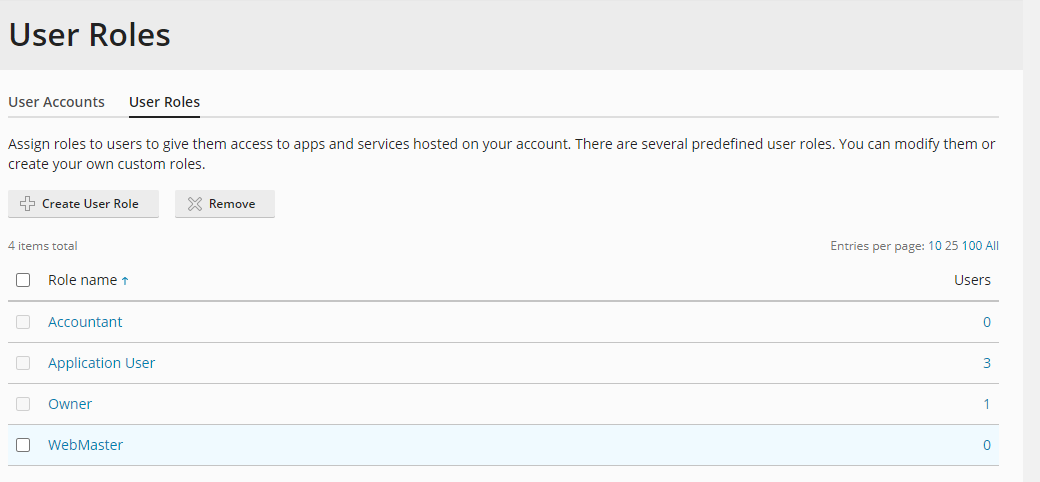
- Click on the User Roles tab.
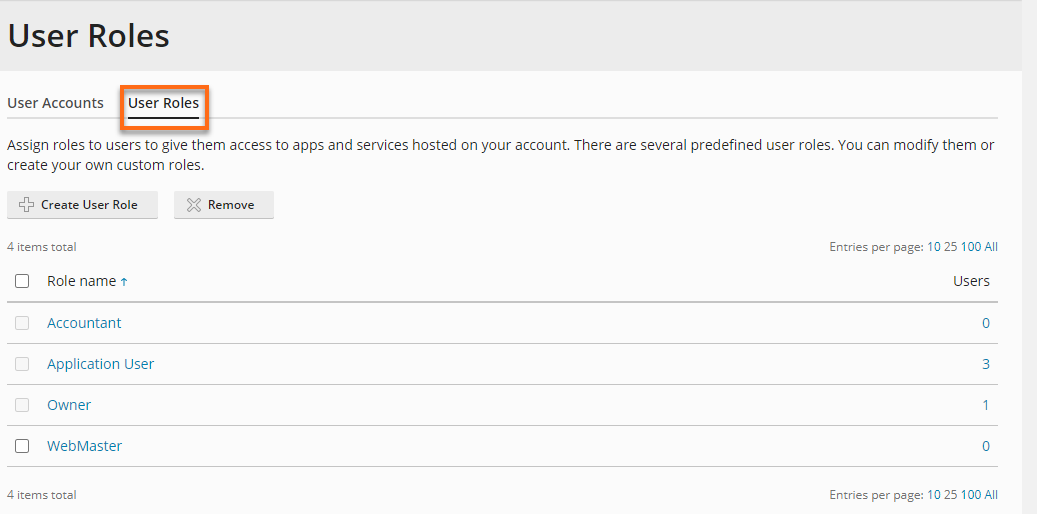
You will see predefined user roles that are created by Plesk automatically. You can modify them or opt to create your own. Here is a quick overview of what these predefined roles are:
- Owner - User with full access to all settings and server management functions.
- WebMaster - The user can manage most assigned subscriptions like creating new websites and configuring DNS records, mail, and FTP. This role does not allow the user to create a new Plesk user or manage roles.
- Application User - User with limited access.
- Accountant - User with the most limited access in Plesk. This role allows users to view details of the subscriptions only to which they were given access, but they are unable to modify any settings at all.
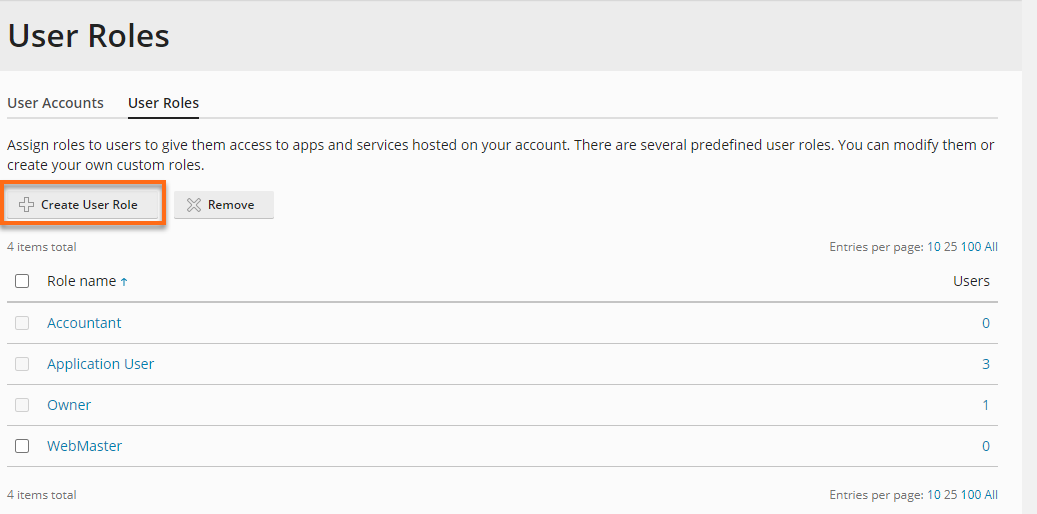
- To create your own, click on the Create User Role button.
- In the text box labeled User role name, type in the role name under the General headings.
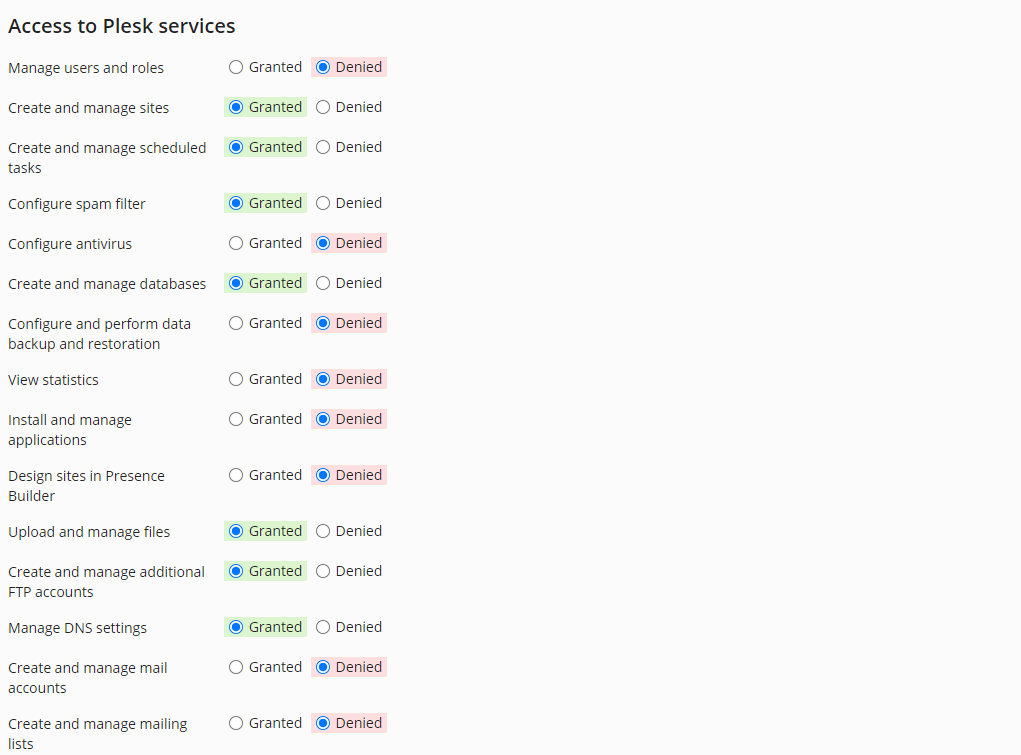
- Under the Access to Plesk Services section, you can select the permissions you can grant or deny the user.
- Once completed, please press the OK button.
Now, you will see the new role under the list, and it is ready to use!
If you want to manage or edit User Roles, please do the following:
- In the list of user roles, select the role name to edit the permissions.
- Under the Access to Plesk Services section, select the permissions you want to grant or deny the user.
- Once completed, press the OK button.
Did you find this article helpful?