GoDaddy Private Name Servers
This article will assist you with making the changes detailed in step one of the following article series for domains registered at GoDaddy:
It is recommended that you familiarize yourself with the process outlined in the above article series before proceeding with the steps below.
To add the custom hostnames:
- Log in to your GoDaddy Account Manager.
- In the Domain Manager, select the domain you wish to modify.
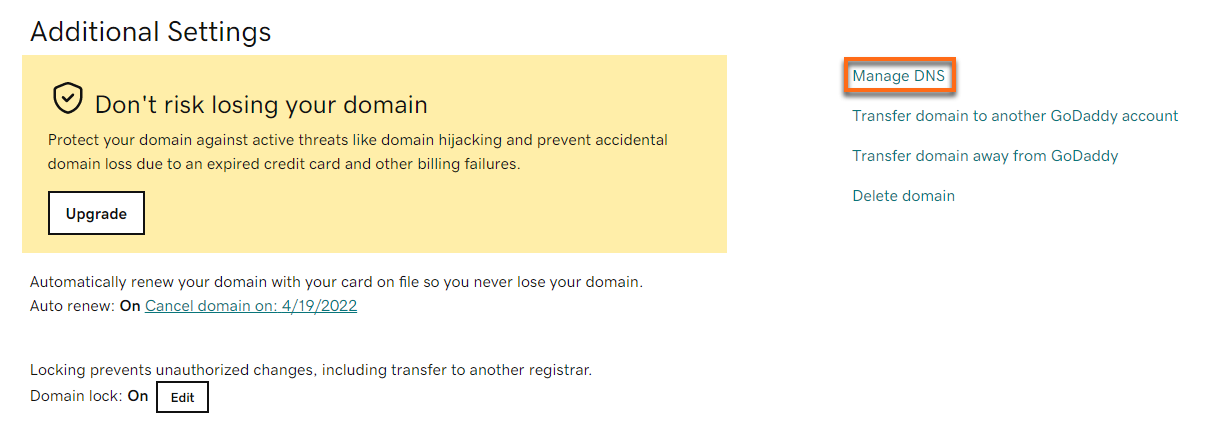
- Scroll down to Additional Settings, then click Manage DNS.
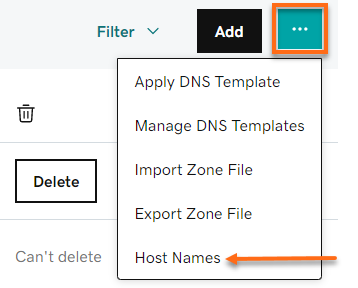
- Click the Options menu (...) and select Host Names.
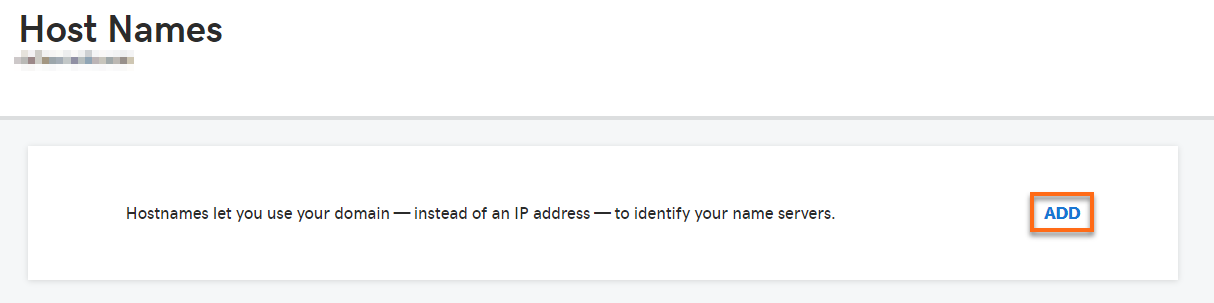
- On the next page, click the Add button.
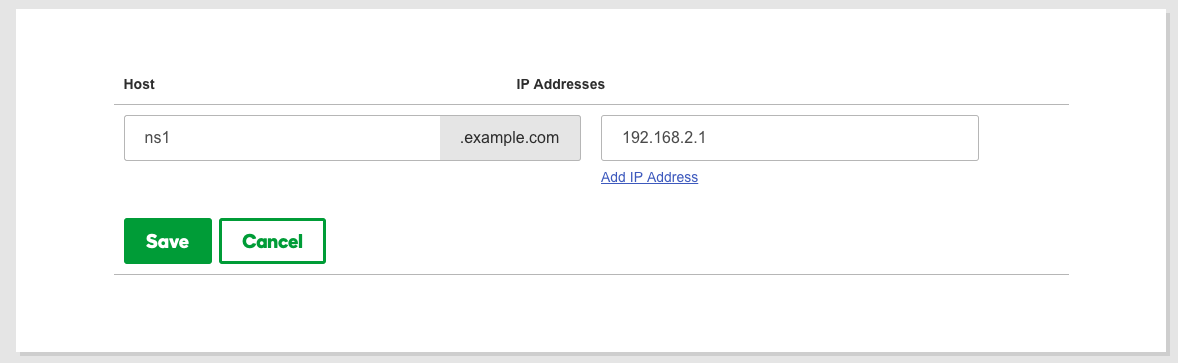
- Using the information you gathered from your HostGator Welcome email or Customer Portal, enter these details in the Host and IP Address fields.
- For the Host, input ns1.
- For the IP Address, input your primary IP address.
- Click Save.
- Repeat steps 6 and 7 for the second private name server. Ensure to replace host ns1 with ns2 for the second hostname.
Please make sure not to interchange the IP addresses of the hostnames, ns1, and ns2. ns1 should use the primary IP address, and ns2 should use the secondary IP address.
What's next?
GoDaddy may take up to 48 hours to register your updates and make them usable; however, for .com and .net domains, the time is typically 4 to 8 hours due to propagation. This delay applies to all domains with any registrar, not just GoDaddy.
Once successfully registered, you can set all of your domain names to use the private name servers you registered.
Please reach out to GoDaddy's support team for assistance in logging in or navigating your GoDaddy account.