Knowledge Base
Categories: Plesk Administration
How to Create a Web Hosting Account in Plesk
To set up your first website in Plesk web hosting, you must create a customer account that will host your domain. While you can create websites using the Plesk administrator account (as done in Power User mode), this limits future flexibility—especially when adding more domains or migrating the domain to another server.
- Log in to Plesk Administrator.
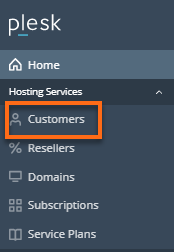
- Click on the Customers tab in the left navigation bar.
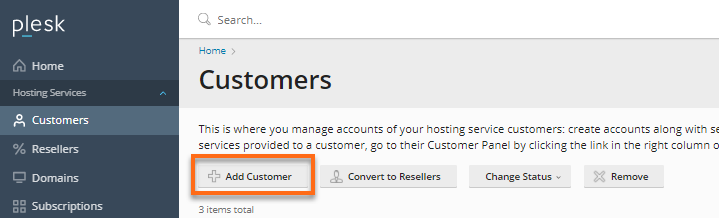
- Click on + Add Customer.
- Enter a contact name and email address in the Contact Information section of the form.
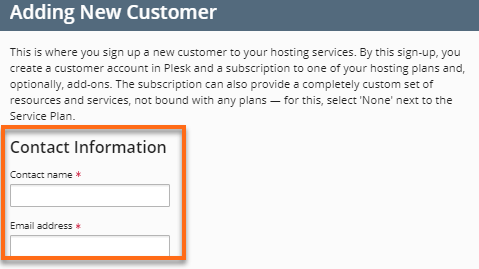
Note: Ensure the email address is different from the one the administrator account is using, or you will get an error. The other fields in this area are optional, but they will make SSL certificate generation easier later on.
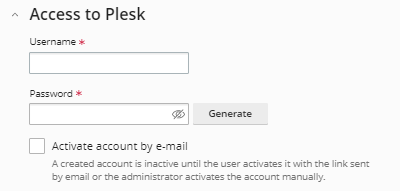
- In the Access to Panel section, enter the username and password you would like to use to manage the customer account. It is strongly suggested that you choose a different password than the one you chose for the admin account and that you use this account whenever you have changes to make to your domains.
- At this point, you can choose whether to create a subscription for the customer account immediately or wait until later when you log in as the new user. Since we are setting up web hosting now, leave the Create Subscription for the Customer checkbox checked and continue.
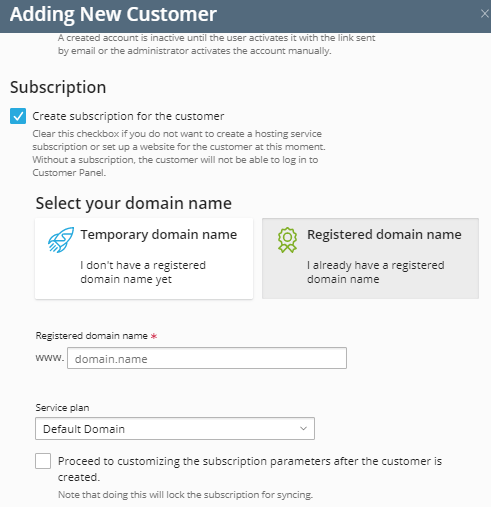
- In the Domain name box, type the domain name you want to host without the "
www" in front. You should already have this domain registered. The nameservers are delegated to your Plesk server at the registrar, so if you have not done that already, you should do it before continuing.
- In the Domain name box, type the domain name you want to host without the "
- In the Additional Subscription Settings page:
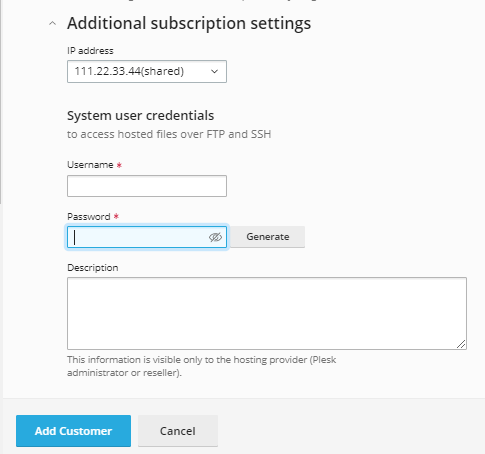
- The IP address you choose depends on whether you have other sites on the server and whether you will be using SSL. Since we plan to use SSL, we will need to use the dedicated IP. Choose that one and continue.
- There is a second username and password here that you will need to set. This Username and Password are for the FTP logins you will use to upload your site later on. You will need to select a different username and password from the Customer account here. This is a username and password you might give to a developer, making sure it is not one you use very often.
- Click on the Add Customer button.
NOTE: If your DNS settings are not correct for your domain, you will see a warning stating so at the top of the screen after creating it. You should fix this problem before proceeding any further!
Did you find this article helpful?