How to Create a Contact Form in Weebly
A contact form in Weebly provides your visitors with an easy and reliable way to reach out to you. You can request simple details like a visitor’s name and email address, or create a more advanced form—such as a Weebly survey form—to collect additional information.
The free basic version of Weebly includes a limit of five fields per form, while the Weebly Premium version allows unlimited fields. Regardless of whether you use the free or premium plan, you can still create as many Weebly forms as needed.
Create a contact form
To create a contact form in Weebly:
- In your Weebly dashboard, click the Build tab from the top menu.

- Drag the Contact Form element from the left-hand sidebar onto your page.

- The form starts with three fields, which are set as a default, meaning a visitor must enter something in the fields before the form can be submitted.
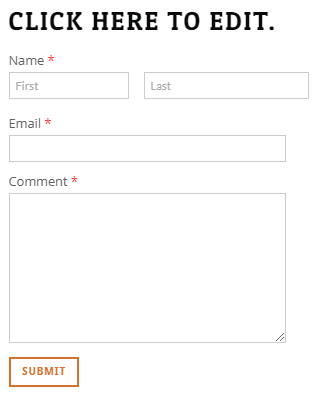
- Name
- Email address
- Comment
These fields must be completed before the form can be submitted.
Form settings
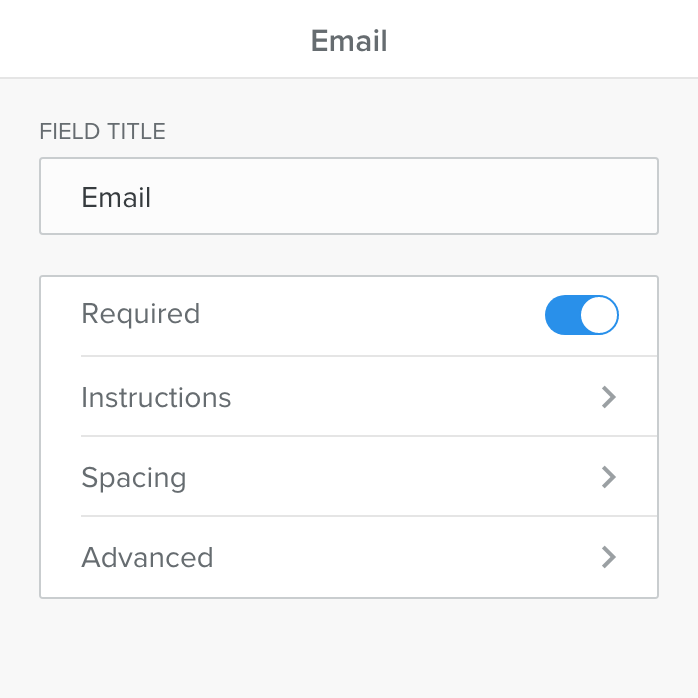
To customize your Weebly form settings, click any field and use the toolbar to make adjustments. Common settings you can modify include:
- Field Title - This is the name of the field.
- Required - This shows whether or not the field is required before submission.
- Instructions - This will allow you to specify instructions on how to fill out the field.
- Spacing - This allows you to set the top and bottom margins for the element.
Adding fields to your form
To add new Weebly form fields:
- Click on your contact form on your page.
- Once the form is selected, you will notice the Form Fields Elements from the left-side menu.
- Drag the element from the left side to your contact form, just like any other element.
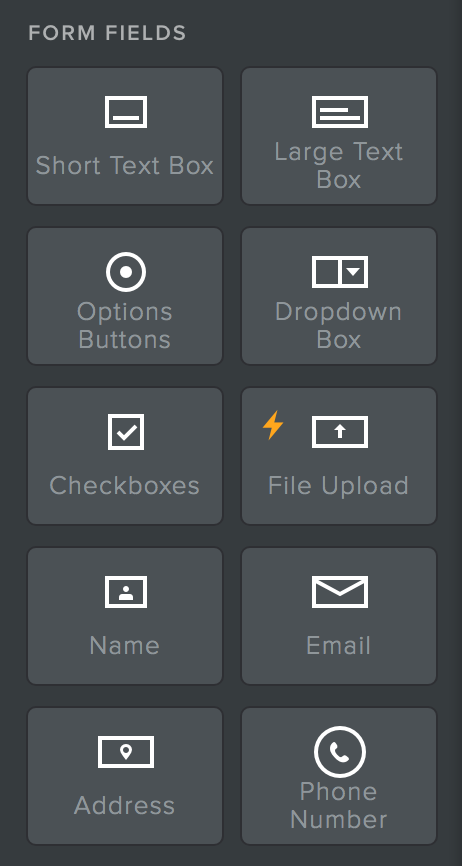
You can add preset fields such as:
- Name
- Email address
- Postal address
- Phone number
You can also insert generic input fields:
- Short Text Box
- Large Text Box
- Options Buttons
- Dropdown Box
- Checkboxes
- File Upload
These options allow you to fully customize your Weebly form builder experience.
Completing your form and getting results
Before publishing your site, configure the final settings for your Weebly contact form:
- Click the form element on your page.
- You will notice three tabs at the top of the form – View Entries, Form Options, and Save.
- Form Options – This is where you can name your form, add or remove an email address, create a captcha, enable or disable opt-in, and customize the spacing and buttons. If you have more than one email address, make sure you separate them with commas.
-
Confirmation Text – You'll also want to decide whether you want to display confirmation text directly on the page where the form is submitted or if you'd rather redirect your visitors to another page on your site when the form is submitted.
-
- View Entries – This is where you can view the submissions directly on Weebly. Once website visitors fill out your form, this section will display a list of their entries.
- Form Options – This is where you can name your form, add or remove an email address, create a captcha, enable or disable opt-in, and customize the spacing and buttons. If you have more than one email address, make sure you separate them with commas.
- Click Save when done.