Customer Portal - Custom Error Pages
When your website encounters an issue, visitors will see an error message. Each message is associated with its specific page and code related to the issue. While the web server automatically generates basic error pages, you can utilize the Custom Error Pages tool in your Customer Portal to create personalized error pages. These custom pages can be shown when a user inputs an incorrect URL, accesses an outdated URL, or is denied permission to enter a particular directory within your webspace.
This article will discuss how you can customize and reset your error pages in your HostGator Customer Portal.
How to Customize Error Pages
To access and view your error logs:
- Log in to your Customer Portal.
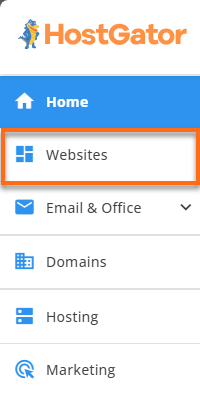
- Click Websites on the left-hand menu.
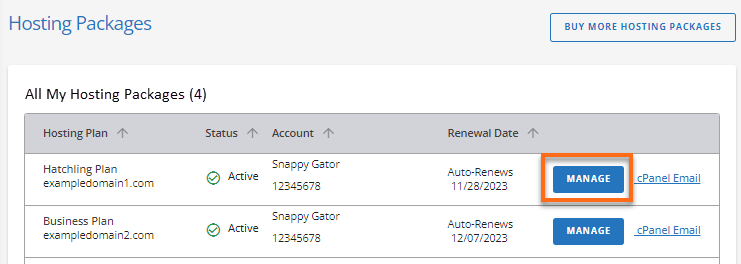
You can also click on the Hosting tab, locate the hosting package you need to manage, and then click its MANAGE button.
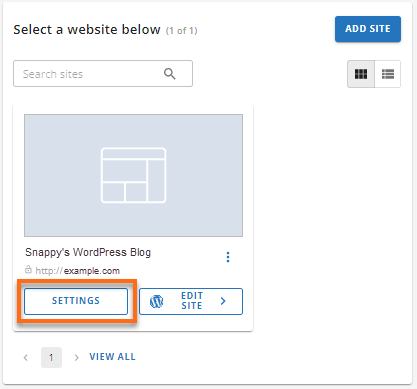
- Locate the website you need to manage and click its SETTINGS button.
- On the top menu, click the ADVANCED tab.

-
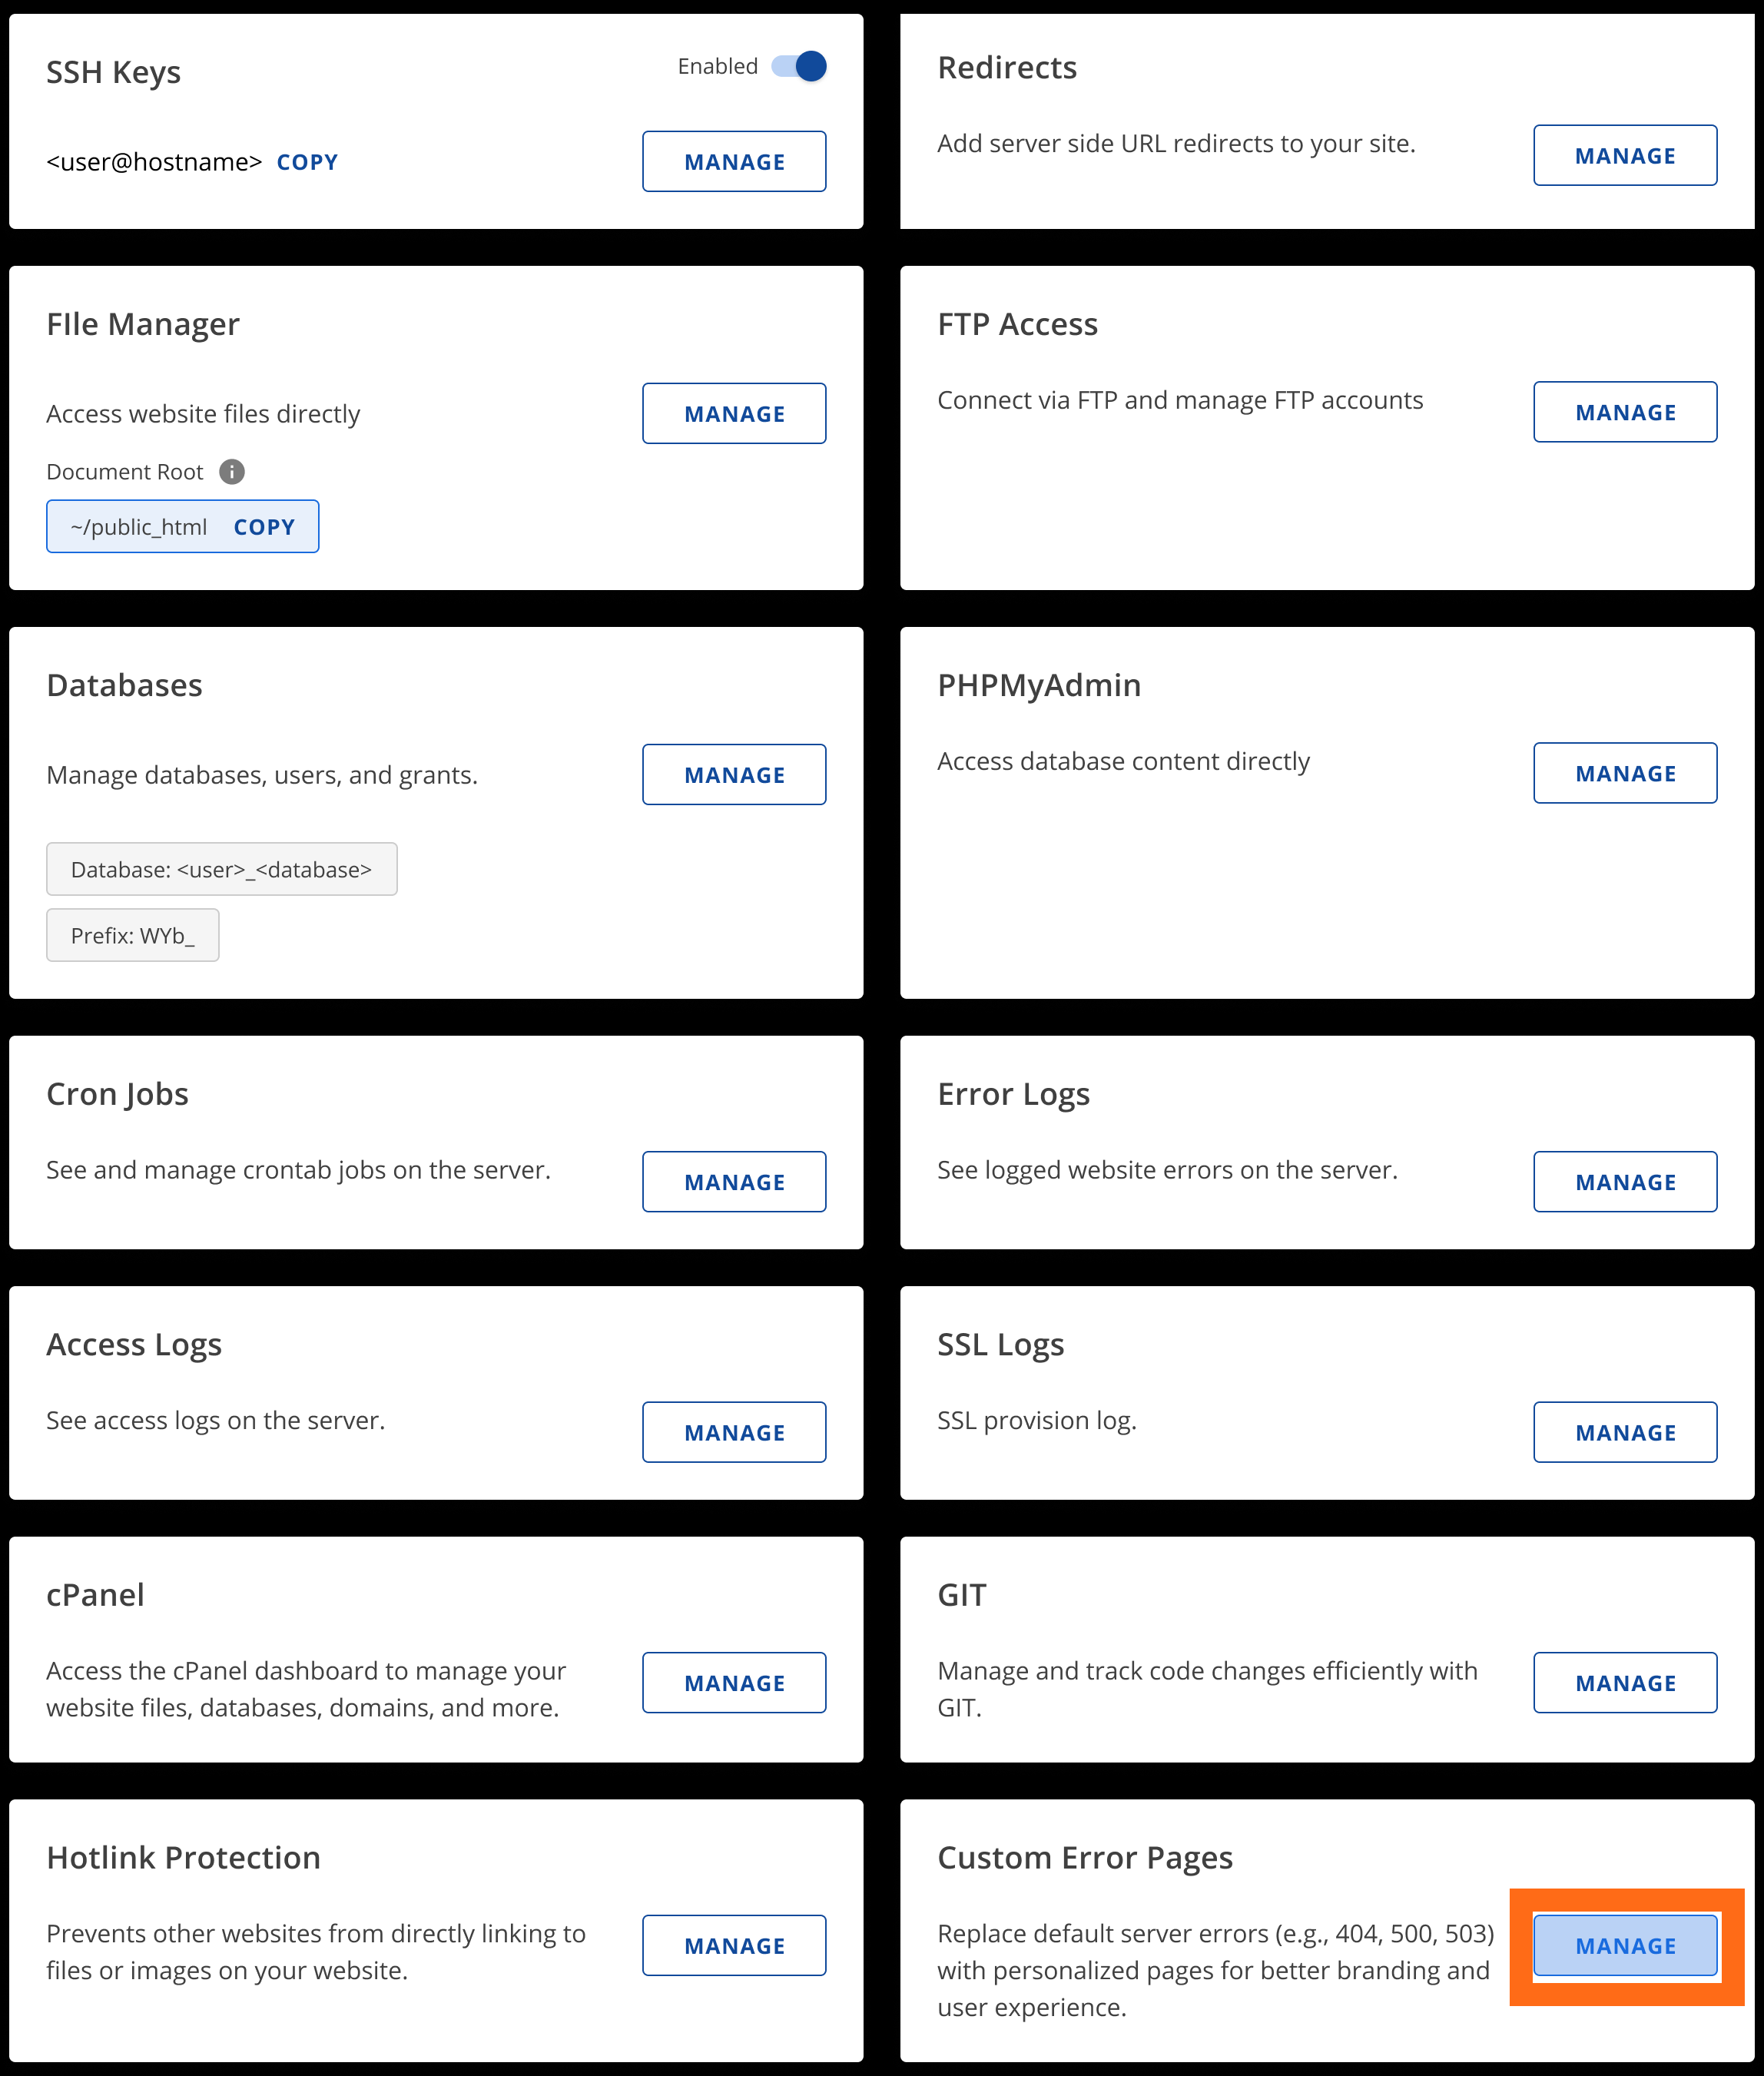
Scroll down and look for Custom Error Pages, then click MANAGE.
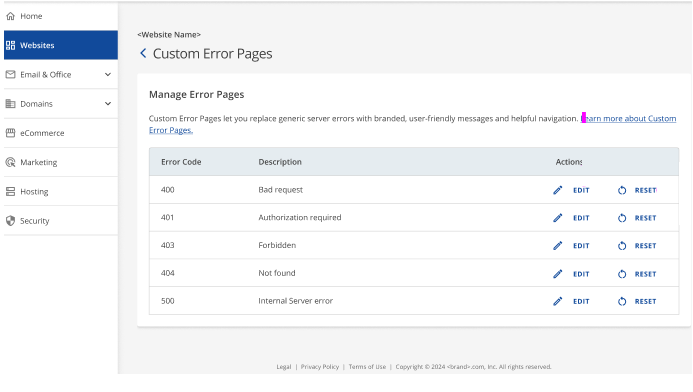
- You will be redirected to the Custom Error Pages screen and will have the option to customize the following error pages:
- Error 400 - Bad request
- Error 401 - Authorization required
- Error 403 - Forbidden
- Error 404 - Not found
- Error 500 - Internal Server Error
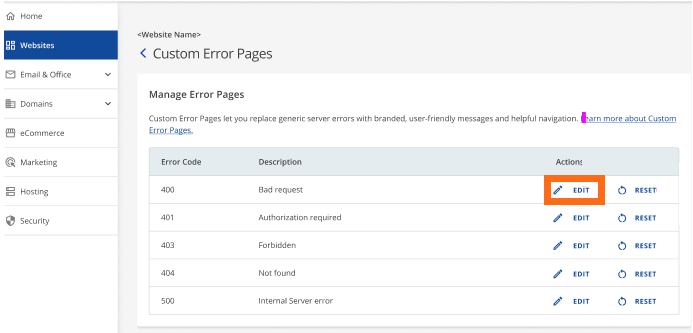
- Select EDIT on the error code you want to customize.
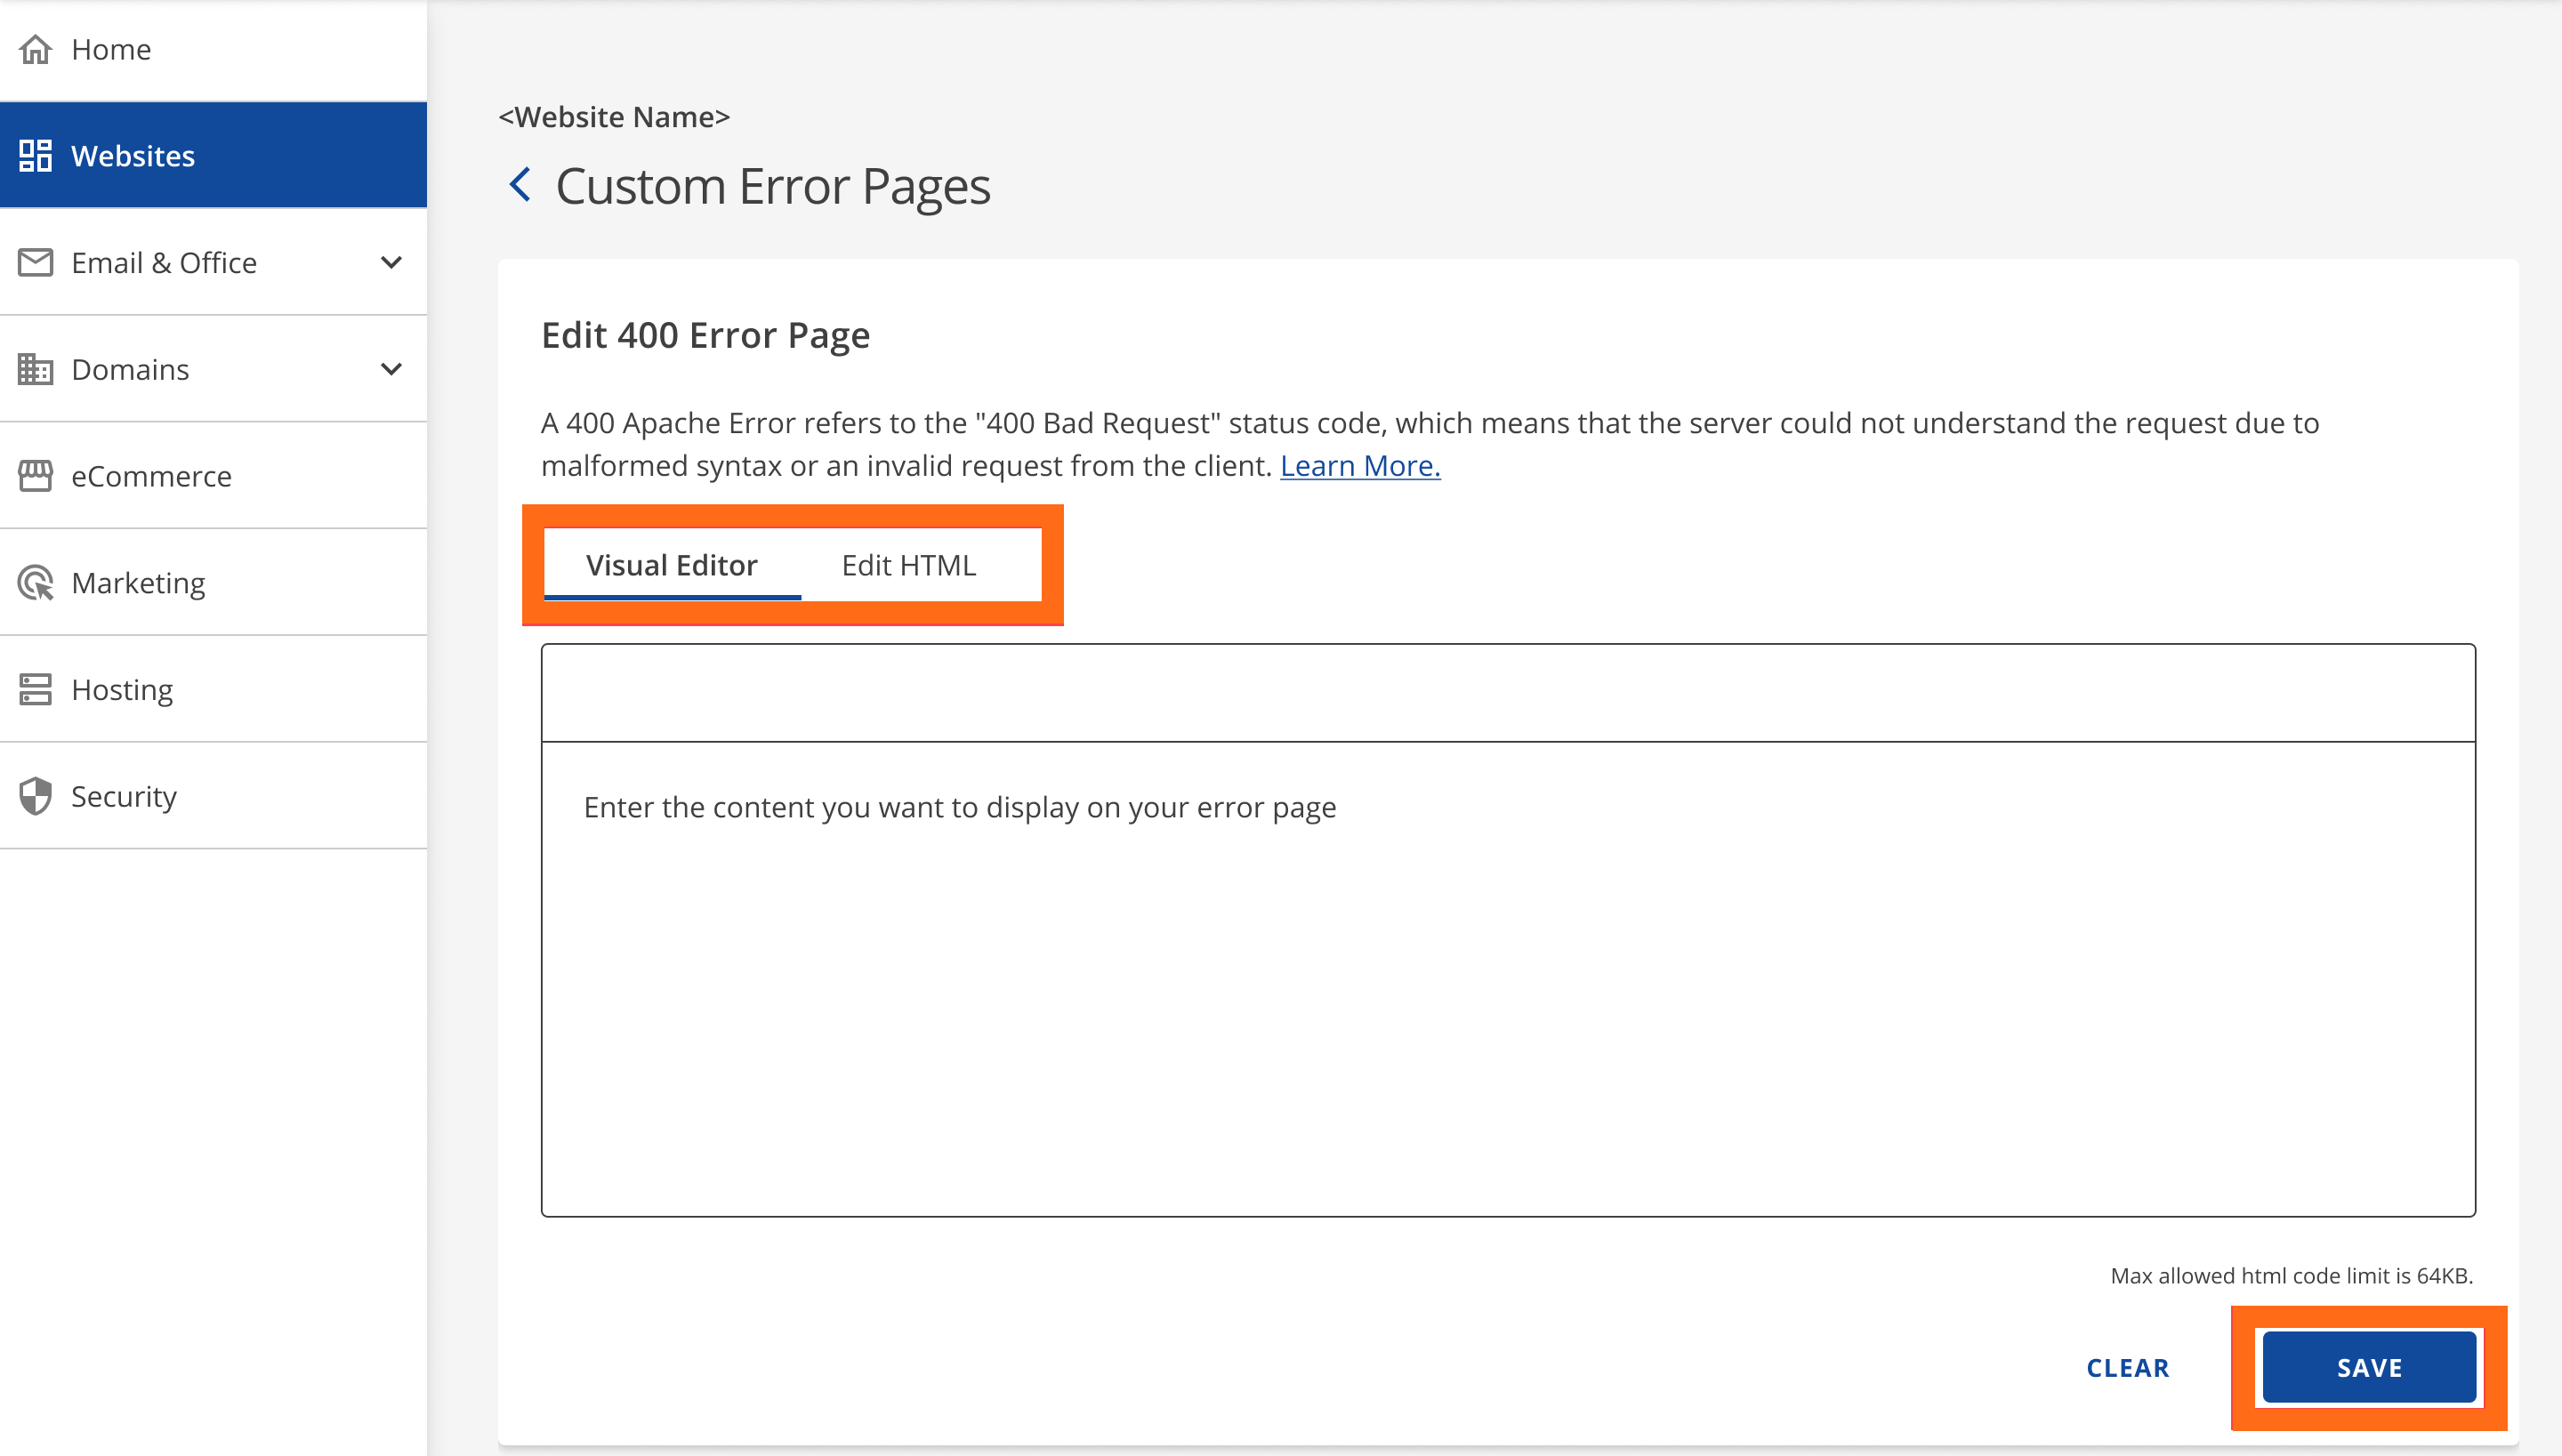
-
The Custom Error Pages editor will open. You can place any HTML code or text on the error page specific to your preferences and needs. Click SAVE.
Reset Customer Error Pages
Follow the steps below if you want to reset the error page you customized back to the default.
- Log in to your Customer Portal.
- Click Websites on the left-hand menu.
You can also click on the Hosting tab, locate the hosting package you need to manage, and then click its MANAGE button.
- Locate the website you need to manage and click its SETTINGS button.
- On the top menu, click the ADVANCED tab.
-
Scroll down and look for Custom Error Pages, then click MANAGE.
-
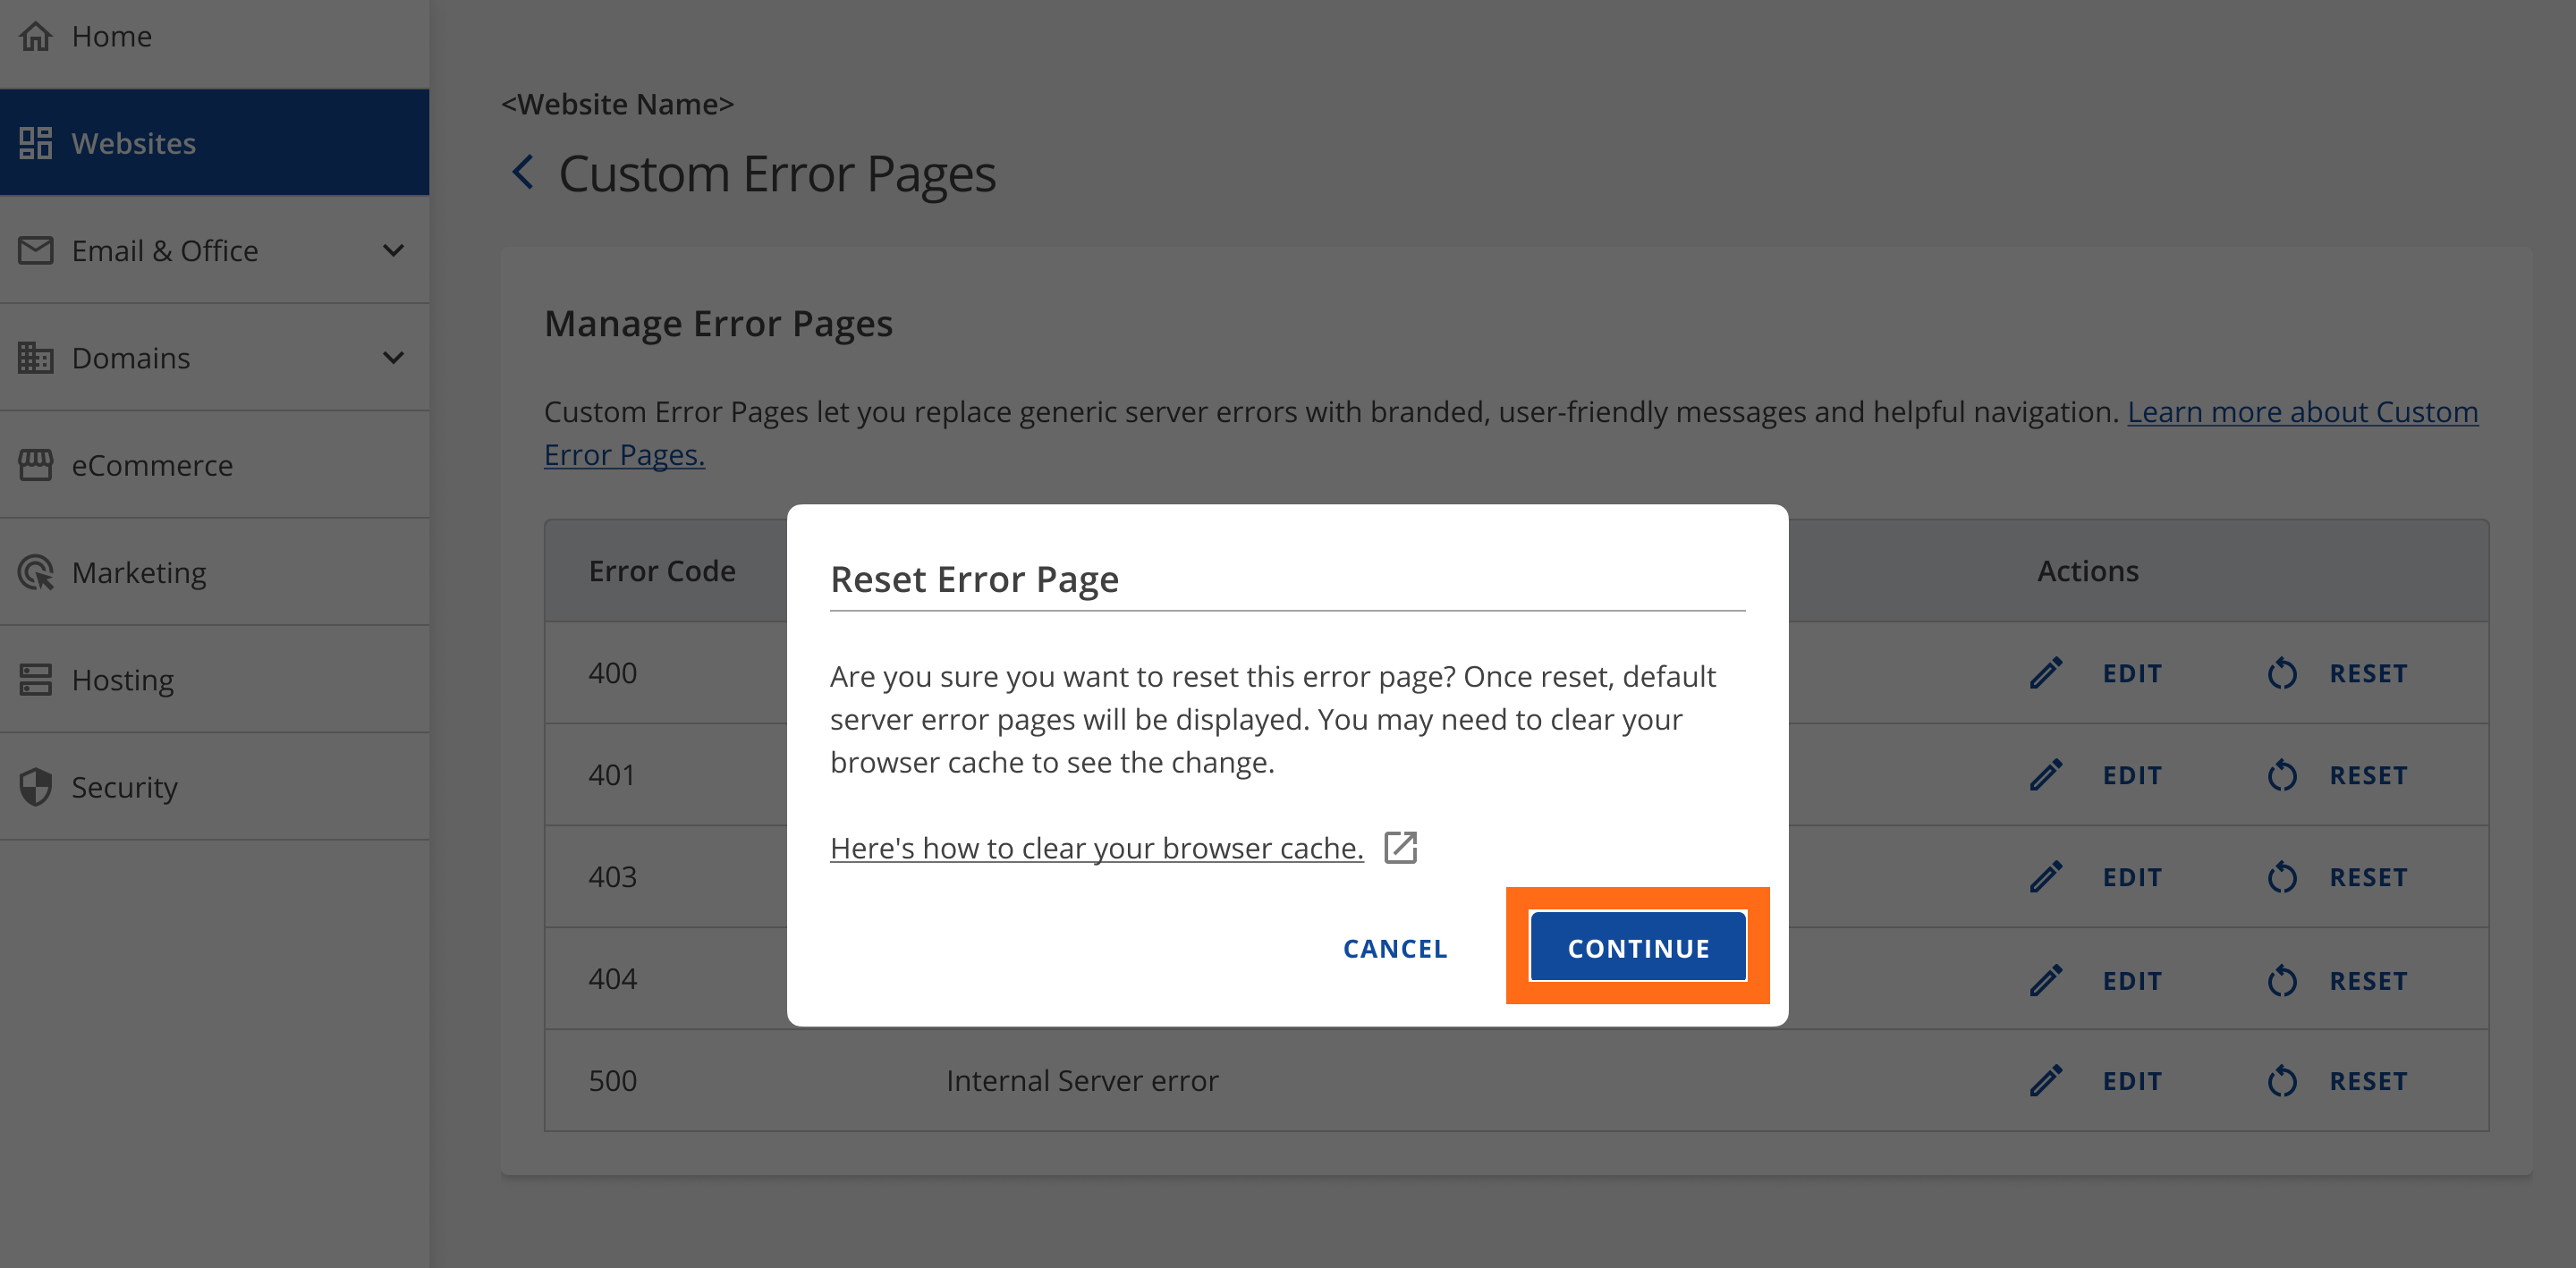
Select the RESET button of the error code you want to revert to the default message.

- Click CONTINUE on the Reset Error Page popup.
-
You will receive a "Your error page was successfully reset" message.
