Configuring DNS Services - Plesk
The DNS template in Plesk sets default DNS records for all new domains, ensuring consistent configurations. It allows you to view, add, or remove resource records and update SOA settings.
Placeholders like <ip> and <domain> are automatically replaced with actual values when zones are created. Managing this template helps streamline DNS setup and maintain consistency across domains.
View default records
To view the default records in the server-wide DNS template:
- Log in to Plesk as the admin user.
- Navigate to the Server Management section from the left-hand navigation menu and select Tools & Settings.
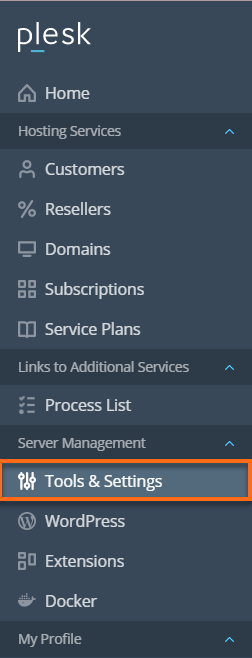
- Under the General Settings column, click DNS Template.

All resource record templates will be displayed. The <ip> and <domain> templates are automatically replaced with actual IP addresses and domain names in the generated zone.
Add a new resource record
To add a new resource record to the server-wide DNS template:
- In Plesk, navigate to the Server Management section and select Tools & Settings from the left-hand navigation menu.
- Under the General Settings column, click DNS Template.
- Click Add DNS Record.

- Select the resource record type and specify the record properties as desired.
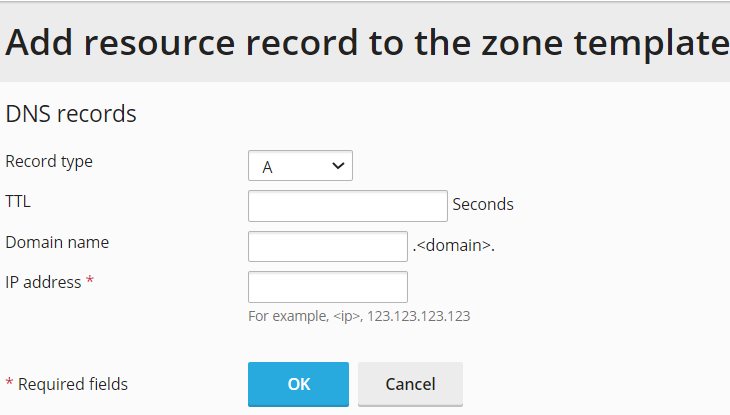 You can use <ip> and <domain> templates, which are replaced in the generated zone with real IP addresses and domain names. You can also use a wildcard symbol (*) to specify any part of the domain name, or you can specify the exact values you need.
 - Click OK.
Remove a resource record
To remove a resource record from the server-wide DNS template:
- In Plesk, navigate to the Server Management section and select Tools & Settings from the left-hand navigation menu.
- Under the General Settings column, click DNS Template.
- Select the check box for the record template you wish to remove and click Remove.
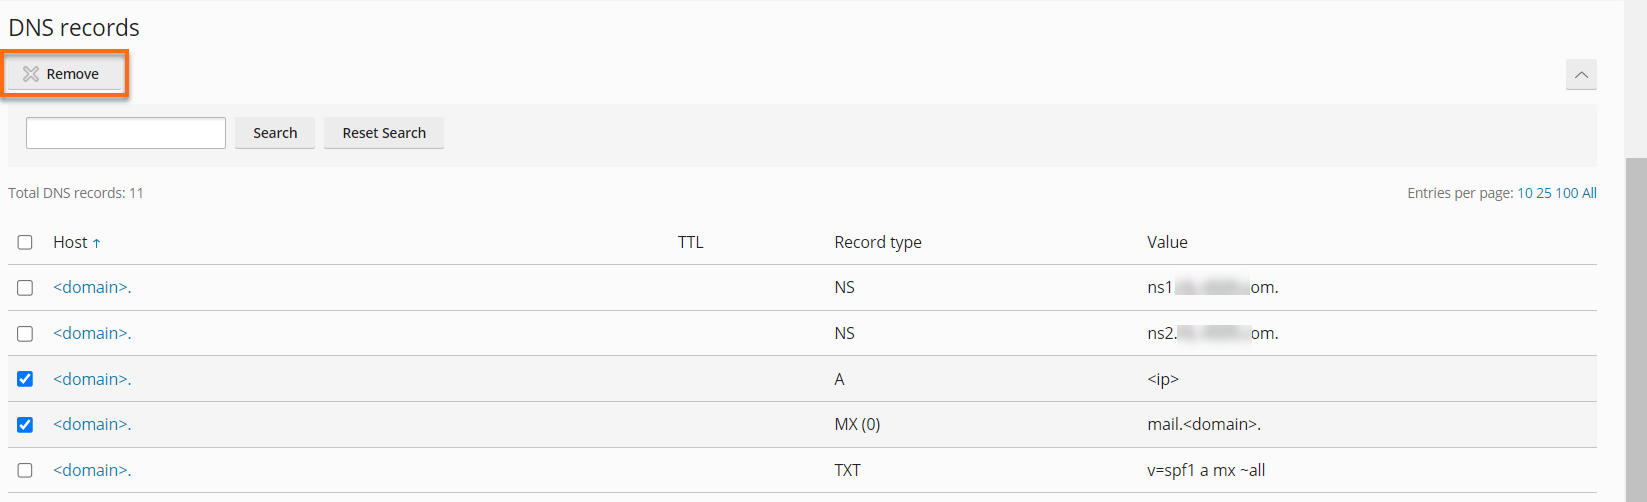
- Confirm the removal and click OK.
Change SOA record settings
To change the Start of Authority (SOA) record settings in the server-wide DNS template:
- In Plesk, navigate to the Server Management section and select Tools & Settings from the left-hand navigation menu.
- Under the General Settings column, click DNS Template.
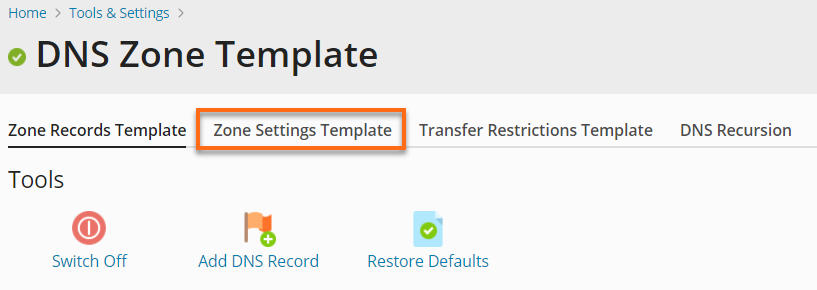
- Click Zone Settings Template.
- Specify the desired values (TTL, refresh, retry, expire & minimum).
- Check the box next to Use serial number format recommended by IETF and RIPE*
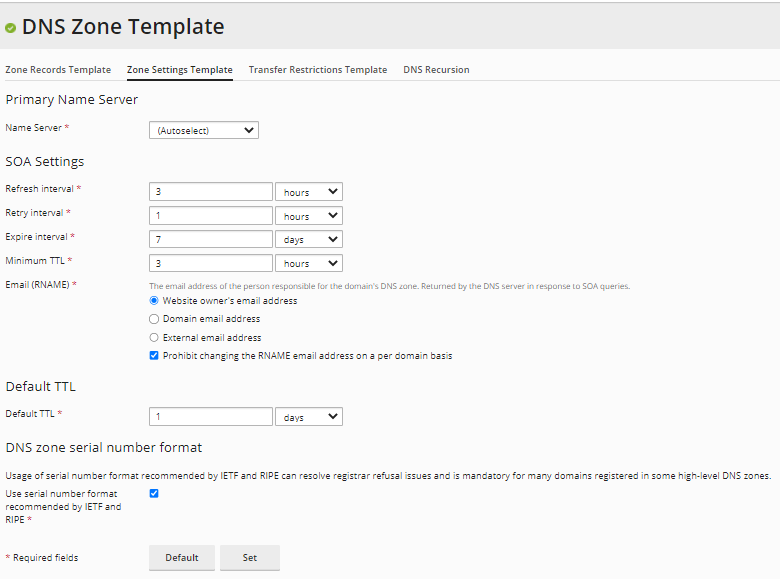
- Click OK.
The new SOA record parameters will be set for newly created domains.
Value Meanings
- TTL - This is the amount of time that other DNS servers should store the record in a cache. The panel sets the default value of one day.
- Refresh - This is how often the secondary name servers check with the primary name server to see if any changes have been made to the domain's zone file. The panel sets the default value of three hours.
- Retry - This is when a secondary server waits before retrying a failed zone transfer. This time is typically less than the refresh interval. The panel sets the default value of one hour.
- Expire - This is the time before a secondary server stops responding to queries after a lapsed refresh interval, where the zone was not refreshed or updated. The panel sets the default value of one week.
- Minimum - This is when a secondary server should cache a negative response. The Panel sets the default value of three hours.