Add and Manage Products and Inventory
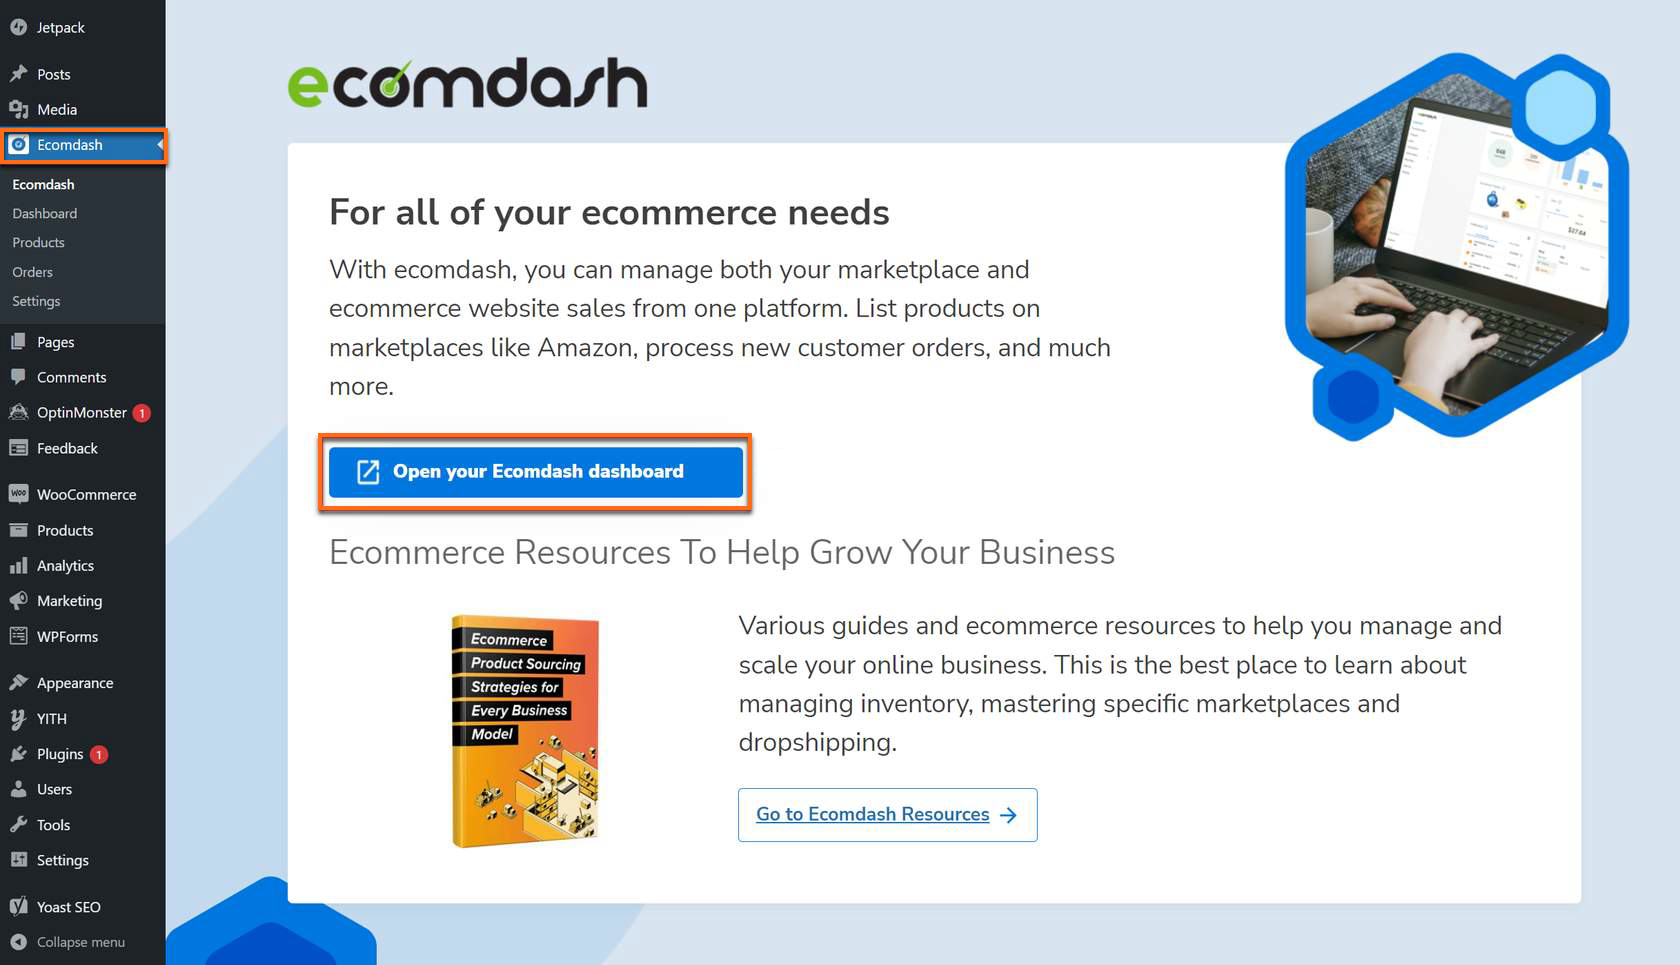
To use Ecomdash, you will need to add and manage products. You can do this in two ways: Upload Inventory ⤵ or Create Product ⤵.
Once you are done uploading and/or creating your products, you'll also be able to manage your products.
Add Products
Upload an Inventory File
If you have a CSV file, you can use it to import your product information. Before importing (or exporting) CSV files, you must choose the file format ⤵ you are uploading. Once created, you can start uploading your products ⤵.
Choose a File Format
- From your WordPress Dashboard, log in to Ecomdash.
- Once in the Ecomdash, click Products in the left-hand navigation menu.
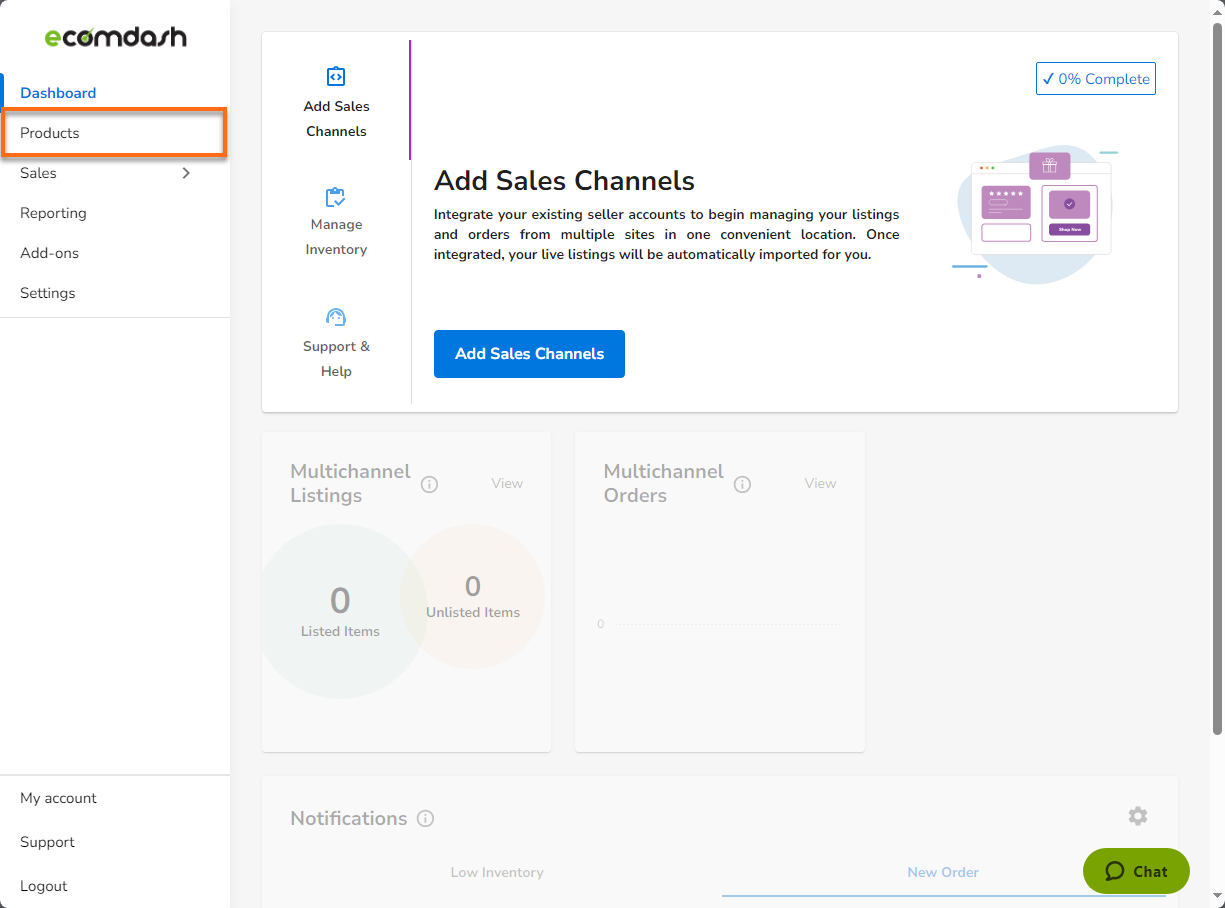
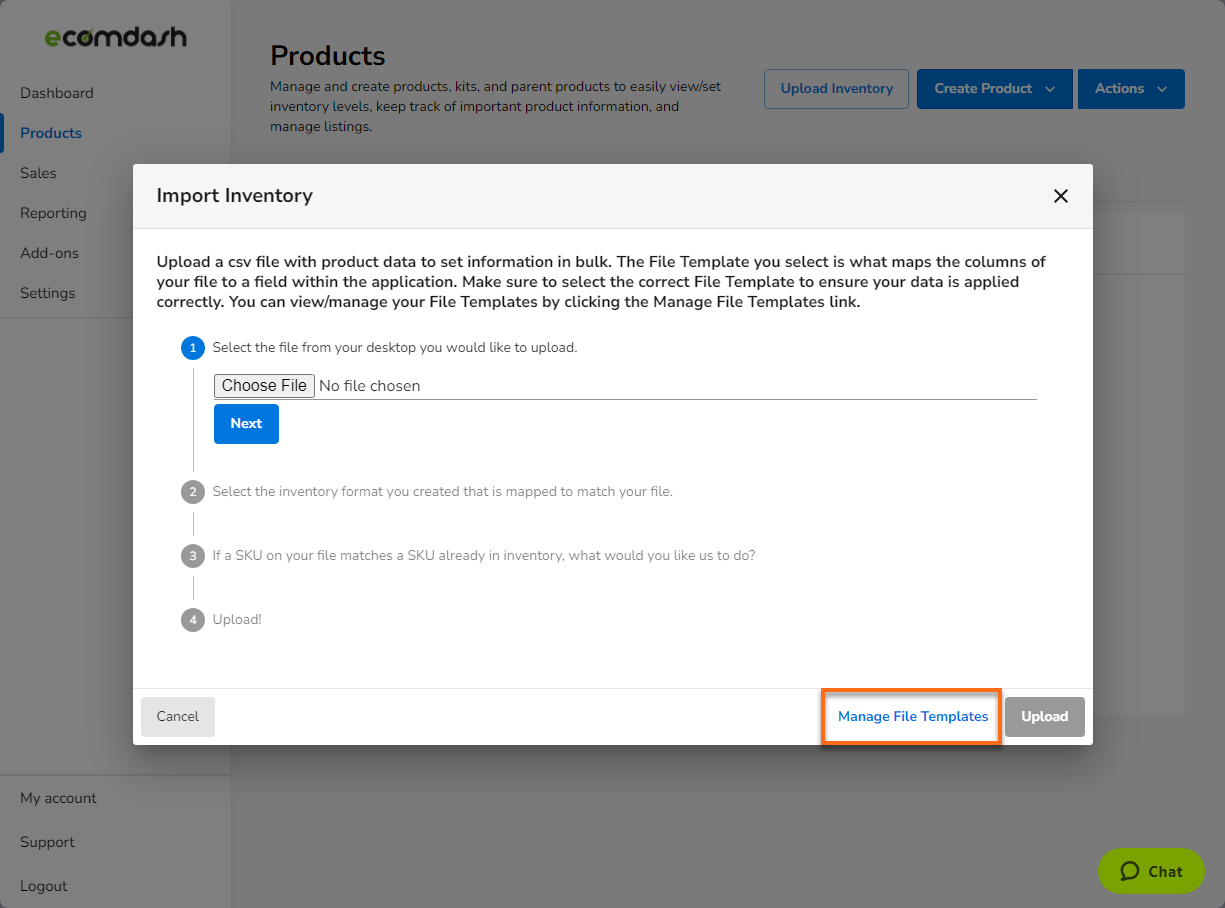
- In the top-right corner of the Products page, click the Upload Inventory button.

- In the Import Inventory pop-up, click on Manage File Templates.
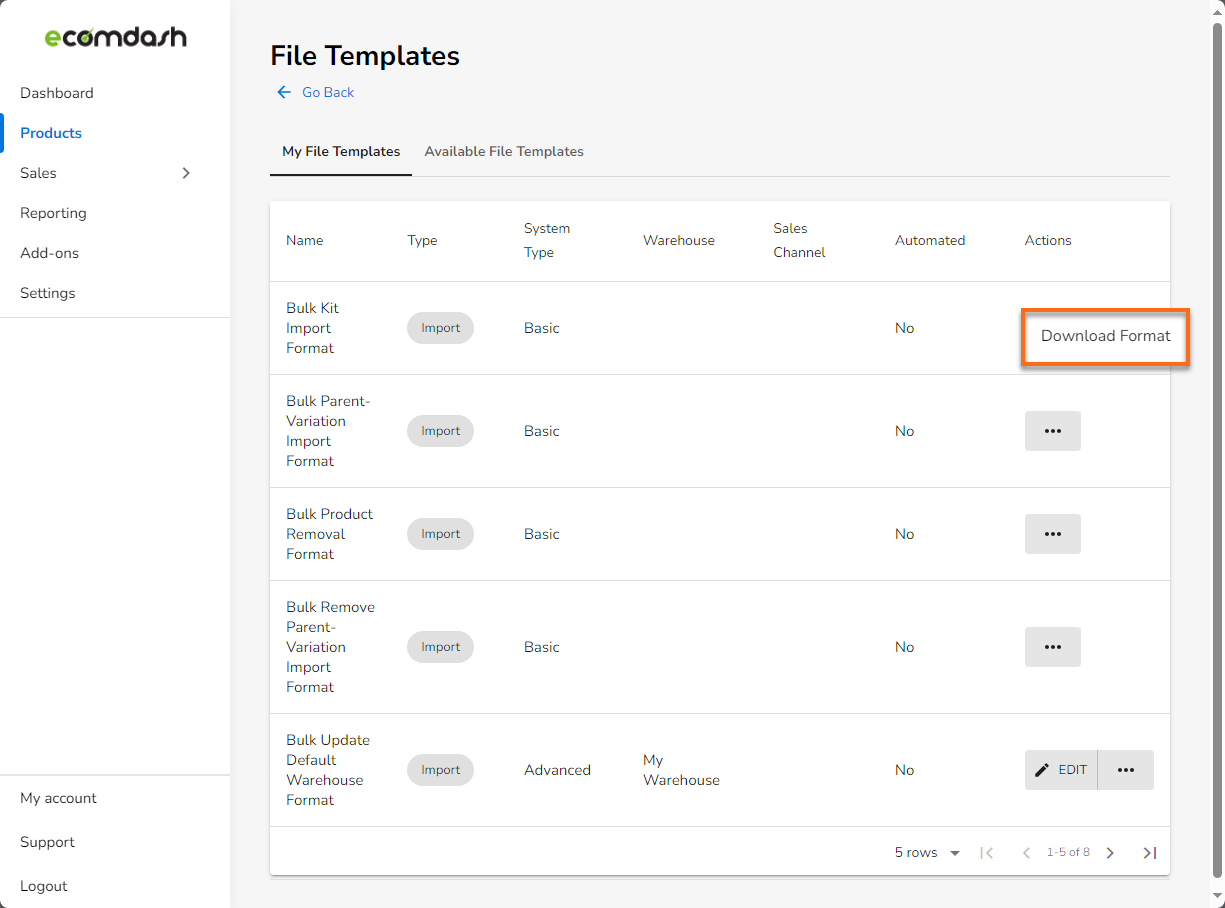
Manage File Templates can direct you to ready-made file templates. The screen defaults to 5 templates, but you can extend the list or move to the next page using the browse icons on the bottom right.
The File Templates table will display both custom templates and our ready-made templates:- Bulk Kit Import Format - Use this to test existing products or group new products into kits. If the products already exist, overwrite them.
- Bulk Parent-Variation Import Format – Use this to import variations. If the products already exist, overwrite them.
- Bulk Product Removal Format - If you need to remove multiple products, enter their SKUs and upload using the overwrite option. This will remove the products and their data, but not the listings from your shops.
- Bulk Remove Parent-Variation Import Format – This function is similar to the Bulk Product Removal Format, except it also handles variants.
- Bulk Update Default Warehouse Format – Use this to organize where your products are stored and select the overwrite option.
- Bulk Variation Attribute Import Format – Use this to save time, especially if you need to add multiple attributes to each variation.
- Click the Actions icon
 for the needed product, then click Download Format.
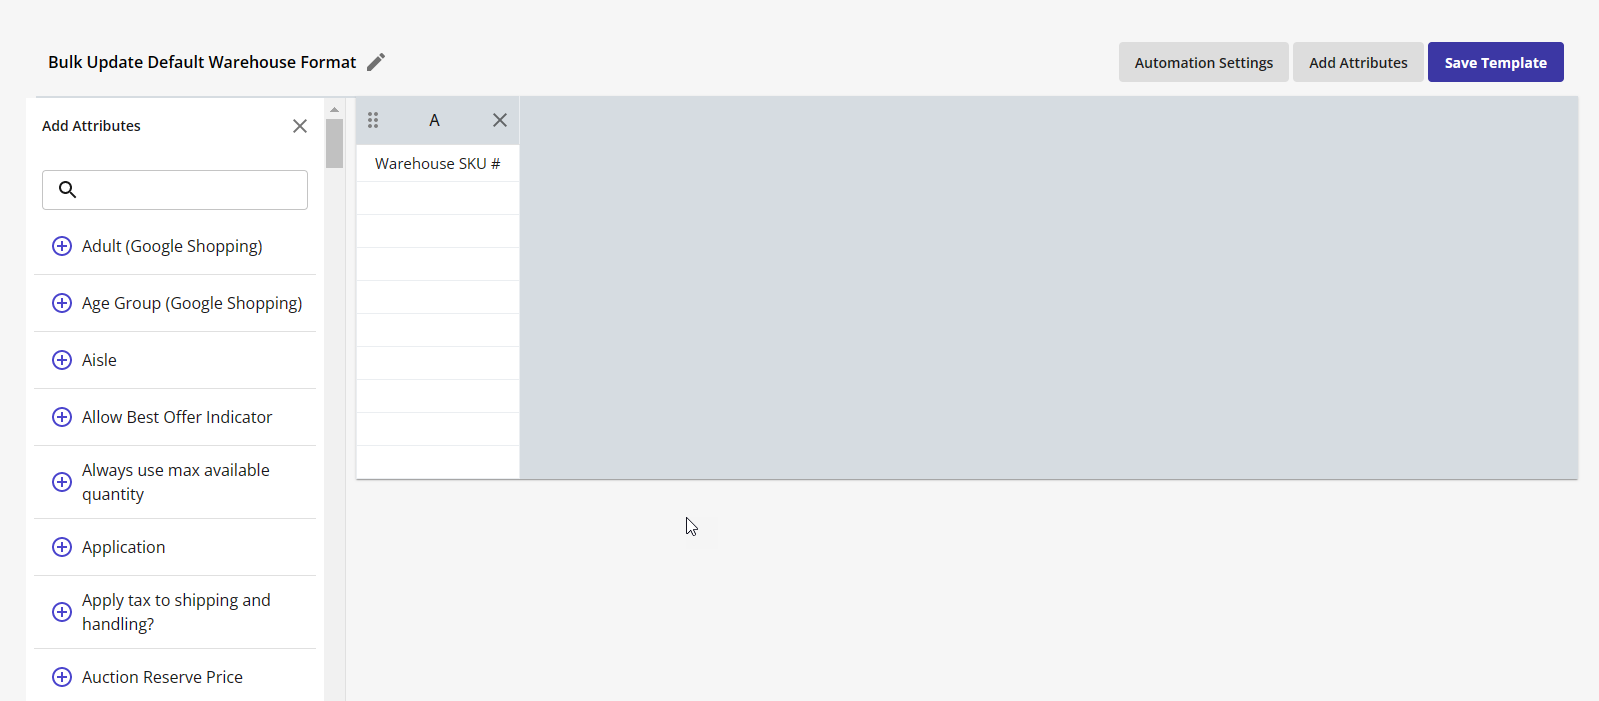
Use the file template to arrange and upload your product information. Do not edit any columns; this pre-selected format informs your Ecomdash account about the file contents. To alter a format, select an option that allows for editing. - Start organizing your data, and you can begin the upload afterward.
Upload your Products
- Go back to the Products pages.

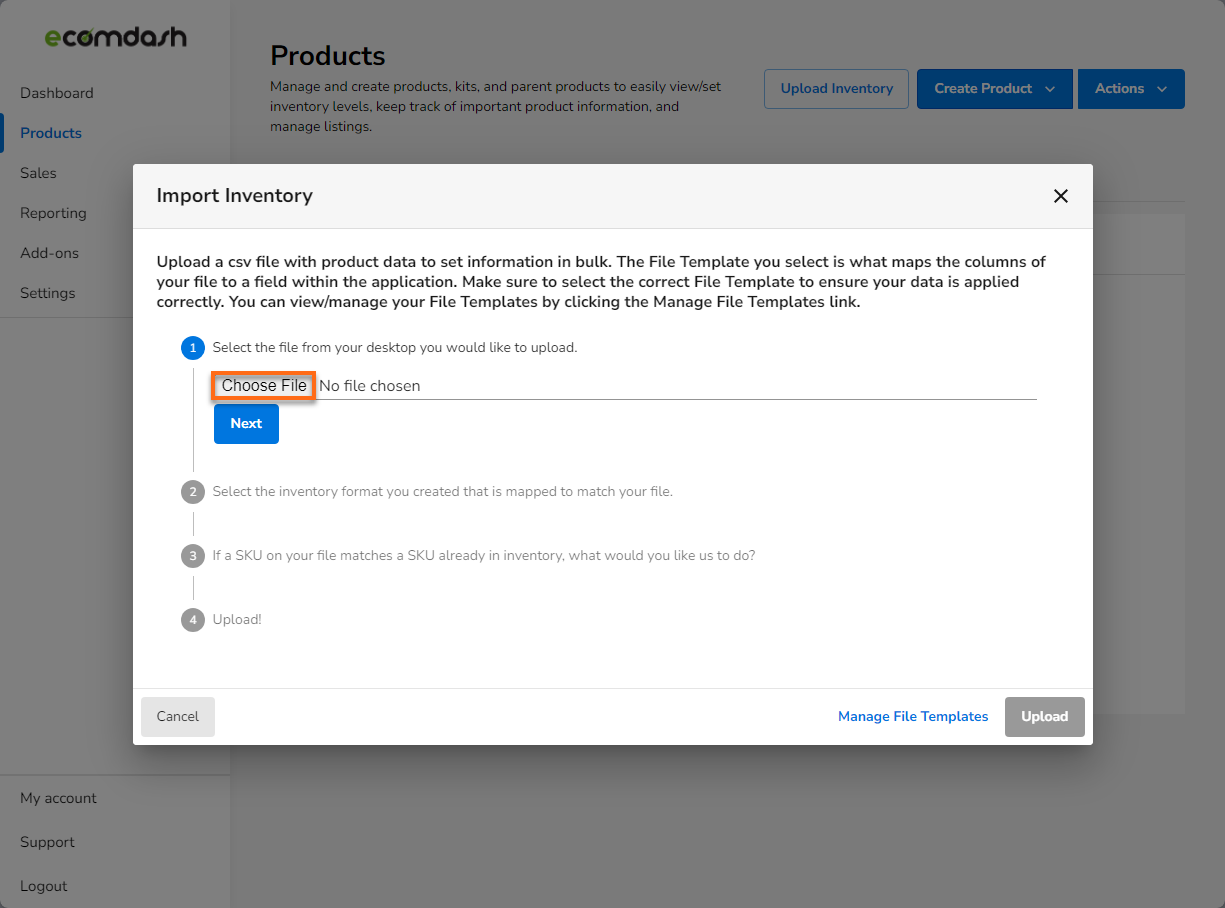
- In the top-right corner of the Products page, click the Upload Inventory button.
- In the Import Inventory pop-up, select the file you want to upload from your desktop by clicking the Choose File button.
- Select the format that you used to set up your product information.
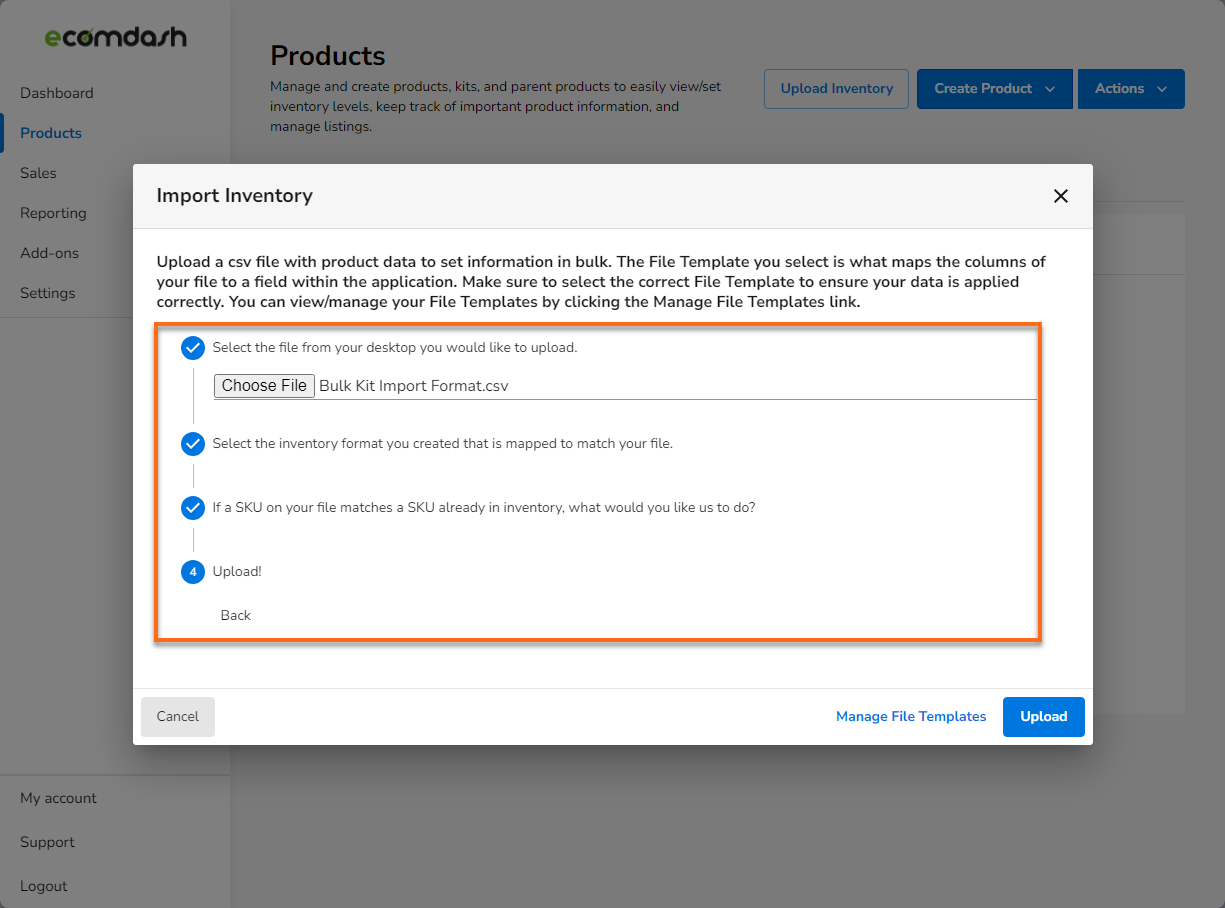
- Perform no action – If your file contains products already in your Ecomdash account, our system will ignore that information and create only products not in your account.
- Overwrite existing details – If your file includes products in your Ecomdash account, our system will replace the current information with the new file details. Select this option to update existing reference IDs.
- Increase existing quantity – Our system will add the quantity from your uploaded file to the current quantity.
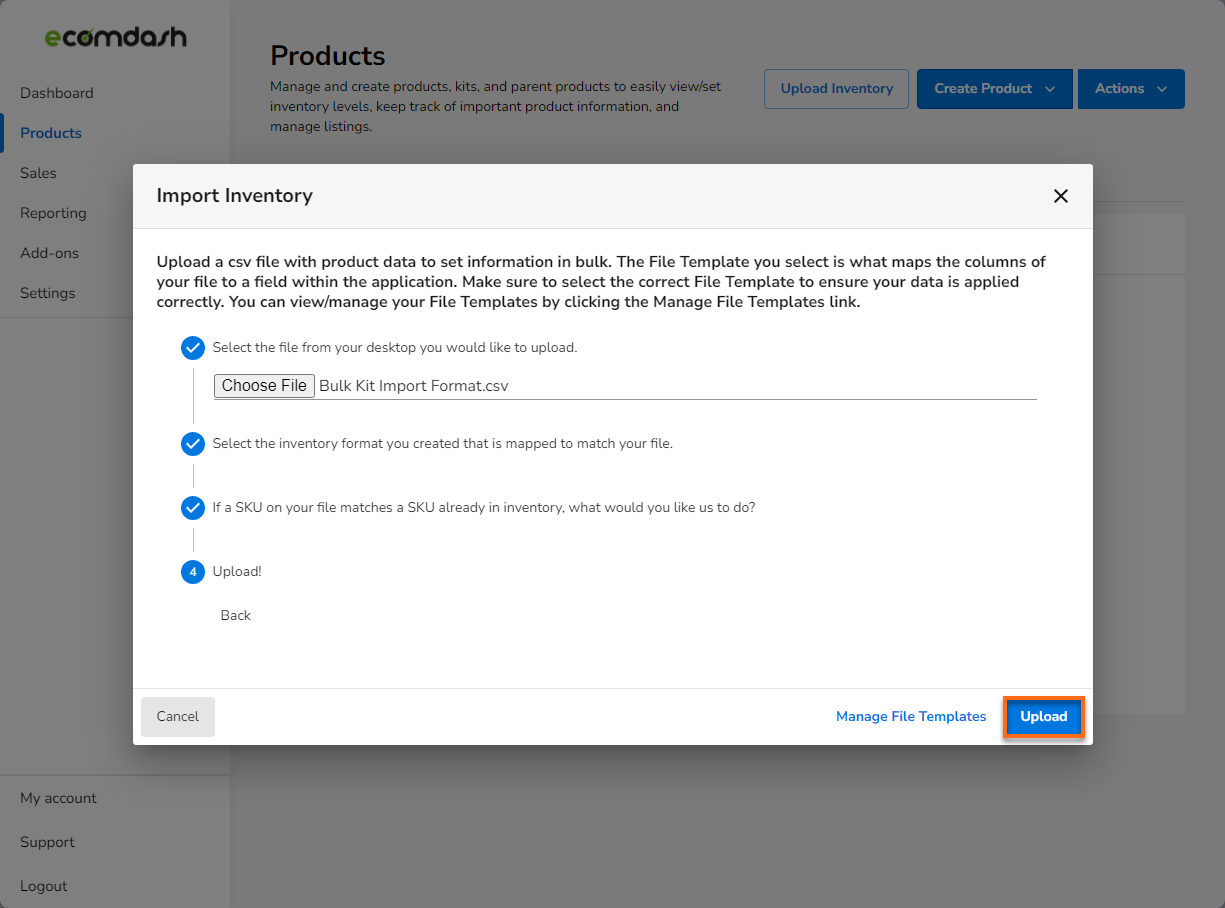
- Click the Upload button. Uploading the file will update your product information.
Create Product
- Once in the Ecomdash, click Products in the left-hand navigation menu.
- Click the Create Product dropdown on the top-right and select Product.

- Enter the product Name, SKU, and Quantity.
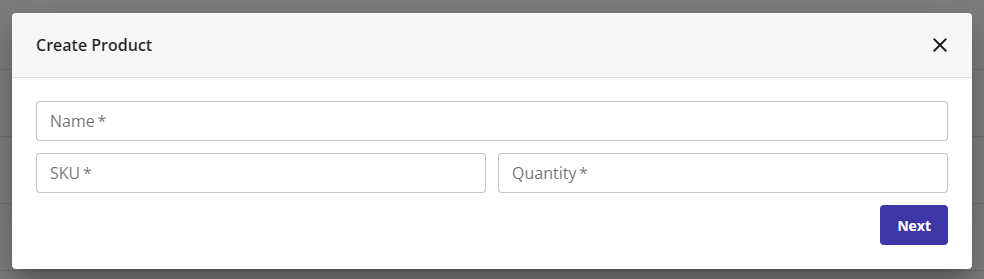
- Select Next, and fill in the Product Details page:
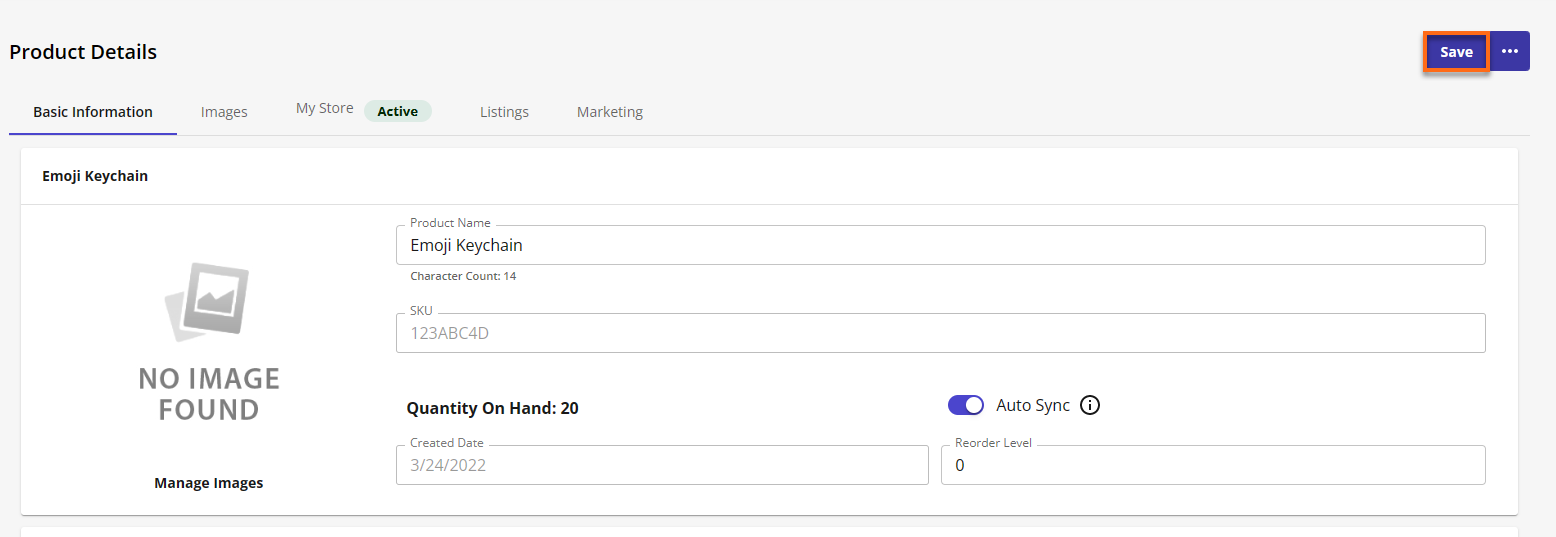
- Basic Information:
- On the first section of the Basic Information tab:
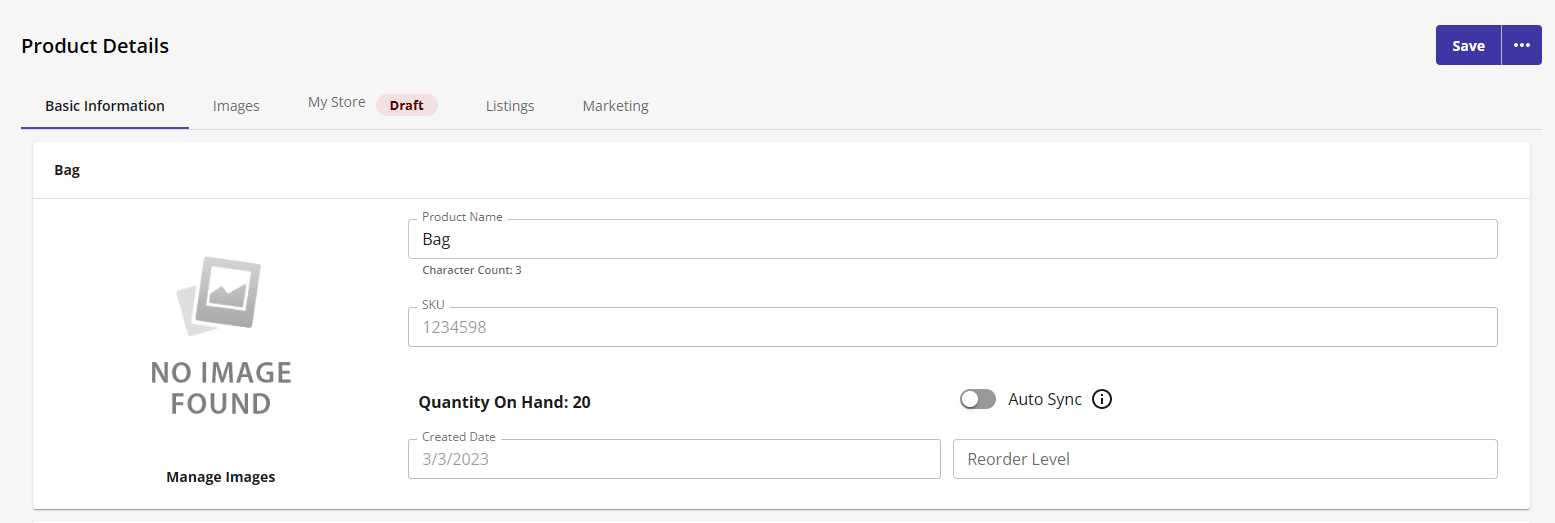
- Edit or change your Product Name.
- Add images of your product.
- Configure the Reorder Level (the quantity that triggers the product stock replenishment alert).
- Turn on the Auto Sync toggle (automatically updates integrated sales channels whenever the product quantity changes).
- Under the Global Listing Details:
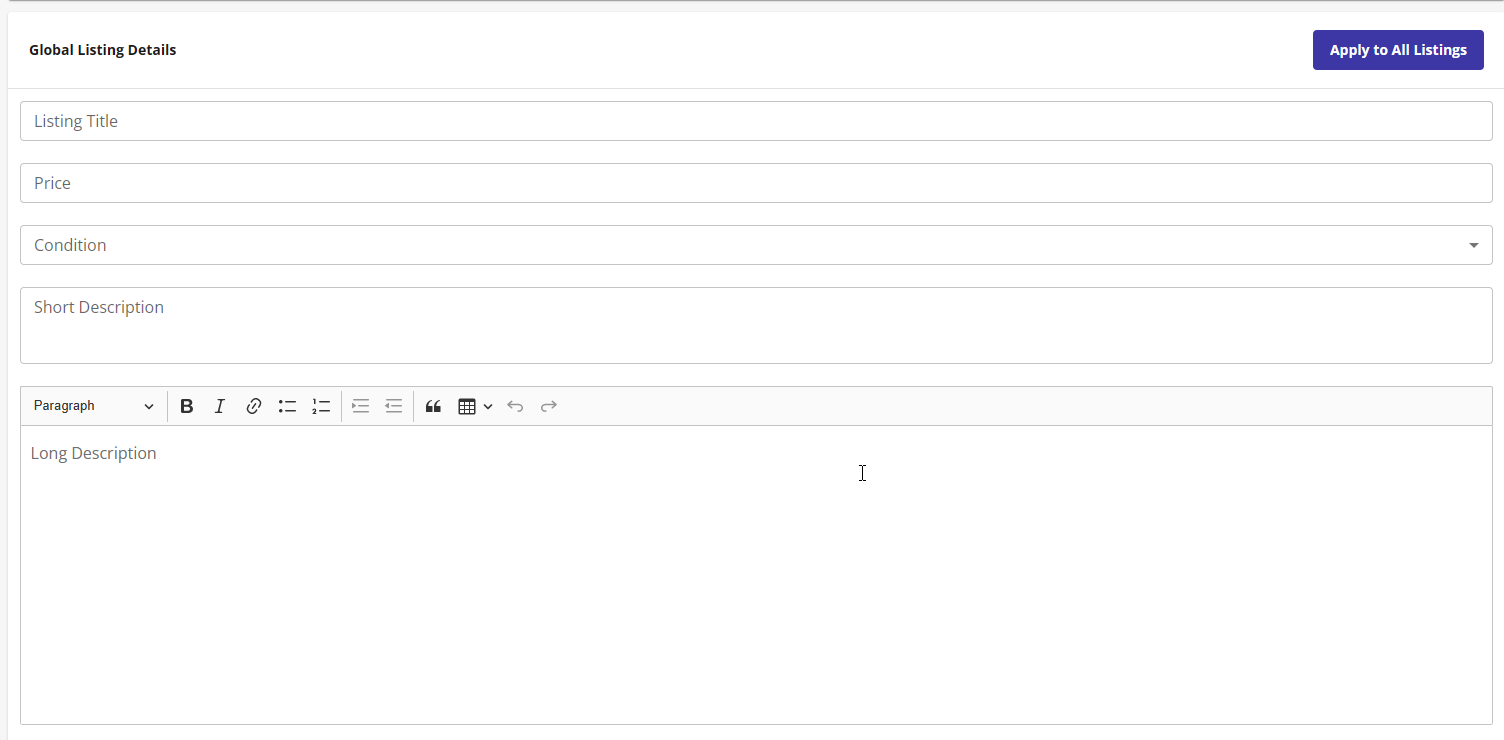
- Enter the Listing Title, Price, and Condition.
- Enter the product's Short Description and Long Description.
These details will auto-fill for any new listing you create for this product. Select Apply to All Listings if you would like these added changes to overwrite all existing listings for this product.
- In the Warehouse section:
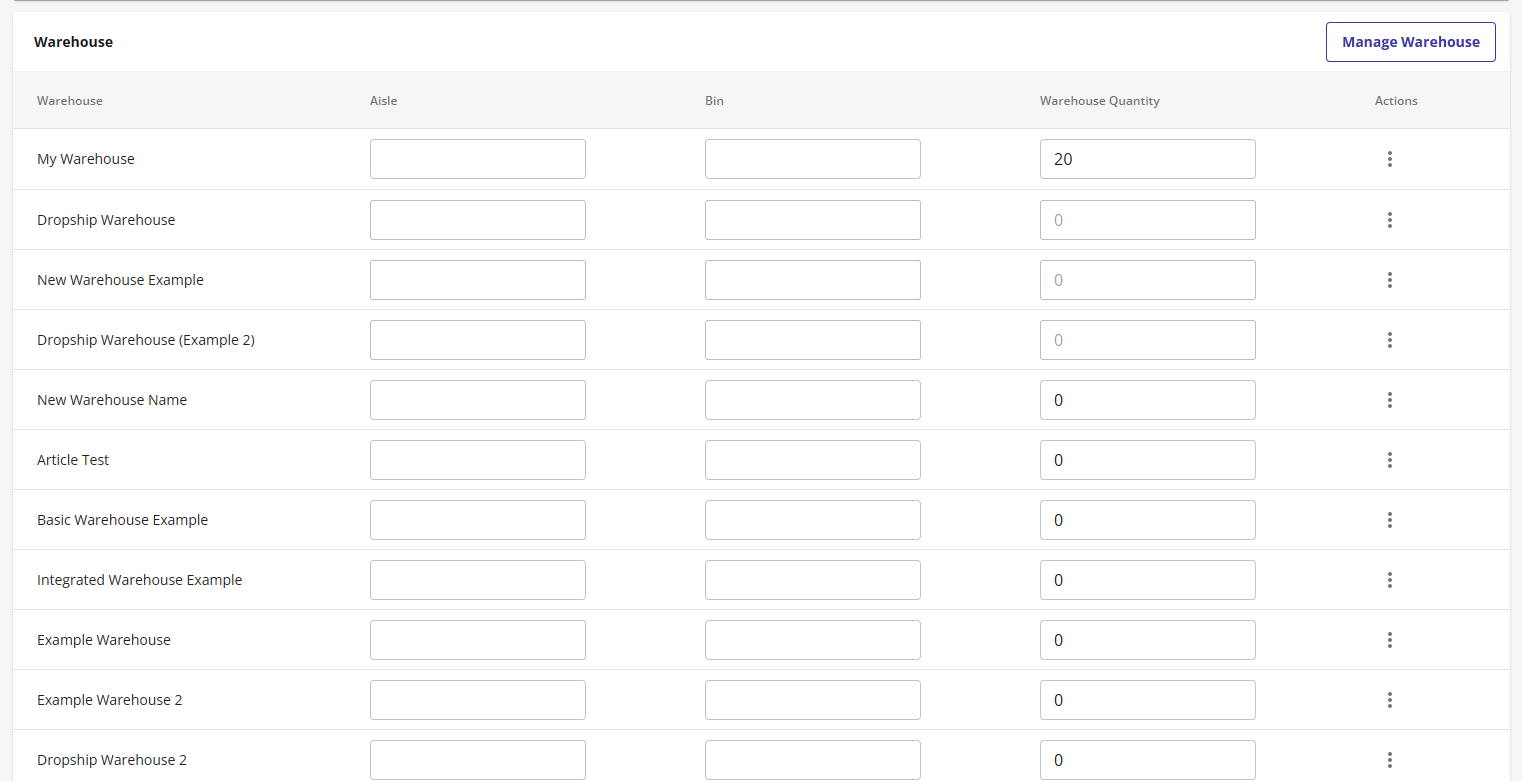
- Set up the Aisle and Bin details.
- Specify the product Quantity of a specific Warehouse.
- Select Manage Warehouse to edit or add a new Warehouse.
- In the Supplier section:

- Choose a Supplier among the existing ones, or click Manage Suppliers to create a new one.
- Add a Supplier SKU to identify the Supplier.
- Enter the Target Inventory Level (the quantity you prefer to keep on hand for a specific product).
- Enter a Unit Cost, Average Cost, and Landed Cost.
These details will auto-fill for any new listing you create for this product.
- Under Identifiers, add UPC (Universal Product Code), GTIN (Global Trade Item), ISBN (International Standard Book Number), and EAN (European Article Number) identifiers for a product. These identifiers can help marketplaces and search engines identify and show your product in search results.

- Under Manufacturing, add the Brand, Manufacturer, Manufacturer Part #, and MAP Price. These details are required when selling in specific marketplaces.

- On the first section of the Basic Information tab:
- Under Dimensions:

- Enter the product Dimensions, such as Length, Width, Depth, Major Weight, and Minor Weight.
- Check the Unit of Measurement.
- Basic Information:
-
After applying all changes, click Save in the top-right corner. Clone or Convert to Kit the product by clicking the horizontal ellipses.
Add Images for Product
- Select the Images tab, then click the Upload Image button in the top-right corner to add images.
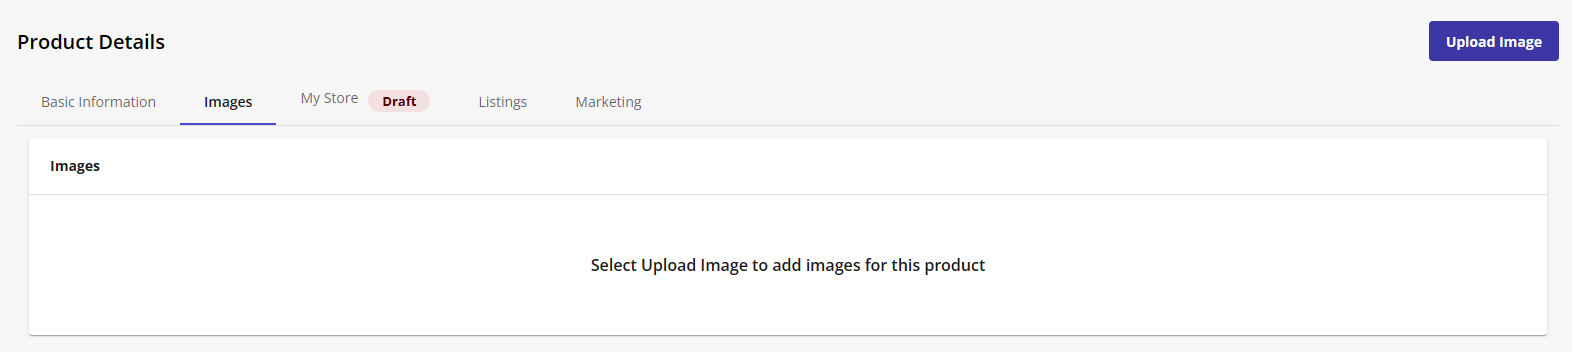
- Enter a URL for your image, or Upload a File from your computer. We accept JPG, PNG, and GIF image formats.
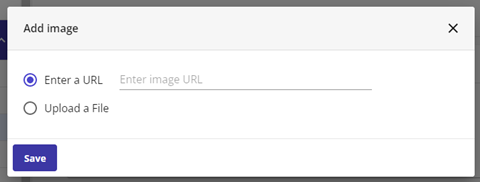 If you list these products and images on specific marketplaces, these URLs must be HTTPS.You can upload 12 images. However, each marketplace has its limitations. Contact the sales channel directly to access their most up-to-date image guidelines.
Update Product Listing Details in My Store (Draft)
To list your products online, update the listing data in the My Store tab.
- In the first section of the My Store (Draft) tab, you can edit or change (some of these details will already be filled in if you entered the Global Listing Details):
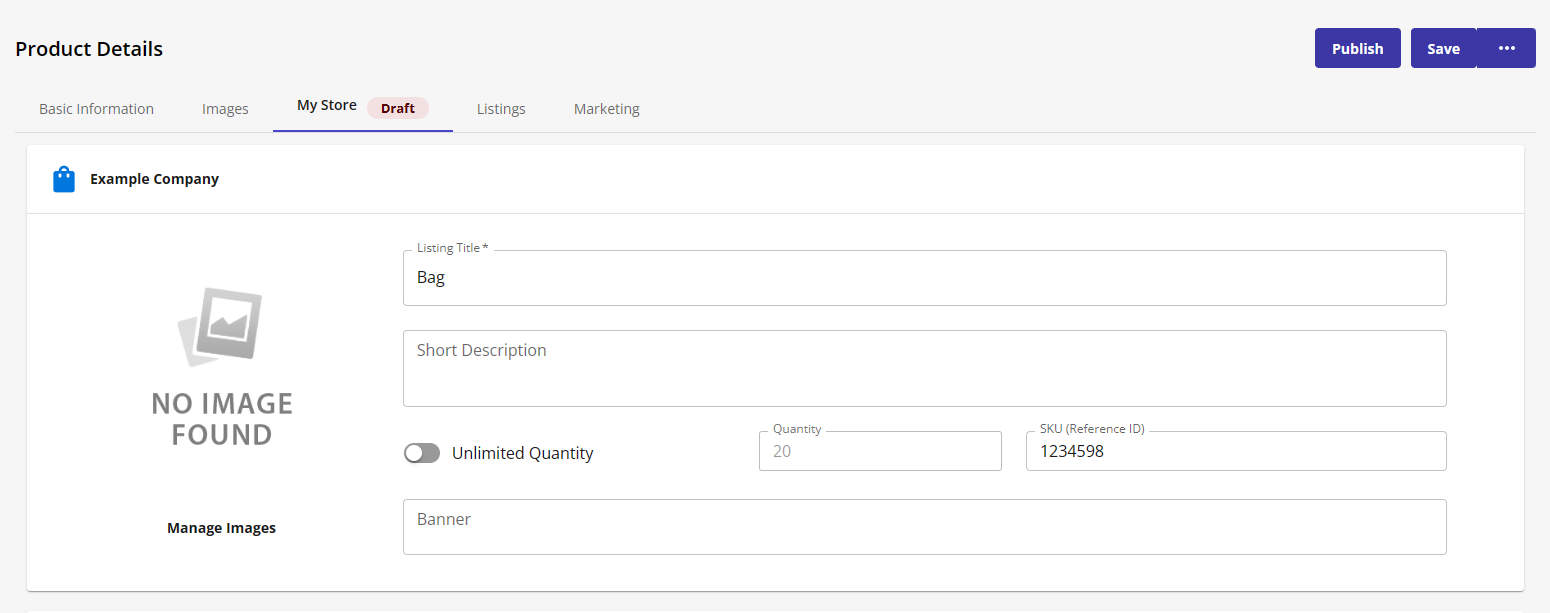
- Listing Title
- Short Description of the Listing
- SKU - This loads your SKU set from the Product Details screen. If you want to track this under a different ID, you can change it here, and our system will map the two IDs.
- Choose to show an Unlimited Quantity or set a specific number to always show in the Quantity field. If you want your actual quantity to show at all times, you can leave the Quantity field as is.
- Edit Product Images by clicking Manage Images. You can upload new images or reorder images by clicking and dragging the image you want to move.
- Banner field- You can highlight the product with banner text such as "New" or "Customer Favorite."
- In the Description box, provide a complete description of your product.
- In the Pricing section:

- Enter the Listing Price or the Direct Listing Price.
- Turn on the On Sale toggle to set the product's Discount % or Discounted Price.
The sale will be displayed alongside any other sitewide sale you launch from the Online Store settings tab.
- Enable the Product is Taxable toggle to apply the taxes configured in the Online Store to the product.
- Under Meta Details, add the Meta Title, Meta Keywords, Image Tags, and Meta Description to increase the product page ranking.

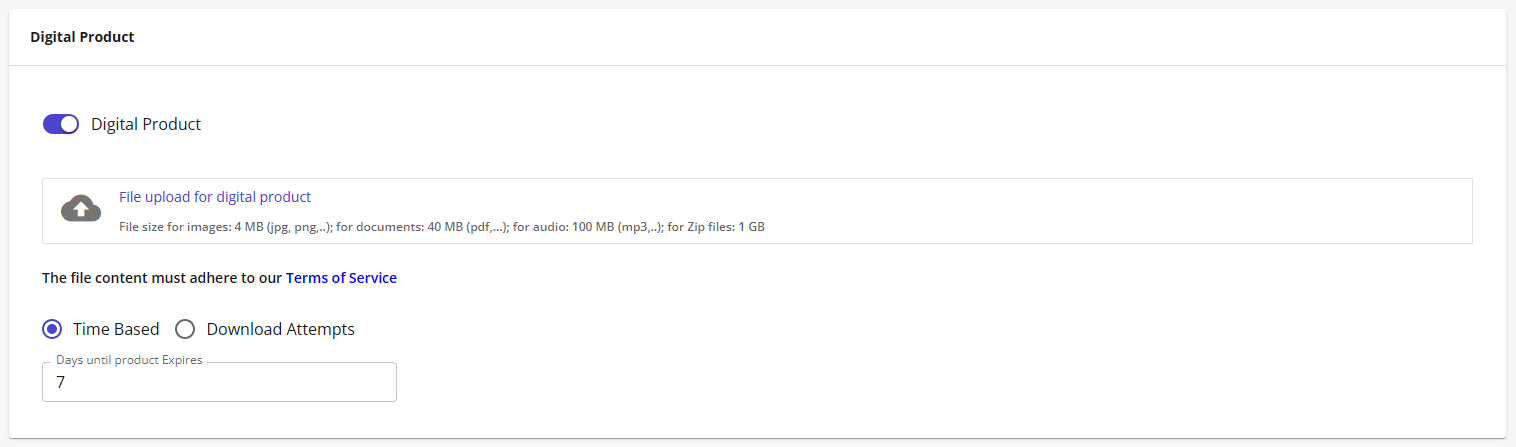
- In the Digital Product section:
- Enable the Digital Product toggle to upload files for the digital product.
- Either set the Time Based expiration for the product or limit the number of Download Attempts.
The Fulfillment Types section does not need to be configured when the Digital Product toggle is enabled.
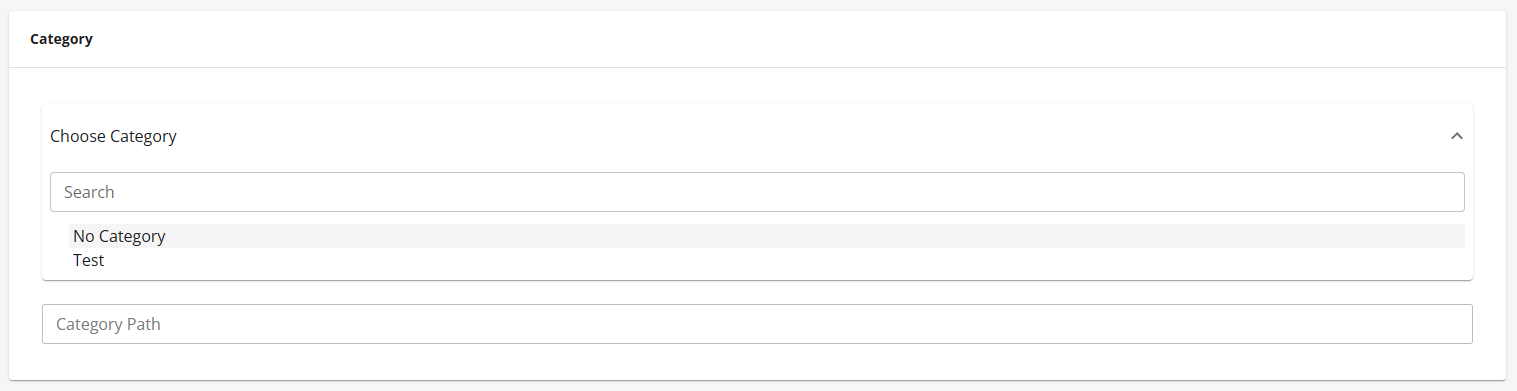
- In the Category section, you can add your product to one of the existing categories in the dropdown. The selected category will appear in the Category Path field.
- Under Fulfillment Types, select one option for your product:
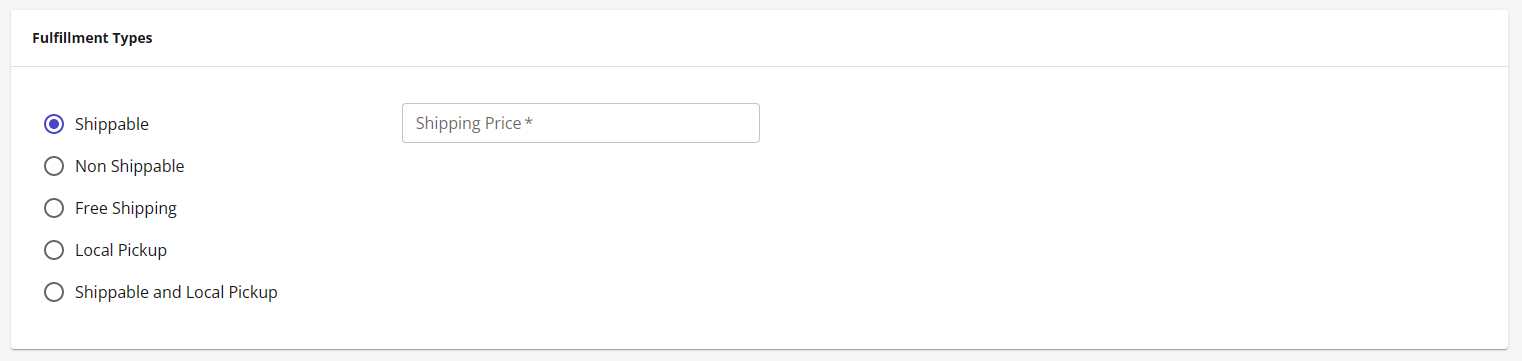
- Shippable - You must set the Shipping Price if you choose this option.
- Non-Shippable
- Free Shipping
- Local Pickup - You must add the Pickup Preparation Time so that your customers know when the product will be ready for pickup after purchase.
- Shippable and Local Pickup - Select this option if the product can be shipped with carriers and picked up in the store.
Shippable option:
Shippable and Local Pickup option:
- Select Save on the top right, then click Publish to go live.
Create Parent Product
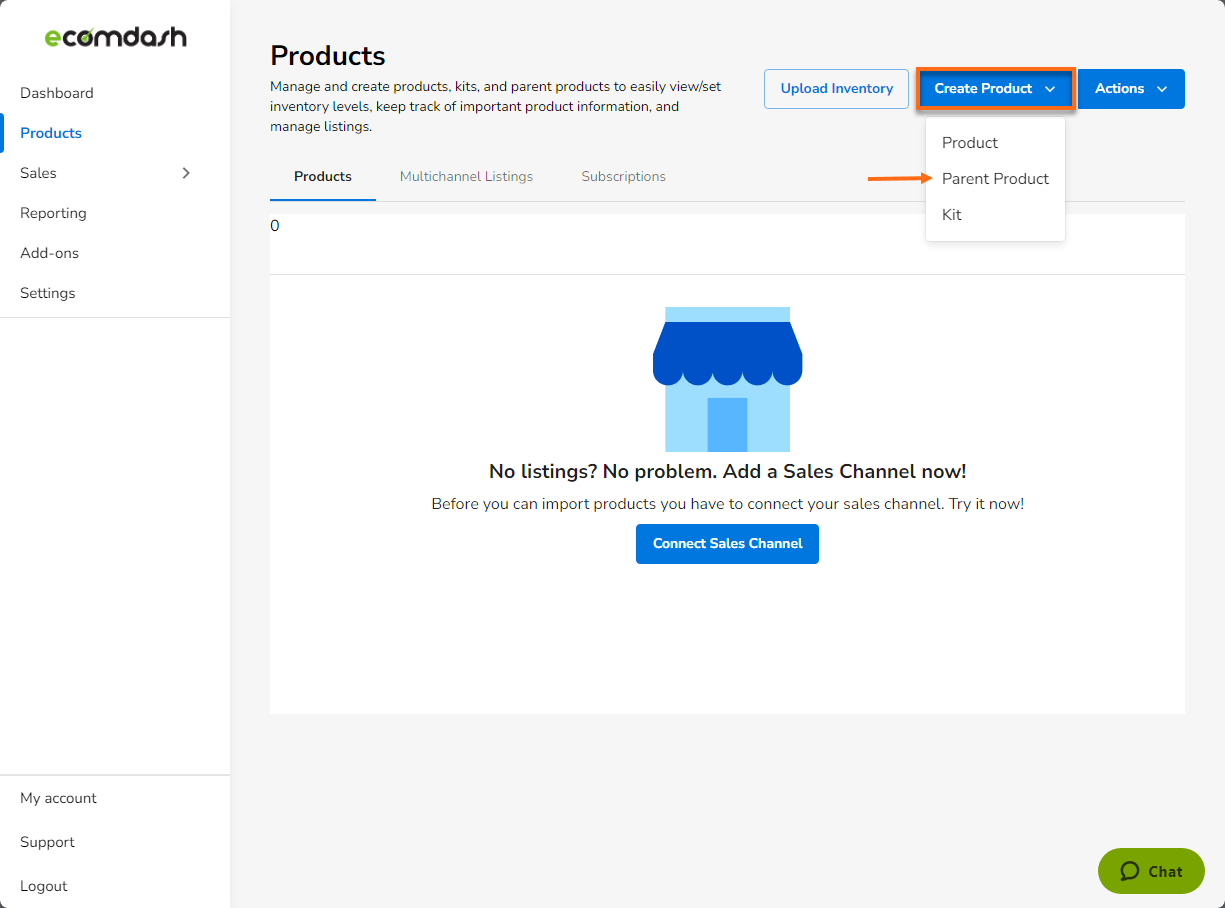
- Once inside your Ecomdash dashboard, click Products in the left-hand navigation menu.
- Hit Create Product, which is located in the upper-right-hand corner, and then select Parent Product from the dropdown.
- Enter the Product Name and a unique SKU number. Click Next to continue.
Create Product Kits
You can create product kits in two ways:
Creating a Product Kit through the User Interface
Within your Ecomdash account, you can create a product kit from scratch. Follow the steps below:
- Once in the Ecomdash, click Products in the left-hand navigation menu.
- Click the Create Product dropdown in the upper-right corner of the Products page, then select Kit.

- Type the name and SKU for your kit.

- Complete the required information for your product kit, including Images, Global Listing Details, Identifiers, Manufacturing Details, and Dimensions.
- Go to the Components tab and click the Add New Component button in the upper right corner of the page. You can search for the product and click the + sign to add it to your kit.
You can select how many components to include in your kit.
Creating a Product Kit through a File Upload
You can also create product kits through a file upload. Follow the steps below:
- Once inside your Ecomdash account, select Products on the left menu, then hit the Upload Inventory button on the top-right portion of the Products page.
- In the Import Inventory pop-up, click on Manage File Templates.
- Look for the Bulk Kit Import Format in the list, click the horizontal ellipsis, then select Download Format.
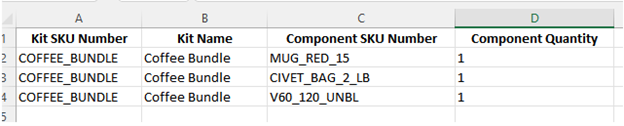
- Open the file and add the Kit SKU Number, Kit Name, Component SKU Number, and Component Quantity.
- If you are creating a bundle, your file should be similar to the example below:
- If you are making a multipack, your file should be identical to the example below:

- If you are using multiple listings, your file should be similar to the example below:

- If you are creating a bundle, your file should be similar to the example below:
- Once your file is ready, navigate to Products and click on the Upload Inventory button. Continue with the steps below:
- Select the file from your computer.
- Choose the Bulk Kit Import Format.
- Choose how you want Ecomdash to process your data:
- Perform no action – If your file contains products already in your Ecomdash account, our system will ignore that information and create only products not in your account.
- Overwrite existing details – If your file includes products in your Ecomdash account, our system will replace the current information with the new file details. Select this option to update existing reference IDs.
- Increase existing quantity – Our system will add the quantity from your uploaded file to the current quantity.
- Click the Upload button.
Manage Products
Check History
- Once in the Ecomdash, click Products in the left-hand navigation menu.
- On the Products page's top-right corner, click the Actions dropdown:
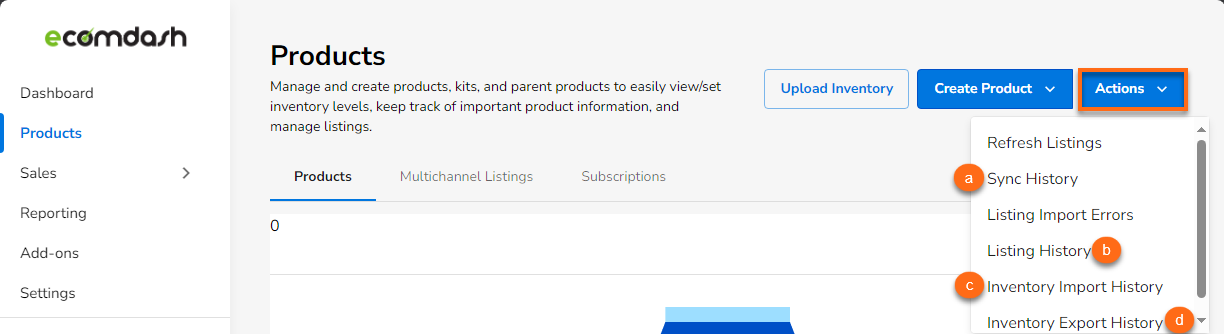
- Sync History – Every quantity sync sent out by the system is logged here, giving you a log of each quantity update sent to listings for your products.
- Listing History – Every new listing you publish and each time you revise an active listing is logged here. If a listing fails to publish, you may find additional information surrounding the failure here.
- Inventory Import History – Every inventory import you run is logged here, sorted by the File Template used to complete it. You can also download a copy of the imported file here.
- Inventory Export History – Every inventory export you run is logged here, sorted by the File Template used to complete it. You can also download a copy of the exported file here.
Update your Inventory
- Once in the Ecomdash, click Products in the left-hand navigation menu.
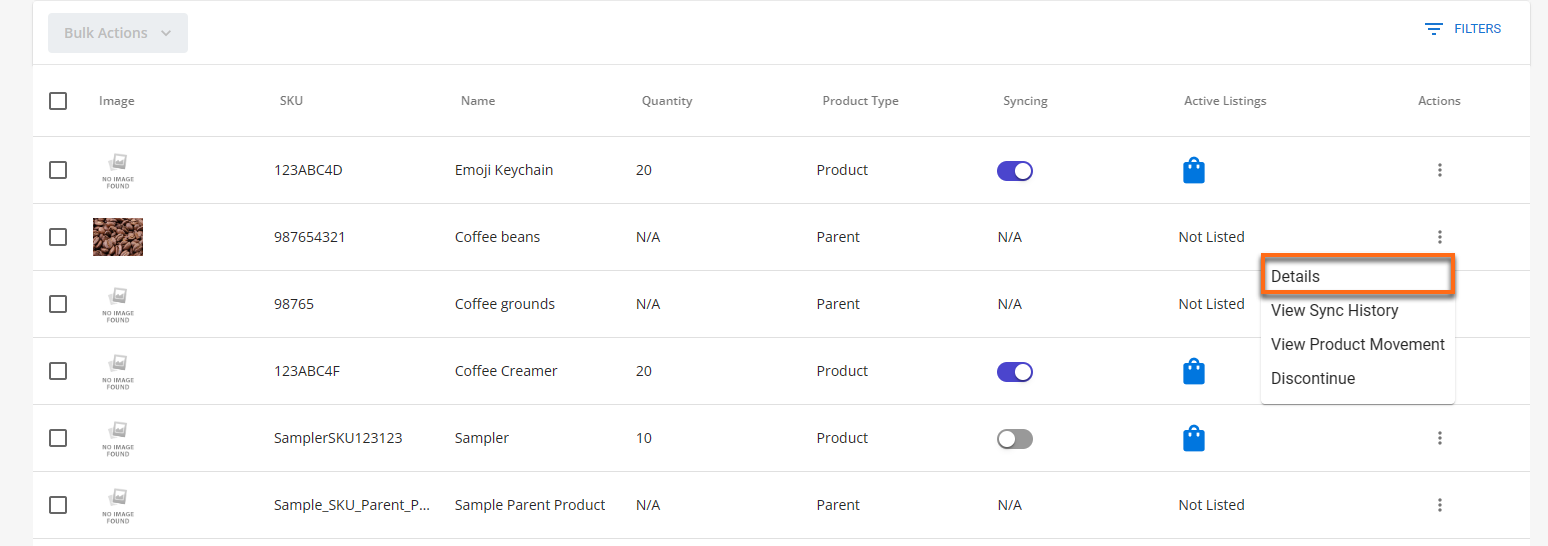
- Select the product you want to update by clicking on the vertical ellipsis, then click Details.
- Review and update all the necessary fields on the Product Details page, then click Save.
Export your Inventory
- Once in the Ecomdash, click Products in the left-hand navigation menu.
- Select the products you want to export by checking the boxes on the left.
- Click the Bulk Actions dropdown and select Export Inventory.
You can expand the list of products in the bottom-right corner to 75 and export up to 75 products simultaneously.
- Choose an Export Template from the dropdown and click Continue to begin exporting.
If you want to edit which information is exported, click Manage File Templates to adjust the file formats. Then, click the Edit icon for the format you wish to update.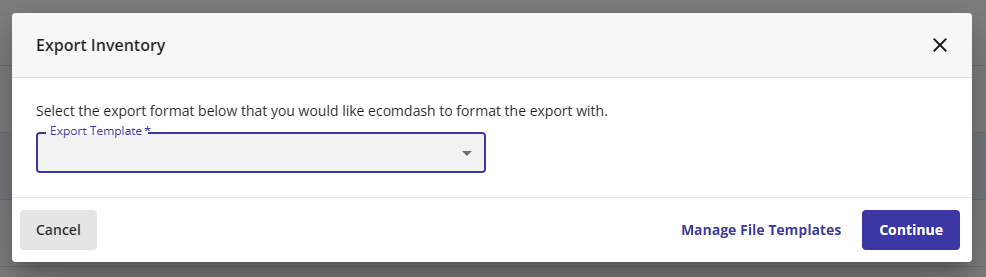
You can edit which storefronts and warehouses to export, and decide which attributes to add and how to organize them.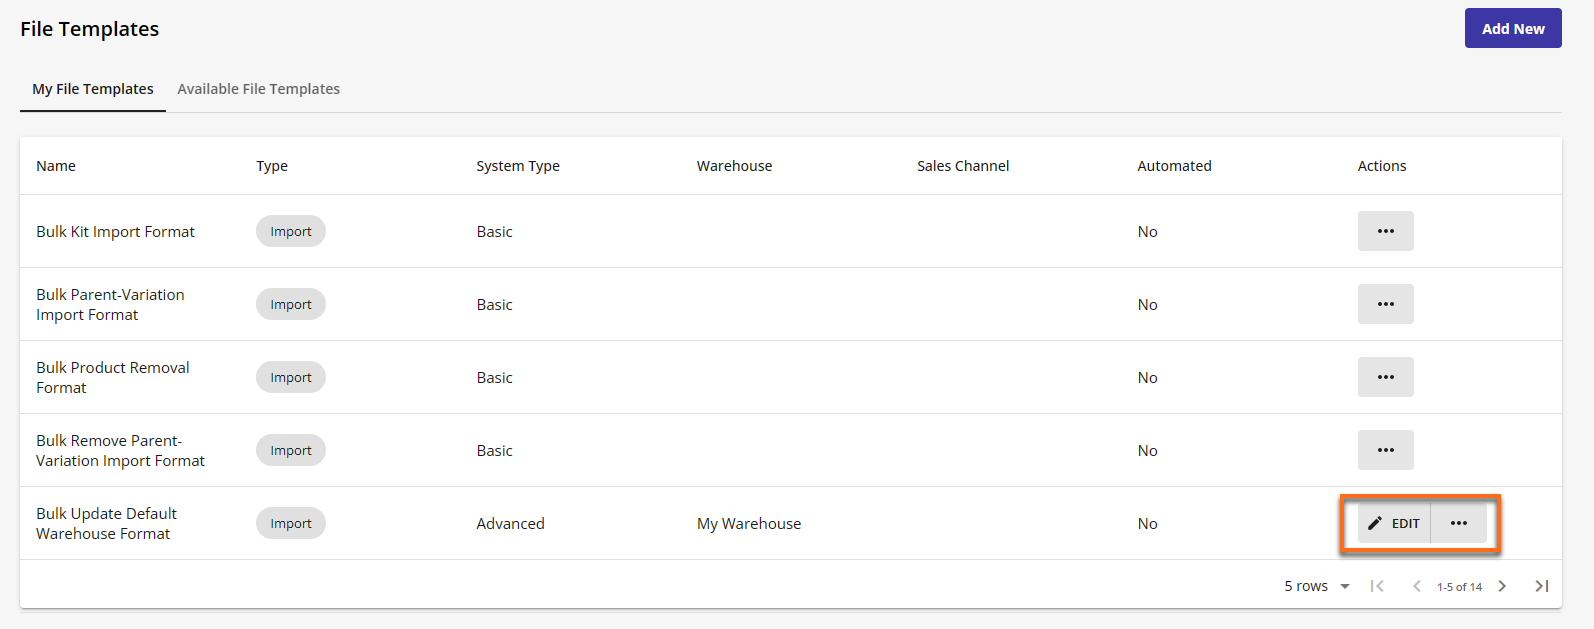
- Click Save Template after updating the format, and click Continue to begin exporting.